Your softener is dead, in the way, or you just stopped wanting it. The expensive mistake is grabbing pipe wrenches before you know which of four jobs you have — and half of those jobs end with the valve in bypass and nothing else.
Quick answer
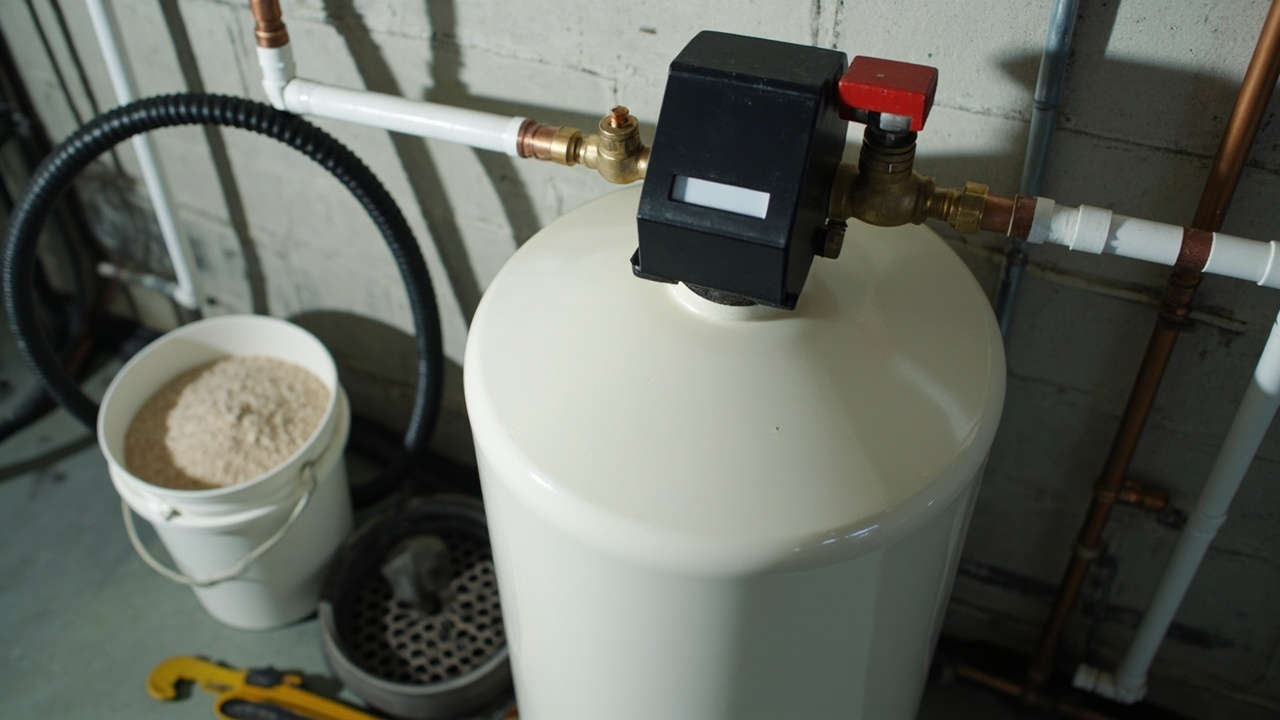
Most units don’t come with a removal kit. They come with a bypass valve, two plastic union nuts, and a drain line. Put the control valve in bypass, switch off power, and run a cold tap until the water feels hard again — that proves the bypass took. Empty the brine tank, break the two unions, pull the tank, then cap both open ends so the house still has water. Soldered copper with no unions is a plumber job.
Which of these four jobs do you actually have?
| What you actually want | Does this page cover it | Go to |
|---|---|---|
| Stop the scale and the salt bill, unit can stay where it is | Yes | Do this first, then stop there |
| Unit is dead, moving, or you are selling the house | Yes | Disconnecting the loop |
| Only the resin is bad, tank and valve are fine | No | Replacing bad resin instead |
| Salt bridge or mush, unit still softens fine | No | Breaking a salt bridge |
Two of those rows aren’t removal at all. If the resin is the only bad part, the loop stays where it is and it’s a resin replacement job. If the unit works and the problem is a crust across the top of the salt, you need a broom handle, not a wrench. A fourth case — the unit runs and does nothing useful — is a not-working triage, where a permanent bypass is often the cheapest fix.
Do this first
Cut power and open a cold tap
Switch the softener off at the valve or unplug it, then open a cold tap somewhere past the softener and leave it running for the whole job. That running tap is your pressure relief and your leak alarm. A union that starts to weep will tell you immediately instead of quietly putting water in a wall or a slab.
If your house has any lead service line history, that same tap is worth running until it comes clear after you reopen the line. Lead is a pipe problem, not a softener problem — the EPA’s own rule page is blunt that the primary source of lead in drinking water is the pipes themselves.
Put the valve in bypass, then prove it
Turn the bypass to the bypass position. On a Fleck-style head the lever position matters, and it’s already laid out in Fleck 5600SXT settings, so don’t re-guess it from memory here. Then prove it with water: with the tap still running, the water at a fixture downstream of the softener should go hard again. If it stays soft, the bypass didn’t take and nothing else on this page is safe to do.
- Skip the teardown until the bypass is proven — a lever position is not evidence, and plenty of cheap installs never had a bypass valve plumbed in at all. Those are the ones that flood a basement the first time a union lets go.
Empty the brine tank and drain the water
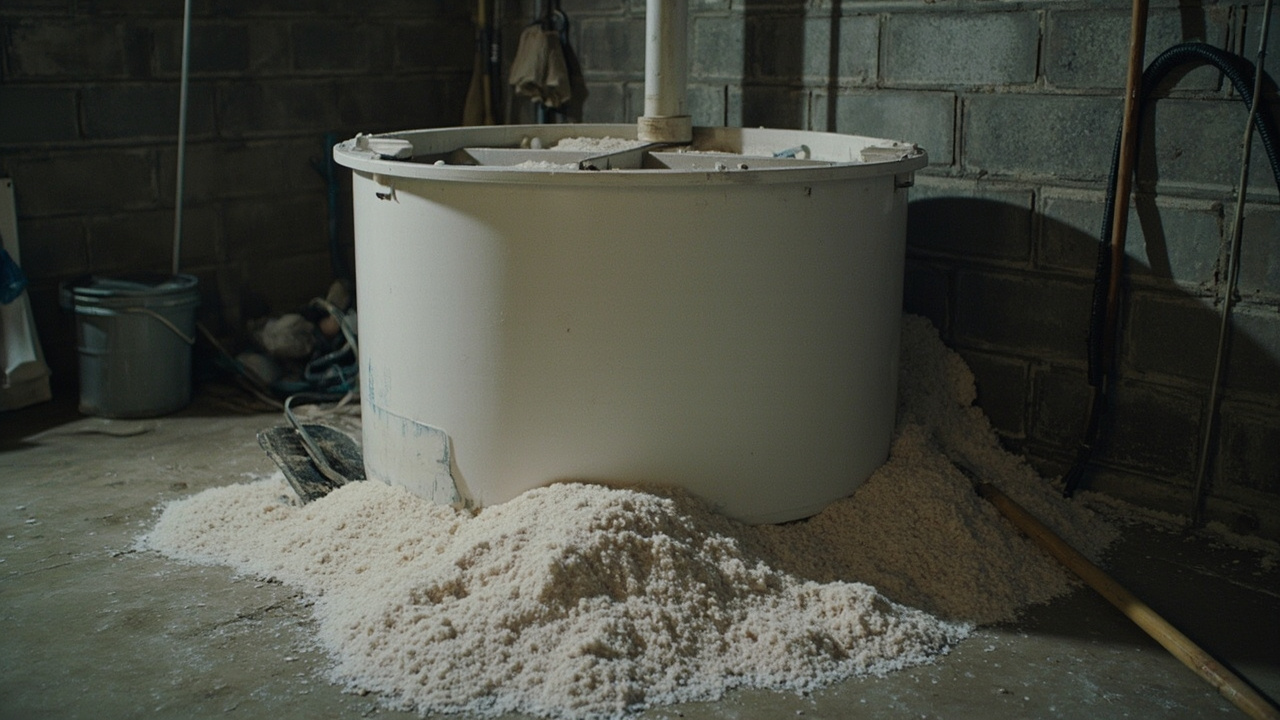
A brine tank with salt in it is not a tank you carry down stairs. Shovel the salt out, drain the water, and support the tank before you touch a fitting rather than after. The annual cleanout method is on brine tank problems, and what to do with the salt itself is covered under water softener salt — link those, don’t re-teach them here.
Find out what is actually plumbed in
Walk the pipe with a flashlight and name four things. Where is the main shutoff? Are there union nuts on both sides of the softener? Where does the drain line go, and what is the loop made of? Half of the failed removals aren’t plumbing failures at all. They’re somebody who cut into a line with no union on the inlet, or set a tank full of water where the floor was never meant to get wet. This section decides whether the rest of the article applies to you.
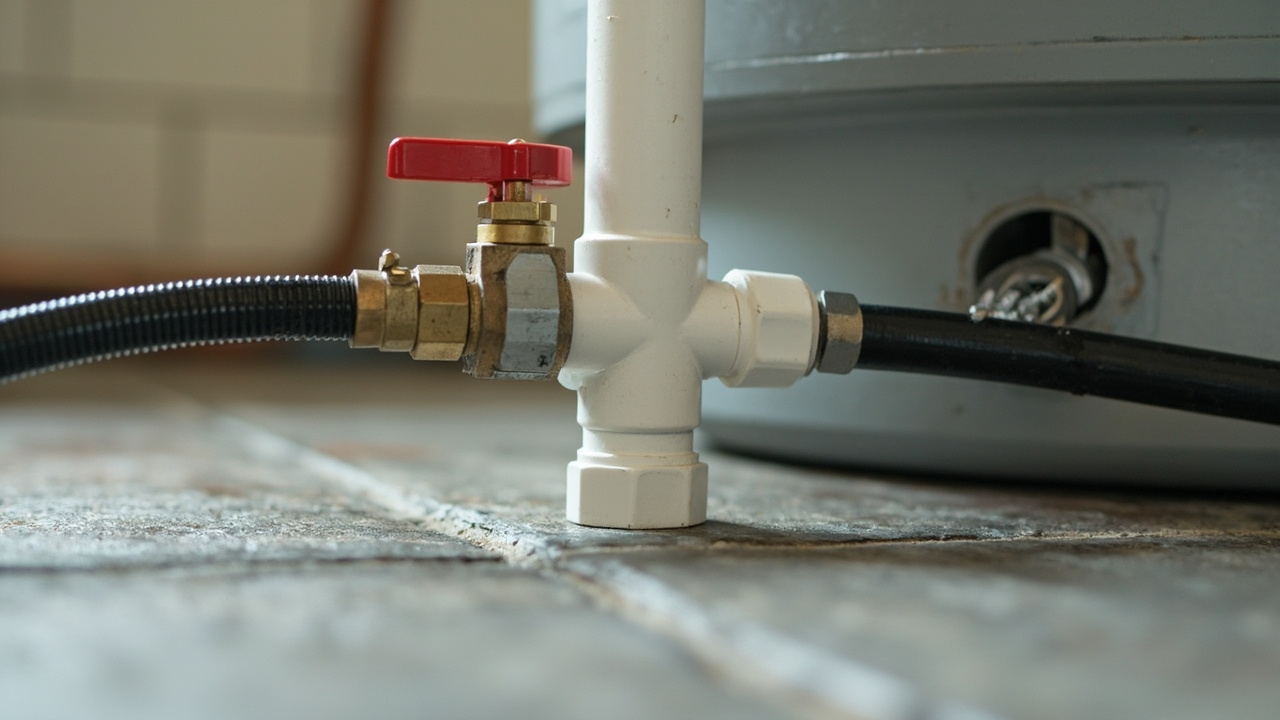
The four jobs, and how each one ends
Job 1 — Bypass it and leave it
The valve goes to bypass, the tank stays where it is, and you do nothing else. Water is hard again, the unit is out of the flow, and it can sit like that indefinitely. This is the cheapest correct answer, and most people who search this should stop here.
- Don’t pull a tank you only wanted to stop using — a softener sitting in bypass isn’t doing damage to anything. Teardown is a second job, not the first half of the first one.
Job 2 — Pull the tank and cap the loop
Full removal: unions off, tank out, both ends capped. The rest of this page is the procedure. The short version of what you’ll find on the far side of those nuts is in how water softeners work.
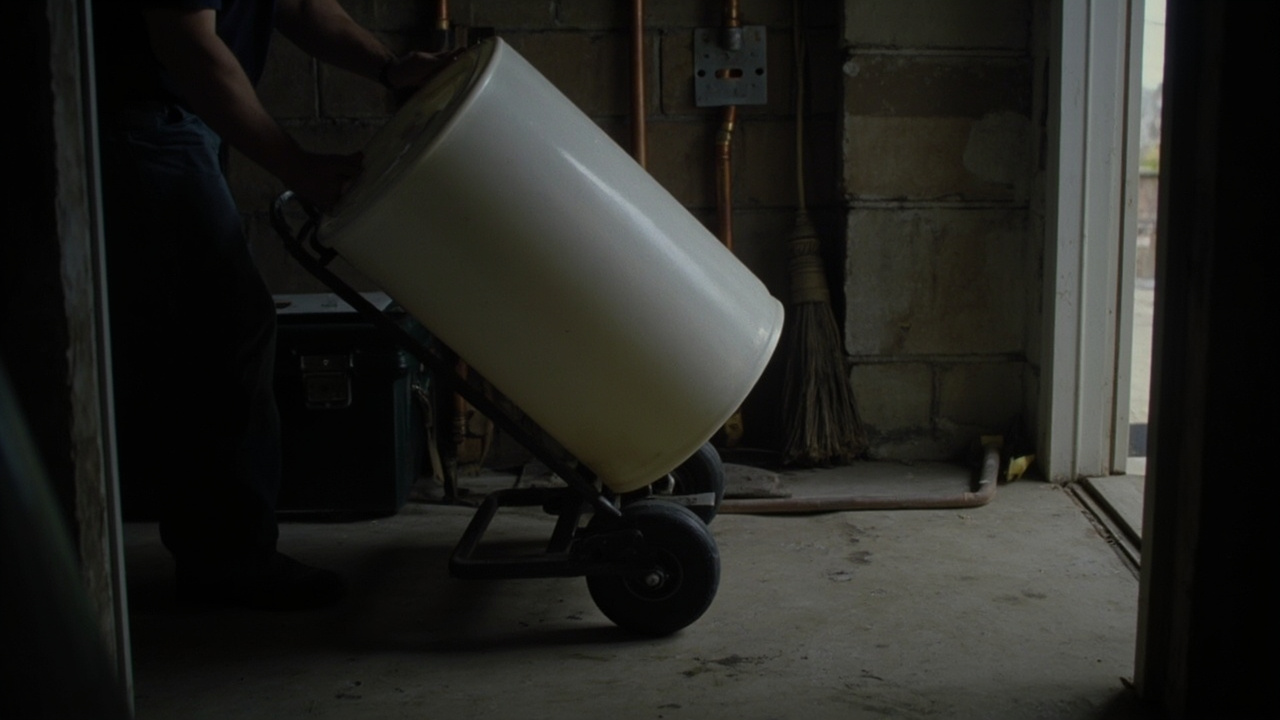
Job 3 — Resin only, not this job
If the resin is fouled but the valve and brine tank still work, that’s a resin replacement, not a removal. The phrase water softener resin removal tool pulls plenty of people here and it means something else — a tool for pulling bad resin out of a tank you’re keeping.
Job 4 — Salt bridge, not this job
A bridge is a salt problem, not a plumbing problem. If the unit still softens water and the issue is a crust across the top of the salt, see water softener salt bridge. You don’t need a pipe wrench for that one.
Which system is actually in that loop
Three different boxes get called a softener. A salt-based softener swaps hardness minerals, so it’s the one this page tears out. A whole-house carbon or sediment filter improves taste and dirt but doesn’t soften, and it’s plumbed differently. RO is usually under a sink and polishes drinking water, not the whole house. If you can’t tell which box is in your utility room, softener vs RO vs filter settles it before you cut anything.
Disconnecting the loop
The unions come off first
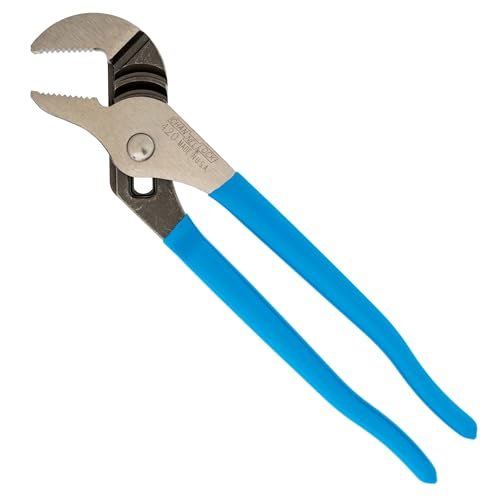
Most residential softeners are held to the plumbing by two plastic union nuts, one on each side. Crack them loose with tongue-and-groove pliers while the tap is still running, and keep a knee or a strap under the tank as you go. It’s full of water and resin, and it will drop the moment the nuts let go.
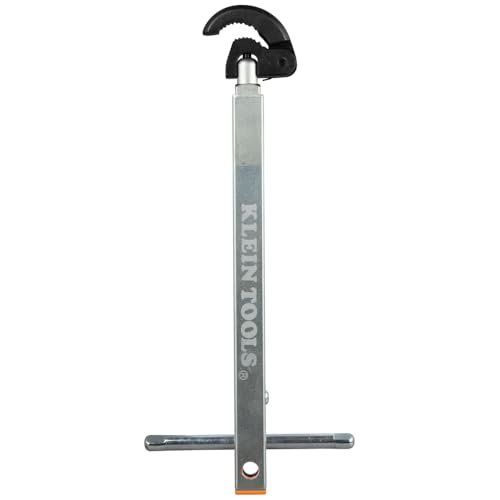
Buy the straight-jaw version of the pliers, not the offset style — an offset jaw slips off plastic and you’ll round the nut instead of turning it. If the assembly is jammed into a corner with a couple of inches of clearance and a normal wrench won’t fit, that’s what a telescoping basin wrench is for. It reaches in at an angle your hand can’t get to. What’s plumbed on the other side of those nuts is explained in how water softeners work.
The drain line comes off last
The brine line is a narrow tube running to a drain, and it’s the easiest line to break and the easiest one to leave behind in a wall. Pull it. If it discharges into a standpipe, cap that stub or push it back to a safe depth. A live brine line inside a wall is a slow leak you find months later, after the drywall is already down.
- Skip the hang-it-on-the-drain-line shortcut. A softener full of water and resin weighs a lot more than a strap or bracket was rated for. That failure lands on your ceiling, not in the plumbing.
Before the last fitting comes loose, get your eye on the far side of the tank. If the union behind it is in a dark corner, the same telescoping basin wrench gets a grip your knuckles can’t. The tongue-and-groove pliers still handle anything reachable by hand.
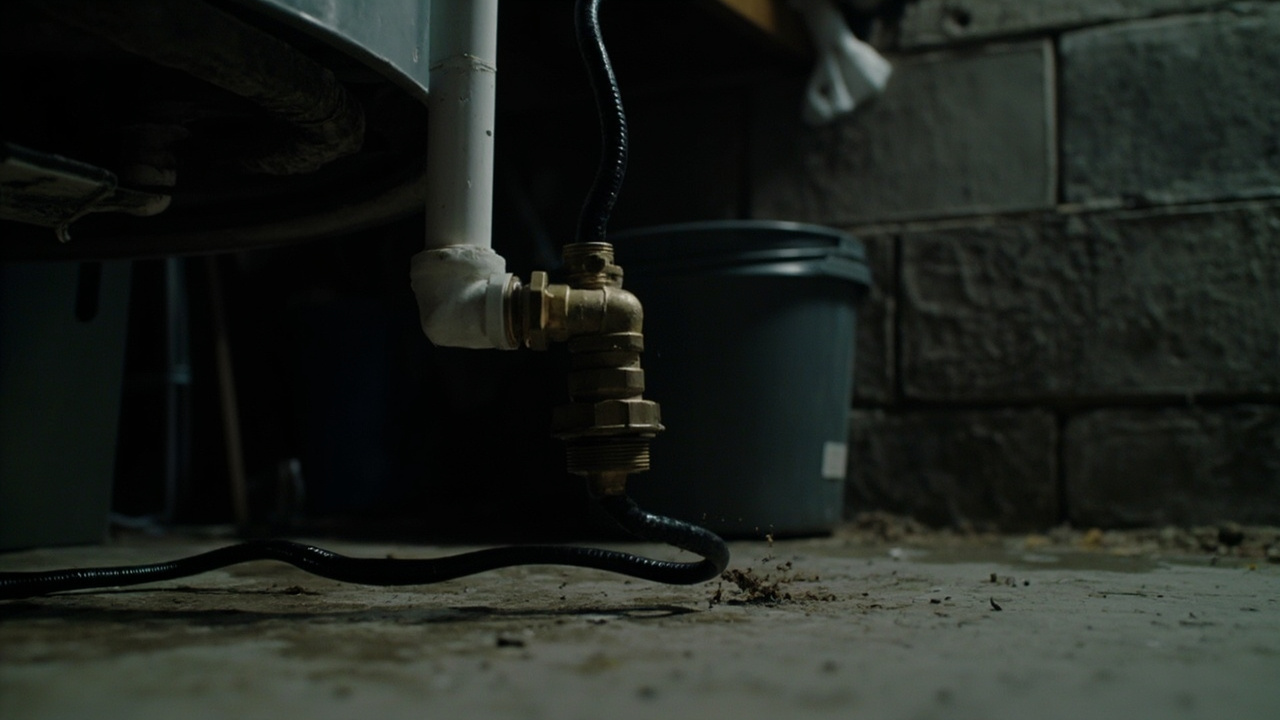
Cap the loop so the house still has water
This is the part the word “kit” was pointing at, and it’s the only part most people actually have to buy.
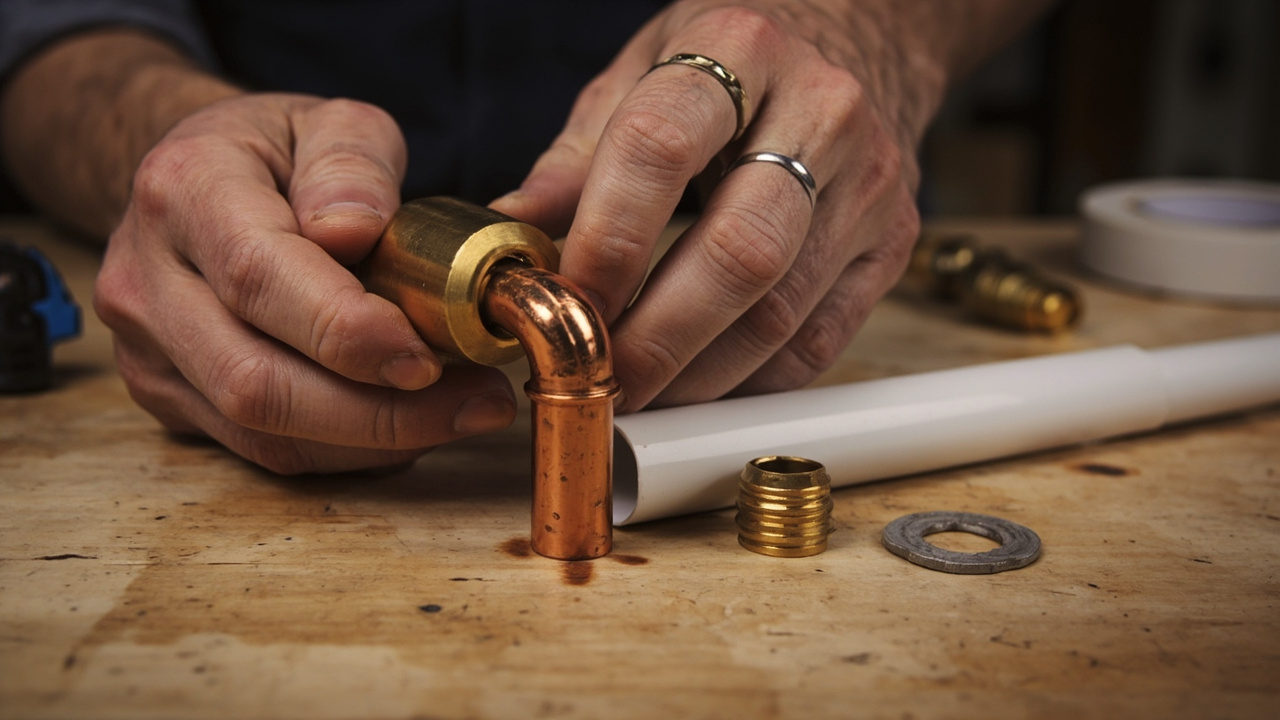
Copper, or anything you can push a fitting onto
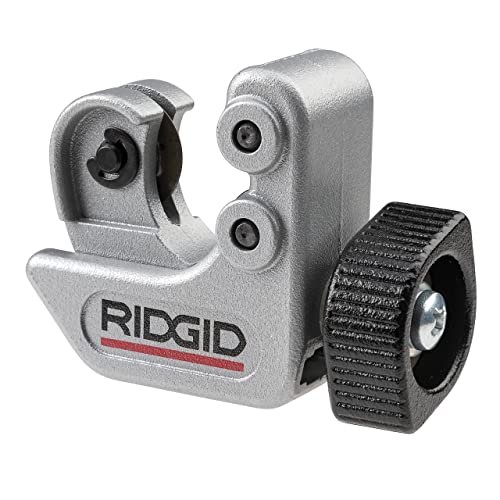
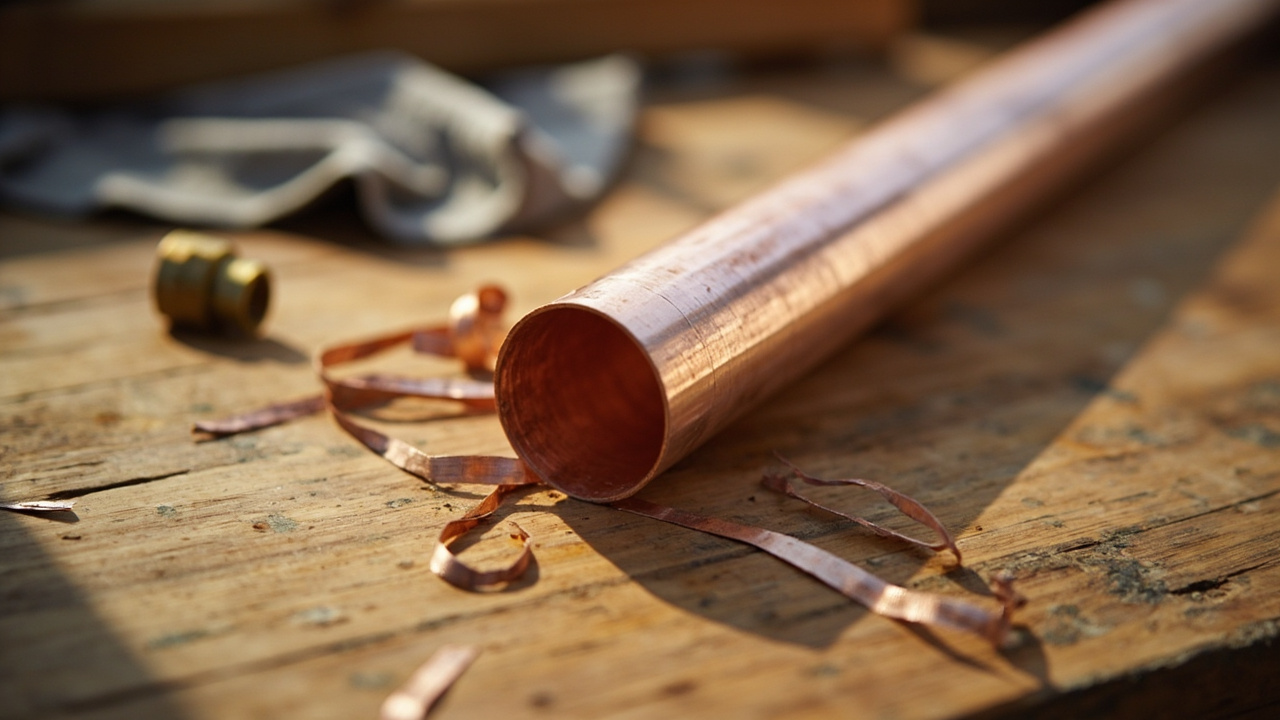
Cut the pipe square and deburr the end. A close-quarters tubing cutter does that in a couple of turns and stays inside a tight cabinet where a bigger cutter won’t. A slanted stub is the reason a cap weeps, so take the extra thirty seconds.
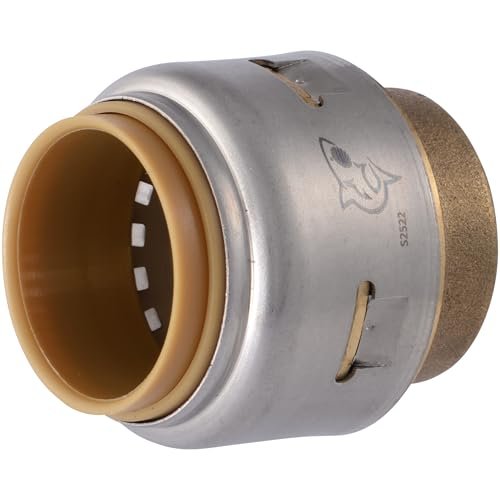
Then the cap goes on: a push-to-connect cap slides over the pipe and grips it, no torch, no flux, no solder. That’s the single most useful part in this whole job. It also comes off later, so the decision stays reversible. It grips copper, CPVC and PEX alike, which is why it’s the default answer when you can’t tell what the loop is made of. Check the size before you order. This one is 3/4 inch, and the same style of cap in 1/2 inch is a different part at a different price.
PEX — crimp or push
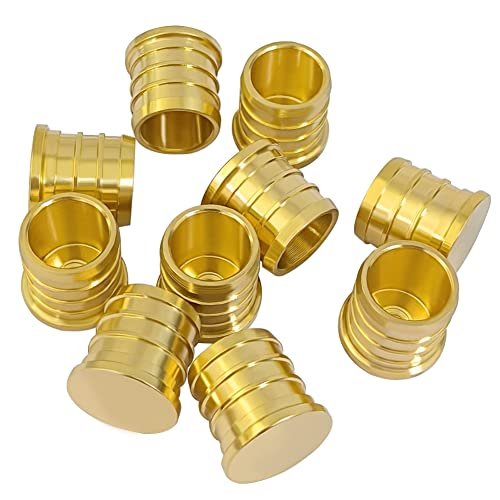
If the loop is PEX and you already own a crimp ring tool, a 3/4 inch PEX crimp plug is the cheaper cap and does the same job. If you don’t own a crimp tool, buy the push cap above and skip the tool entirely — a crimp plug without the gun is just an expensive plug. Read the size line carefully, because this listing carries a 1/2 inch variant too and the two don’t interchange. Measure the pipe before you order. A push-to-connect cap still grips PEX if you’d rather not track down a gun.
- Skip the tape-and-walk-away fix — don’t leave an open stub, and don’t tape a cap on. An open stub sprays into the wall cavity every time somebody uses a fixture, and a tape-wrapped cap is a temporary repair that fails a month later when nobody’s looking.
What you might need
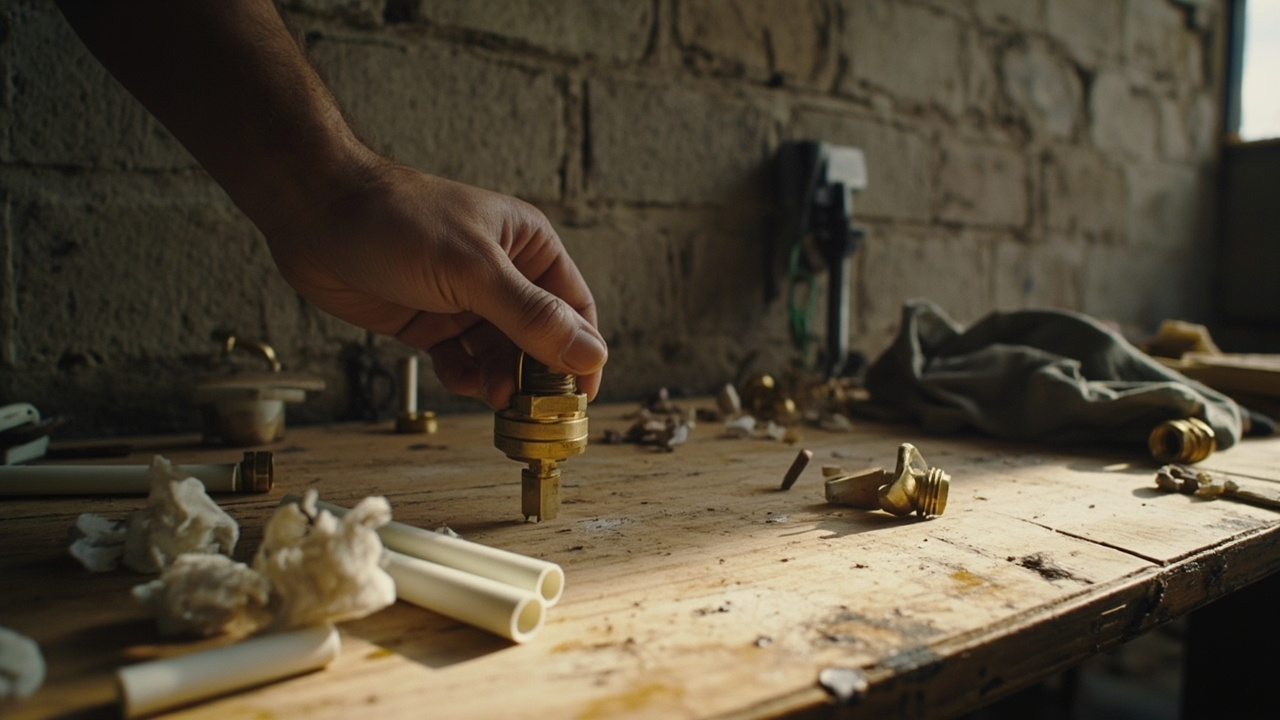
A short list, in the order you’ll need it. Nobody here needs all five.
- Union nuts — tongue-and-groove pliers for the two plastic nuts holding the softener to the plumbing.
- A corner install — a telescoping basin wrench if there’s a couple of inches of clearance and nothing else fits.
- A square cut — a close-quarters tubing cutter so the cap seats flat instead of on a slant.
- Copper, CPVC or mixed loop — a 3/4 inch push cap, the one part you’re probably buying.
- PEX with a crimp gun already in the garage — a 3/4 inch PEX crimp plug, otherwise skip it.
Common mistakes
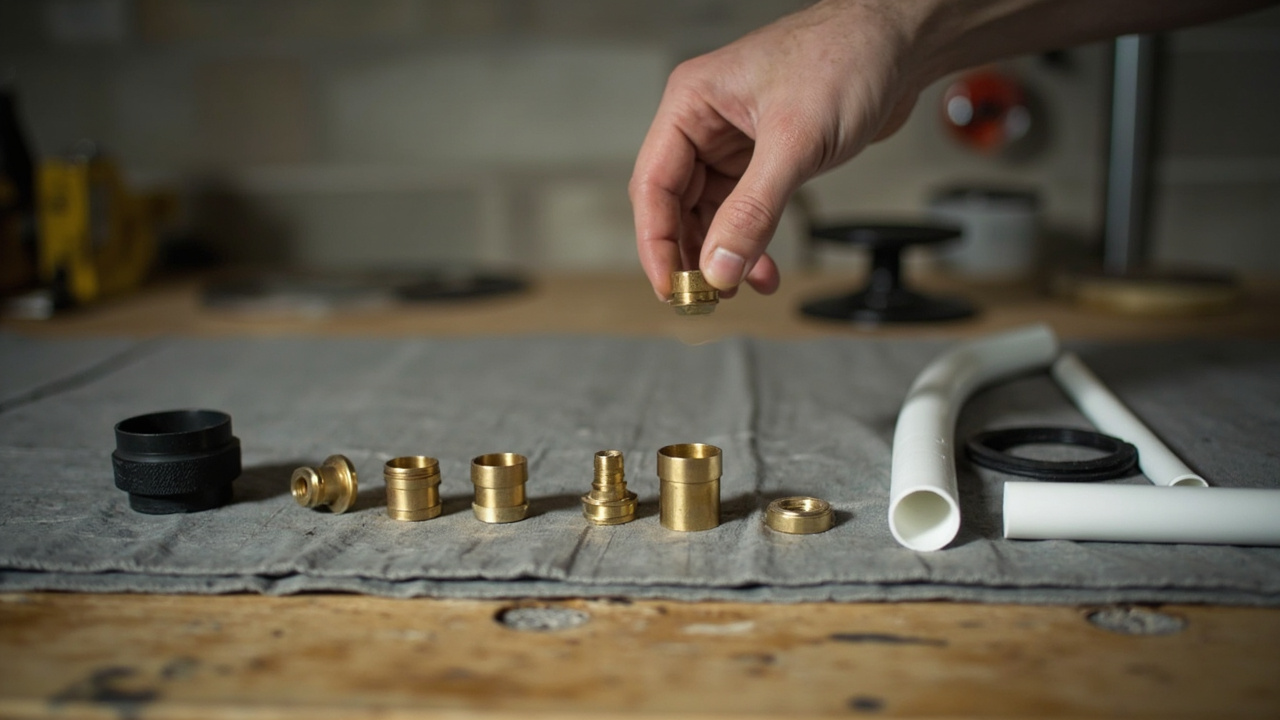
- Trusting the lever instead of the water. The bypass position is a claim, not a result. Run a cold tap and feel for hardness before you break anything.
- Moving the tank with salt still in it. Salt weighs more than people expect and it turns into a solid block in the bag. Shovel it out, drain the water, then lift.
- Cutting before you have a cap in hand. Cut last and cap immediately, or you’ll find the leak from inside a wall.
- Buying the wrong cap size. 3/4 inch and 1/2 inch caps don’t interchange, and the same listing usually carries both. Measure the stub first — the push cap and the PEX crimp plug each have a smaller variant sitting on the same page.
When to call a pro
Four concrete triggers. If none of them apply, this is a weekend job with a parts list.
- The pipe is soldered copper with no union nuts on either side. Cutting into it means an open pipe in a wall until somebody closes it with a torch.
- There is no shutoff valve on the softener inlet, so you’d be cutting into a live main.
- The drain line goes to a shared stack or a floor drain you can’t isolate, and there’s nowhere to set a wet tank down.
- The tank is above a finished ceiling, upstairs, or in a crawlspace you can’t get a full tank out of.
On cost: a plumber charges for the hour and the fittings, and this article isn’t quoting a rate for work it can’t see. What moves that number is whether your line is soldered copper and whether you have a shutoff, and both are things only you can look at.
Safety notes
Keep a cold tap running the whole job. Salt isn’t a hazard, but a bag of it in a plastic tank is a back and a floor. When a union lets go, expect water — a full brine tank is more than you planned for. If you’re cutting copper, don’t solder near an open water line; do the cut-and-cap branch with push fittings instead. Don’t energize a control valve head that’s out of its housing.
Removing a softener doesn’t put anything unsafe into your water. Hardness has no federal primary drinking water limit. Chloride, sulfate, total dissolved solids, iron and manganese sit under non-enforceable secondary standards — taste, odor and equipment damage, not health. This is plumbing guidance rather than health advice. A lead service line, or any concern about your water, is a question for your utility and your clinician — not a search result.
What hard water looks like the day the loop is gone
The day you cap that loop, your water is whatever your city sends or your well produces. Nothing about removing a softener changes your supply. What changes is that the scale which was hiding in your heater, your kettle and your dishwasher spray arms starts showing up again.
Which way this goes depends on one number. The USGS splits hardness into four bands in milligrams per liter of calcium carbonate. Zero to 60 is soft, 61 to 120 is moderately hard, 121 to 180 is hard, and more than 180 is very hard. What hardness comes back explains how to line that up against the gpg numbers on a test strip.
- If you were in the soft or moderately hard bands, you may notice nothing at all, and this whole job was cosmetic.
- If you were hard or very hard, expect the scale back within a few months, with your water heater and your appliances as the first casualties. What hard water does to pipes covers the corrosion side.
What you give up by not replacing it is covered in salt vs salt-free, with one honest line from that page. Most salt-free units are conditioners, and they usually do not bring hardness grains to zero on a test strip. If you want soft water back, choosing a water softener and the size calculator are the next two stops. A hardness test kit gets you the number first. If what you really want back is clear glassware, what actually removes existing scale is the shorter path.
Key takeaways
- Most units have no removal kit — they have a bypass valve, two union nuts, and a drain line.
- Bypass first, and prove it with water at a tap, not by looking at the lever.
- Salt bridge, resin-only, and “just turn it off” are three different jobs. Only two of them are on this page.
- Empty the tank before you move it, and support it while you work.
- The part most people actually need to buy is a cap or plug for the two open ends.
- Cap it the moment you cut. An open stub is a leak inside a wall.
- Soldered copper with no unions, no shutoff, or a tank you can’t physically get out means a plumber.