If the shower door fogs white two days after you clean it, you don’t need a stronger scrubber — you need a hardness number. Guessing a 64,000-grain softener from an ad, or buying one because a neighbor did, is how people end up with spots, salt bills, and a unit that’s wrong for their water. A $10 test kit tells you the number before you spend $500–2,000 on equipment.
Quick answer
For most homeowners, a $10 bottle of hardness test strips is all you need — it reads 0–425 ppm in under 30 seconds. Drop-count titration kits (Hach) are more accurate for borderline cases near 1 gpg. Digital TDS meters measure total dissolved solids, not hardness specifically, so use one only to confirm a softener is working after installation — not to size one.
Why test before shopping
You can’t pick a softener, a whole-house filter, or an RO system without a number. Hardness drives softener grain capacity the way square footage drives furnace size — without it, you’re guessing.
Hardness drives sizing
A softener sized for 10 gpg in a 10-gpg home regenerates on a normal cycle and uses salt efficiently. Size that same unit for 20 gpg when your water is actually 10 gpg, and it regenerates too often, wasting salt and water. Size it for 10 gpg when your water is really 20 gpg, and you’ll get hardness breakthrough before the next cycle. The actual number matters.
City water reports can mislead
Municipal Consumer Confidence Reports (required by the EPA) list hardness, but rounding, seasonal shifts, and distribution-system changes mean the number on the report can differ by 3–5 gpg from what reaches your tap. A report saying “120 ppm” doesn’t guarantee your kitchen faucet reads 120 ppm on the day you test. If you want to understand what hard water does to fixtures and appliances, start with what hard water is — then test your own tap.
A $10 kit prevents a $500–2,000 mistake
That’s the math. A bottle of 150-count test strips costs under $10 and gives you the grain number every softener spec sheet asks for. Some water utility offices mail free strips, and lab tests exist, but turnaround is 2–6 weeks. For a sizing decision you want to make this weekend, strips are the fastest path.
Skip: Don’t guess from stains or soap lather alone — those are symptoms, not measurements. Two homes with identical white scale on the shower glass can differ by 8 gpg. Stains confirm hard water exists; they don’t tell you the number.
Don’t: Don’t skip testing just because you have city water. Municipal treatment disinfects and filters — it does not remove dissolved calcium and magnesium. City water is regularly hard.
Strips vs drop kits vs digital
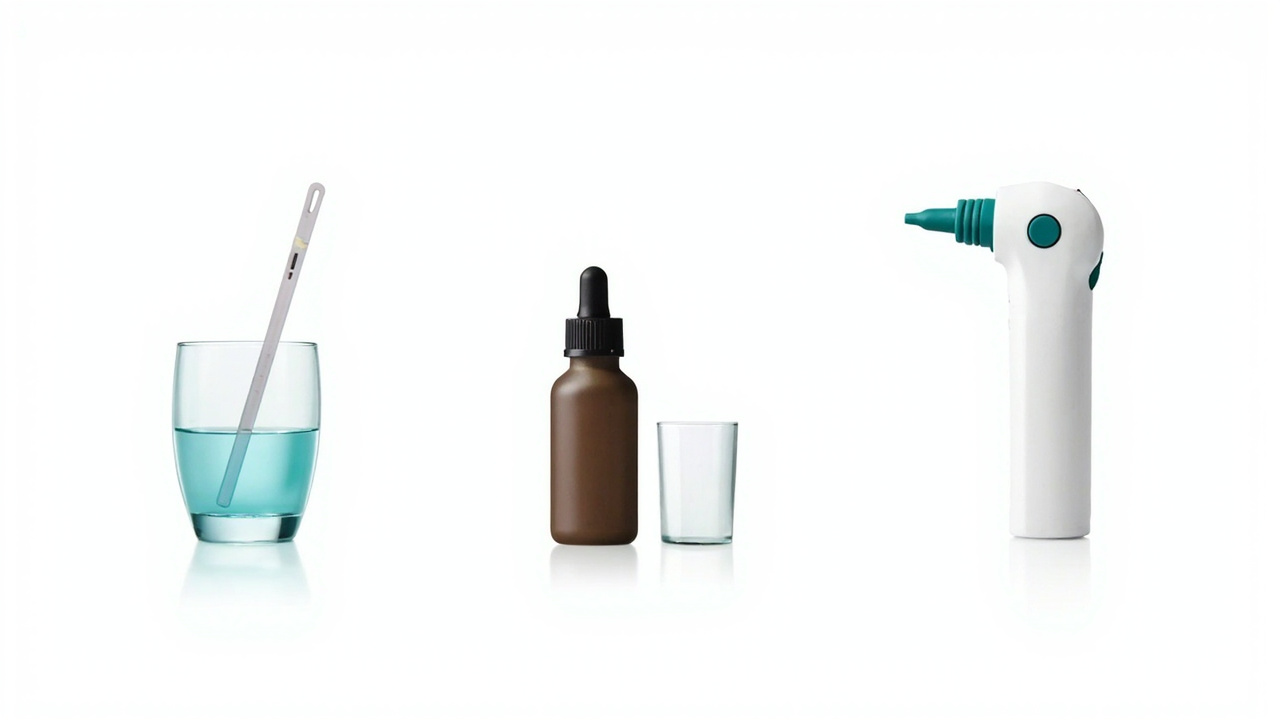
Three tools, three jobs. Most people only need the first one.
Test strips (fastest, cheapest)
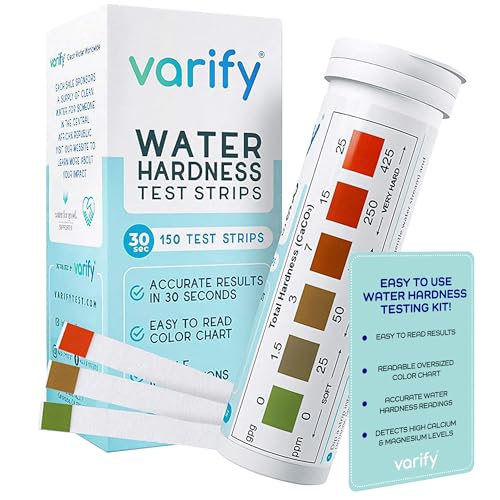
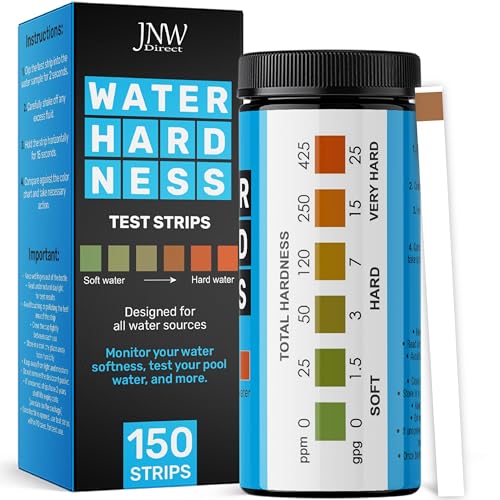
Dip for 2–3 seconds, match the color pad to the chart on the bottle, and read the ppm value. Range is typically 0–425 ppm (0–25 gpg). A bottle of 150 strips costs $6–$10 and lasts a household years if stored dry.
Accuracy is about ±1 gpg — sufficient for softener sizing, which works in whole-grain increments anyway. The weakness is subjective color matching: in poor lighting, or if you wait too long before reading, the pad keeps reacting and the color drifts. Read within the time window on the bottle (usually 10–30 seconds). Strips also expire after 18–24 months — the reagent pads lose sensitivity and read artificially low.
The default pick is the VARIFY 150-strip kit ($9.99). If it’s out of stock, the JNW Direct 150-strip kit has the same range and strip count at the same price.
Drop-count titration (most accurate)
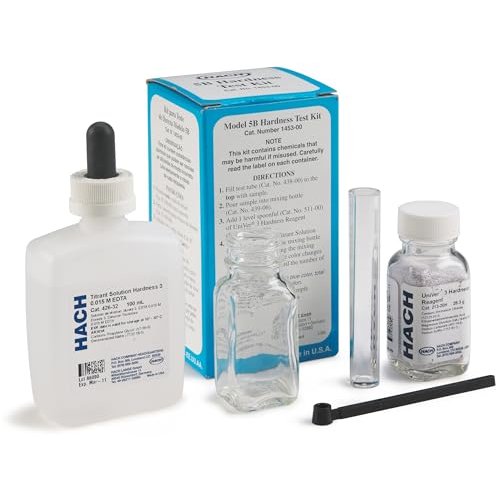
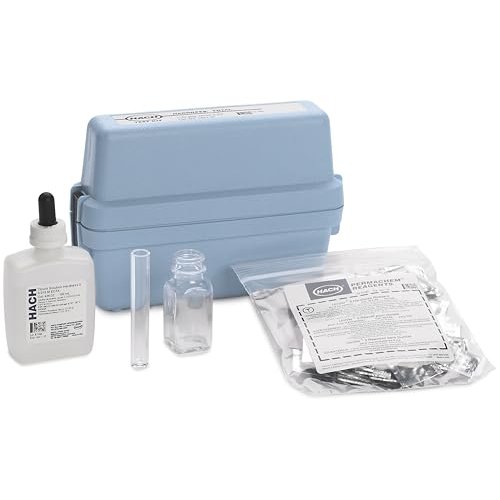
Add reagent drops one at a time to a measured water sample until the color changes from red to blue. Each drop equals 1 gpg (or 17.1 mg/L as CaCO₃). Count the drops, and that’s your hardness. This is the method water treatment professionals use — it follows Standard Methods for the Examination of Water and Wastewater (SM 2340 C).
A Hach drop-count kit costs $30–$60 and runs 100+ tests per reagent bottle. Accuracy is ±0.5 gpg, which matters when you’re near a decision boundary (for example, is it 2 gpg or 3 gpg? A strip may read either; a drop kit won’t lie). The tradeoff is time — 2–3 minutes per test instead of 3 seconds — and the reagent has a shelf life.
The industry-standard drop kit is the Hach Model 5-B ($35.55). For very hard water above 20 gpg, the Hach Model 5-EP has an extended range so you don’t run out of drops mid-test.
Digital TDS meters (confirming, not primary)
A TDS meter measures total dissolved solids via electrical conductivity. It reports a single ppm number that includes calcium, magnesium, sodium, chlorides, sulfates, and anything else conducting electricity. TDS is not hardness — it’s a broader measurement.
A TDS reading of 300 ppm could mean 5 gpg of hardness with high sodium, or 20 gpg of hardness with low sodium. You can’t tell without a strip or drop test. That’s why a TDS meter is useful for one thing: confirming a softener is working. After ion exchange, calcium and magnesium are replaced by sodium. If the softener is regenerating correctly, the post-softener TDS reading should differ from the pre-softener reading (often lower, since calcium and magnesium ions contribute more to conductivity per equivalent than sodium). If both readings are identical, the softener may be in bypass or not regenerating.
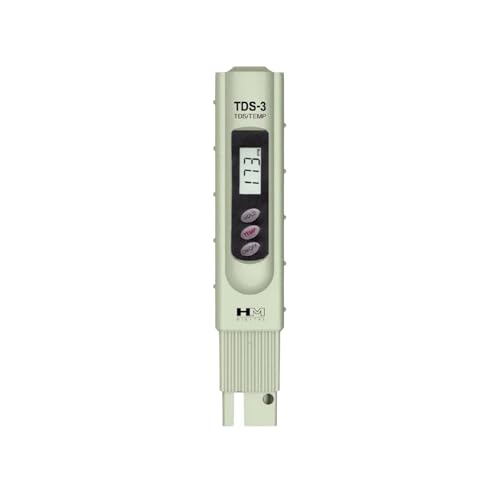
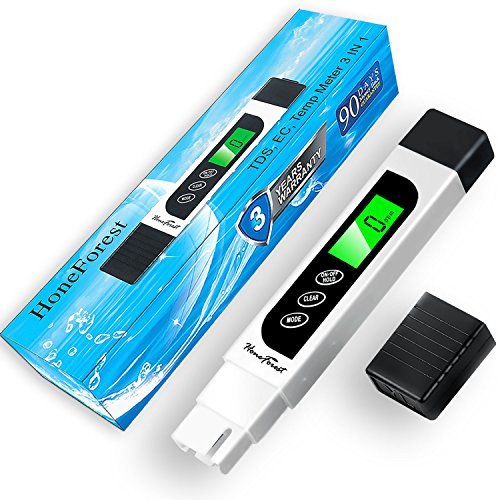
The HM Digital TDS-3 ($13.60) is a waterproof handheld meter with a carrying case. The HoneForest TDS meter ($13.97) also measures conductivity and temperature for the same verification role.
Skip: Don’t use a TDS meter as your primary hardness test. It measures total dissolved solids, not calcium and magnesium specifically. A home with 400 ppm TDS could have 5 gpg or 20 gpg of hardness — you can’t tell without a strip or drop test. Always start with strips or drops.
How to sample without lying to yourself
Sampling method matters more than which kit you buy. A bad sample gives a false reading regardless of how accurate the strip is.
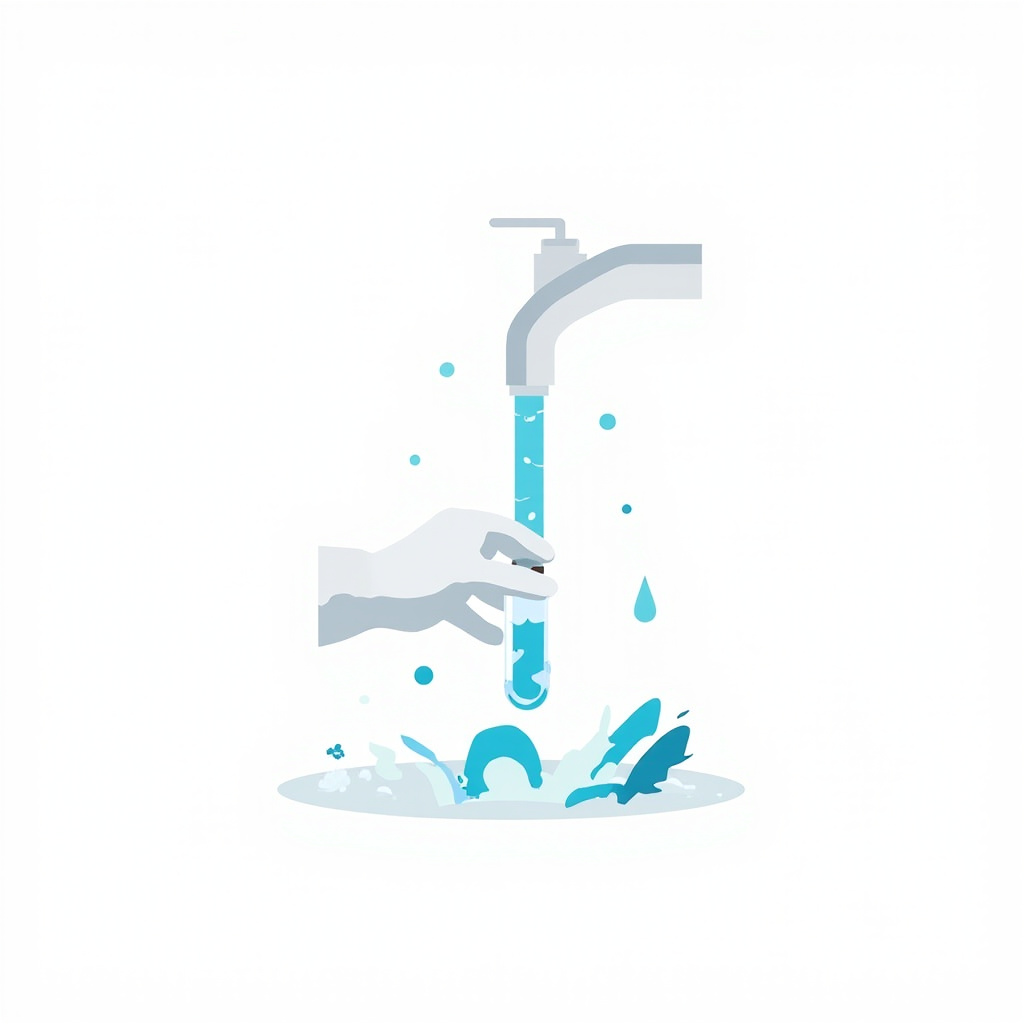
- Use cold water only. Hot water dissolves scale from the inside of your water heater, inflating hardness readings by 5–10 gpg. Always sample from the cold tap.
- Run the tap 10–15 seconds. This clears standing water in the pipes that may have leached minerals overnight or while you were at work.
- Don’t sample after a filter or softener. Brita pitchers, fridge filters, and under-sink RO units all reduce hardness via ion exchange. Sample from an untreated tap — the kitchen cold faucet or an outdoor spigot.
- Test twice from different taps. If results differ by more than 2 gpg, sample a third time from a third tap. Consistent readings across taps confirm the number; inconsistent readings suggest a plumbing issue worth investigating.
Skip: Don’t test water that’s been sitting in a Brita pitcher or fridge filter — those reduce hardness via ion exchange and will read artificially low. You’ll think your water is softer than it is.
Don’t: Don’t test hot water from the tap. Dissolved scale from the water heater will inflate your reading by 5–10 gpg, and you’ll oversize the softener.
Reading gpg / ppm
Test strips display ppm (mg/L as CaCO₃). Softener manufacturers use gpg (grains per gallon). You need to convert between them.

1 gpg = 17.1 ppm. Divide your strip’s ppm reading by 17.1 to get gpg.
| Strip reading (ppm) | Hardness (gpg) | Classification |
|---|---|---|
| 0 | 0 | Soft |
| 50 | 3 | Slightly hard |
| 125 | 7 | Moderately hard |
| 180 | 10.5 | Hard |
| 250 | 14.5 | Very hard |
| 425 | 25 | Extremely hard |
USGS classifies water as soft (0–60 mg/L), moderately hard (61–120), hard (121–180), and very hard (above 180 mg/L). Most U.S. homes sit in the hard or very hard bands — that’s why softeners are common. For a deeper dive on units, ranges, and what drives the scale, see water hardness basics.
Common mistakes
- Using a TDS meter for hardness. TDS measures all dissolved solids, not just calcium and magnesium. A 300 ppm TDS reading could be 3 gpg or 15 gpg of hardness — you can’t tell. Always use strips or drops for your first hardness measurement.
- Testing hot water. Scale dissolves off the heater element, inflating readings by 5–10 gpg. Always sample cold water from a tap that hasn’t been run through the heater.
- Testing after a filter. Brita pitchers and fridge filters reduce hardness via ion exchange. Sample from an untreated tap only — the kitchen cold faucet or an outdoor spigot.
- Reading expired strips. Test strips degrade after 18–24 months. Old strips read artificially low because the reagent pads lose sensitivity. Check the date on the bottle before trusting results.
- Guessing from stains alone. White scale confirms hard water exists but tells you nothing about the number. Two homes with identical staining can differ by 8 gpg. Test before you size.
What to buy (roles, not Top 10)
Three roles, not three rankings. Match the tool to your question.
Role 1: “I just need to know if I have hard water”
Test strips. $6–$10. This covers 90% of homeowners sizing a softener for the first time.
- VARIFY 150-strip kit ($9.99) — most tests per dollar, 0–425 ppm range. Default pick.
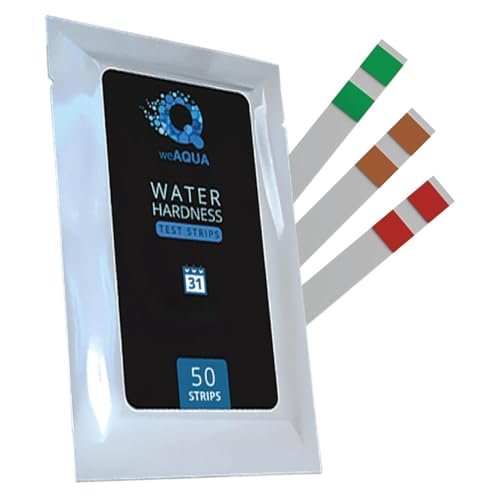
- WeAQUA DoubleCheck 50-strip ($5.97) — cheapest option, dual-pad design for result verification. Only 50 strips, fine for a one-time test.
Role 2: “My strip says borderline, I need precision”
Drop-count titration. $30–$60. For cases where the strip reads between two color blocks and you need to know if it’s 2 gpg or 4 gpg.
- Hach Model 5-B ($35.55) — industry-standard, 1 gpg per drop.
- Hach Model 5-EP ($58.09) — extended range for very hard water above 20 gpg.
Role 3: “I want to verify my softener is working”
TDS meter. $14–$20. Use it after the softener is installed to compare pre- and post-softener TDS readings. A meaningful drop in TDS confirms ion exchange is happening.
- HM Digital TDS-3 ($13.60) — waterproof, carrying case, post-softener spot-check.
- HoneForest TDS meter ($13.97) — also measures EC and temperature.
Skip: Don’t buy a digital TDS meter to measure hardness for the first time. It can’t distinguish calcium from sodium or other ions. Use strips or drops first — always.
Don’t: Don’t buy a 50-strip kit if you plan to test quarterly and have 2+ bathrooms. You’ll run out in a year. Get 150 strips so you have spares for verification and seasonal checks.
When to call a pro
Keep DIY if: testing hardness with strips or drops, reading results, setting the softener’s control head to your gpg number, and re-testing after installation.
Call a licensed plumber if:
- You need to cut into the main line to install a pre-softener sampling port
- You suspect the hardness reading is wrong because of a plumbing cross-connection (treated and untreated lines mixed)
- You’re on well water and the test shows iron staining or sulfur smell alongside hardness — those need different treatment than a softener alone
We do not rank local water-testing companies by zip code or city. A licensed plumber or a state-certified lab handles complex diagnostics; a $10 strip handles the rest.
Next: size calculator and choosing a softener
Now that you have a gpg number, here’s what to do with it:
- Use the softener size calculator — enter your household size, gpg, and daily water use to get a grain capacity recommendation. Treat it as a starting point, not a guarantee.
- Read how to choose a water softener — compares salt-based, salt-free, and dual-tank systems based on your hardness level and household needs.
- Understand how water softeners work — why ion exchange removes calcium and magnesium, and what that means for your water at the faucet.
If you’re seeing hard water stains on glass and want to confirm the cause before shopping for a system, a test strip is still step one — stains tell you hard water is present; the strip tells you how hard.
Related
- Water hardness (gpg, ppm, and the scale explained) — parameter hub for units, ranges, and how hardness is classified
- How to choose a water softener — downstream decision once you have your gpg number
- Softener size calculator — grain capacity starting point
- What is hard water — signs, causes, and what it damages
- How water softeners work — ion exchange and regeneration in plain English
- Hard water stains on glass — the symptom that sends most people to a test kit
Key takeaways
- Test strips ($6–$10) are sufficient for 90% of homeowners sizing a softener.
- Drop-count titration (Hach) is for borderline cases near 1 gpg or professional use.
- Digital TDS meters measure total dissolved solids — NOT hardness. Use them only to verify softener output.
- Always sample cold, untreated water. Hot water and filtered water give false readings.
- Convert ppm to gpg by dividing by 17.1 (1 gpg = 17.1 ppm).
- Don’t guess from stains — two homes with identical scale can differ by 8 gpg.
- Your gpg number feeds directly into softener sizing — test before you shop.