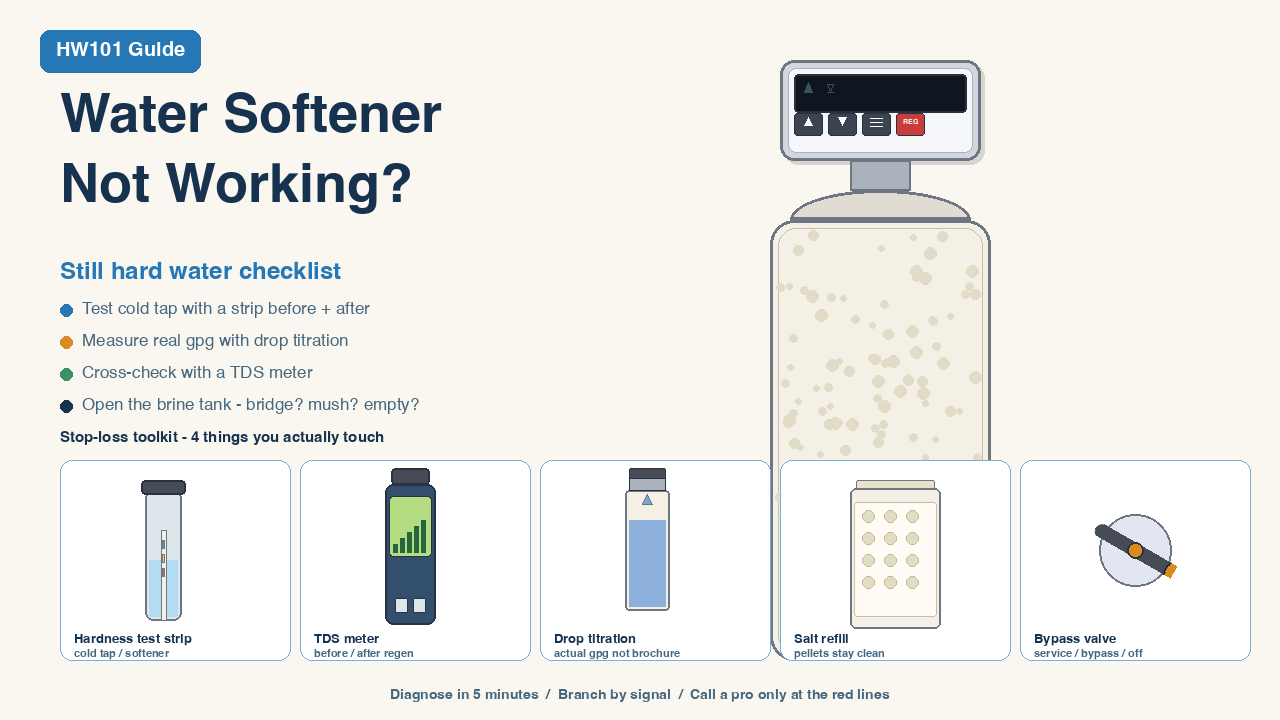
If every glass spots again two days after cleaning and the softener “looks fine,” you don’t need a replacement slogan — you need a diagnostic path that separates still hard water from the unit never regenerating and salt that never drops. Most “dead” softeners have a fixable failure mode — bypass position, empty salt, a wrong hardness setting — not a dead unit that needs replacing. The diagnostic path below takes about 10 minutes and uses a test strip and your eyes.
Quick answer
A water softener that’s “not working” falls into one of four symptom groups: no soft water at all (bypass, power, timer), intermittent hard water (salt level, salt bridge, wrong gpg setting), low water pressure (fouled resin, clogged distributor), or mechanical issues (overflow, constant running, stuck float). Start with a hardness strip at a cold tap, then check the bypass valve and salt level before anything else.
Why your water softener isn’t working
Walk the branch that matches what you see. Each narrows the 7 failure modes below into a starting point.
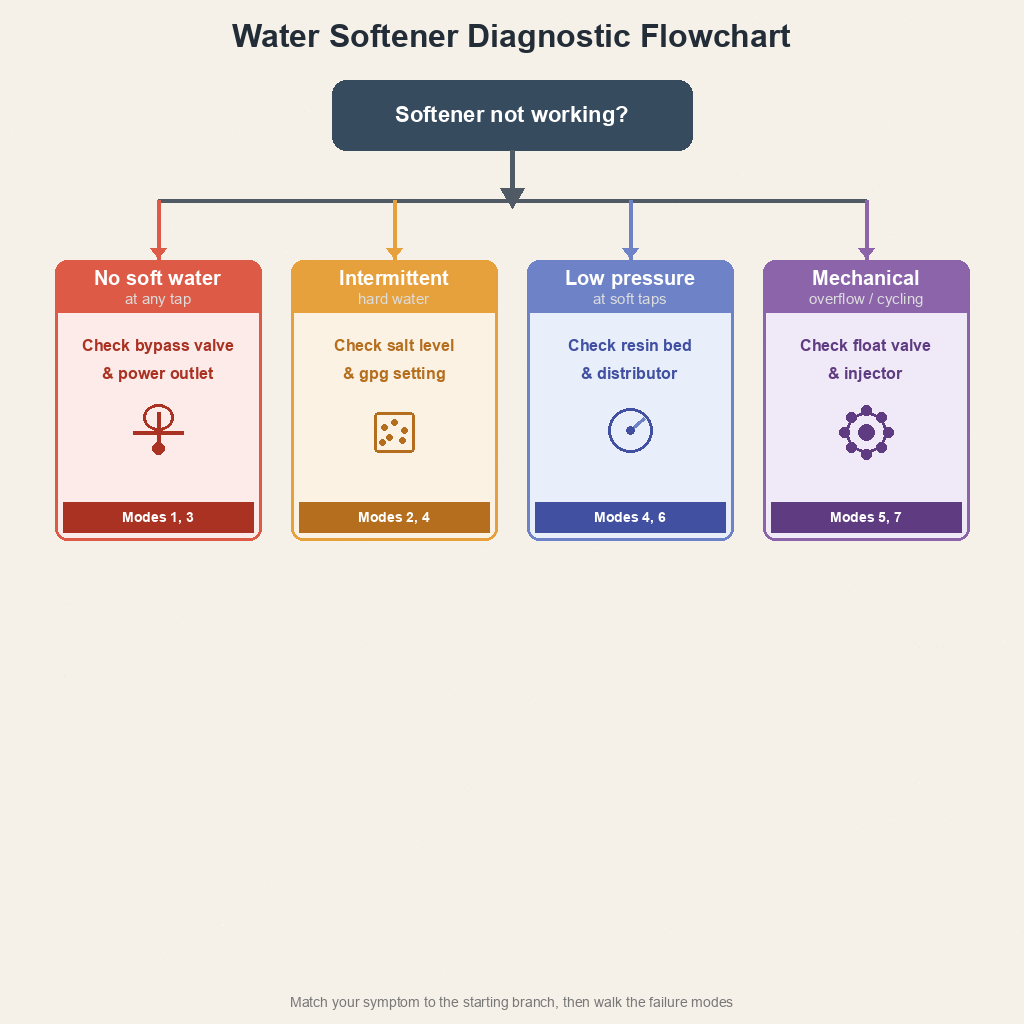
Branch 1 — No soft water at all
Hard at every tap. Display blank or no motor noise for weeks. Plug a lamp into the same outlet — dead outlet means GFCI or breaker. Live outlet but dark display means the control head failed. Display lit but no cycle runs? Timer or meter board is suspect. Also check bypass position — in bypass, water routes around the resin entirely.
Don’t assume the unit is dead before confirming the bypass is in service and the outlet has power.
Branch 2 — Intermittent hard water
Soft for a day after regen, then hard again within 48 hours. Salt pile seems to last forever. Empty tank means refill. Salt present but pile is intact with a hard crust? That’s a salt bridge — push a broom handle straight down; if you feel a hard cap, break it gently. If brine draws normally but hardness returns fast, your programmed gpg may be lower than actual — re-test with a drop titration kit and re-program.
For deeper bridge diagnostics, see salt bridge and mushing.
Branch 3 — Low water pressure after softener
Flow noticeably lower at all softened taps but fine at untreated taps (garden hose, utility sink). Test at an untreated tap first — if pre-softener pressure is normal but post-softener is low, the resin bed is fouled or the distributor tube is blocked. A slight drop is normal (resin adds resistance). A significant drop means the bed needs professional backwashing or the distributor screen is broken.
Skip this branch if only one fixture has low pressure — that’s a faucet aerator or supply line issue, not a softener problem. A whole-house pressure drop where untreated taps still flow normally points back to the resin tank.
Branch 4 — Mechanical issues
Tank overflowing, unit regenerating nonstop, or brine tank emptying too fast. These are mechanical: stuck float valve, timer switch jammed, or clogged injector preventing proper brine draw. Lift the float up and down — if it moves freely, look elsewhere. Check the drain line for kinks. For overflow and standing-water problems, see brine tank problems.
Diagnostic Flowchart
The 4-branch overview above tells you WHERE to look. This flowchart tells you the exact order to test in. Walk the steps in sequence — each one rules out a specific failure mode before you waste time on the wrong fix. Total time for the full walk: 10 minutes using a strip and a broom handle. The flowchart is built so that Step N+1 only runs if Step N didn’t solve it.
Step 1 — Test cold tap with strip (30 seconds)
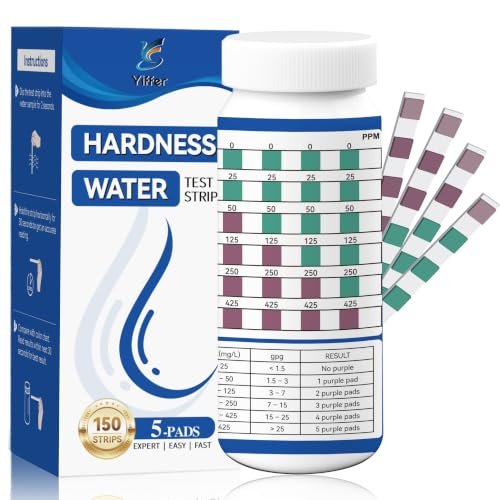
Dip a hardness strip in cold tap water for 2 seconds, wait 15 seconds, compare to the color chart. 0 gpg = unit is softening fine and your “hard water” perception is probably residual spotting from a regen gap or new pipes. 3+ gpg = the softener isn’t delivering softened water to the tap. Proceed to Step 2. Test at an untreated tap at the same time so you can compare post-softener vs incoming hardness.
Step 2 — Check salt level and bridge (2 minutes)
Lift the brine tank lid. Salt at least one-third full? If empty or near-empty, refill with salt pellets and skip to Step 5 — the unit may simply be starving. Salt present but the pile is intact with a hard crust? That’s a salt bridge — push a broom handle straight down; if you hit a hard layer that gives way, break it gently and skip to Step 5. For the full bridge-vs-mush diagnostic, see salt bridge and mushing.
Step 3 — Check bypass valve (1 minute)
Locate the bypass valve — usually two levers or a single T-handle on top of the control head. Three positions: service (water through resin), bypass (water around resin), partial (mix). Flip to service if it’s in bypass. Test cold tap again. Still hard = the valve is stuck or its internal seals have failed. Got soft water = the bypass was the problem. For a seized handle that won’t move freely, see Fix #1 in Common Fixes below.
Step 4 — Check power and clock (2 minutes)
Plug a lamp into the same outlet the softener uses. Dead outlet = tripped GFCI or breaker — reset, then test the softener. Live outlet but dark display = control head failure, replace rather than repair. Display lit but clock reads 12:00 AM after a recent outage = the timer reset, which delays the next automatic regen by up to 7 days. Reset the clock to current time and run a manual regen tonight.
Step 5 — Run a manual regen (3 minutes)
Press and hold the manual regen button (usually 3-5 seconds, sometimes a hidden toggle). Listen for the motor to start, then for the brine water to flow into the resin tank. The cycle runs: backwash, brine draw, slow rinse, fast rinse, brine refill. Brine didn’t draw → Step 6. Brine drew normally → test the cold tap again post-regen. Still hard after a successful regen → Step 7.
Step 6 — Clean injector and brine line (5 minutes)
A clogged injector prevents brine from being pulled into the resin tank even when salt and water are present. Shut off the softener, relieve pressure by opening a softened tap, remove the injector cap (small thumb screw on the control head), pull the injector screen out, rinse under warm water, soak in resin cleaner for 30 minutes, reinstall, run another manual regen. Don’t lose the small O-ring under the injector cap — it’s not in most rebuild kits.
Step 7 — Treat resin (overnight + manual regen)
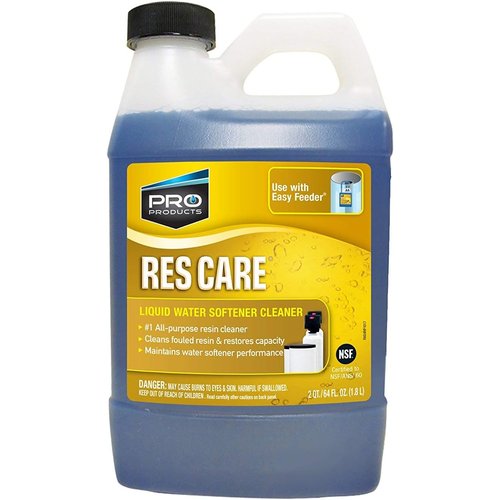
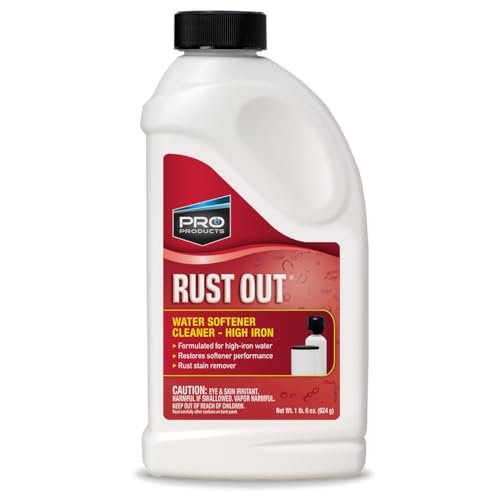
If Steps 1-6 all pass but post-regen water is still hard, the resin itself is suspect — either iron-fouled or at end of life. Pour Rust Out (for iron-fouled resin) or ResCare (general mineral buildup) into the brine well, let sit overnight without running water, regenerate manually the next morning, run a cold tap for 5 minutes to flush. Still hard after cleaner treatment = the resin bed has reached end of life. See resin replacement.
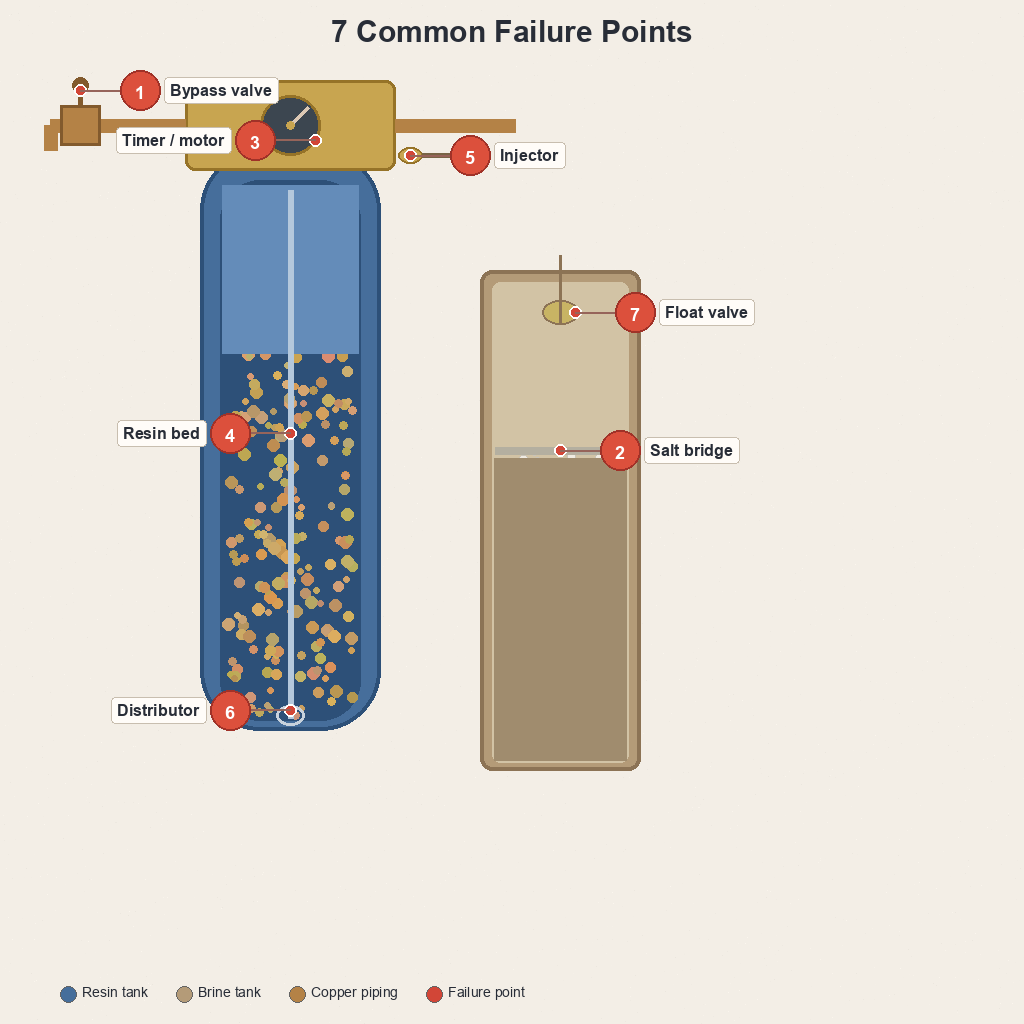
7 common failure modes
When the decision tree points to a specific failure, here’s the detailed diagnostic.
1. Bypass valve stuck in bypass
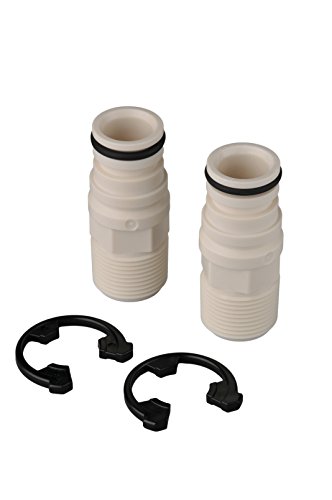
Hard at every tap, salt never drops between regens. The bypass valve routes water around the resin tank — if stuck half-open, you get a hard/soft blend. Flip the lever to service and back; if it won’t move freely, the valve is seized. If it moves but hardness doesn’t change, internal seals are leaking. Close fully, return to service. If seals are bad, a bypass valve rebuild kit replaces O-rings and adapters without a full unit swap.
2. Salt bridge blocking brine draw
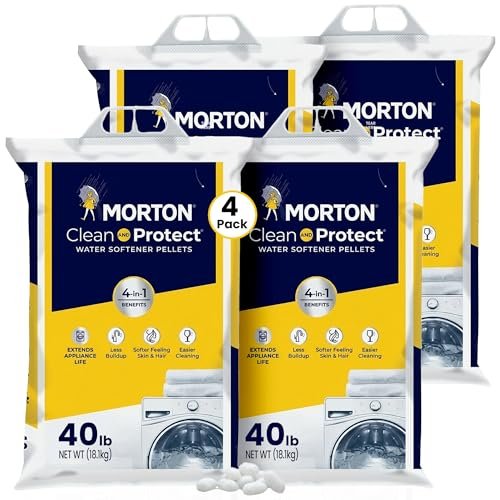
Salt looks full but the pile is intact with a hard crust. Brine never forms, so resin never recharges. Push a broom handle straight down — if you hit a hard layer that gives way, that’s a bridge. Break it gently from the top. If salt has turned to mush at the bottom, drain the tank, clean it, and refill with fresh salt pellets. A 4-pack of 40 lb bags covers roughly six months for a family.
3. Timer or motor failure
Display lit but no motor noise at regen time. Or blank display after an outage. Power outages reset the clock to 12:00 AM, delaying regen up to 7 days. A failed motor won’t turn the valve. Listen for a valve click at the scheduled hour — silence means the motor isn’t firing. Run a manual regen; if the cycle starts, the timer schedule is wrong, not the motor. If the motor won’t fire on manual, that’s pro service.
4. Resin bed fouled by iron or sediment
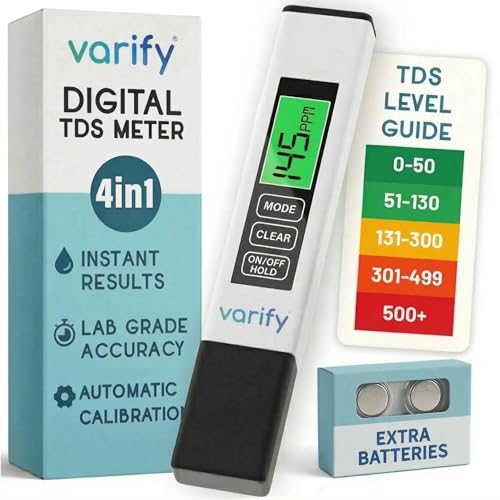
Manual regen completes, brine draws, but water stays hard. Iron buildup coats resin beads, preventing ion exchange — common on well water with 2+ ppm iron. Use a TDS meter before and after the unit. A working softener shifts TDS significantly; a flat reading means resin isn’t exchanging. For iron fouling, run Rust Out through a regen cycle. For general buildup, use resin cleaner before the next regen. If resin is 10+ years old and TDS stays flat, the bed needs replacement.
5. Clogged injector or brine line
Manual regen starts but brine level never drops. Sediment or salt dust clogs the small injector nozzle. Disconnect the brine line at the tank and check for flow during a manual regen — no suction means the injector is blocked. Remove and clean the nozzle (see your control head manual for location). Flush the brine line with warm water. Replace if cracked — it’s a $10-15 part.
6. Broken distributor screen
Resin beads appearing in faucet aerators or toilet tanks. Sudden pressure drop across all softened taps. The distributor screen at the bottom of the resin tank cracks, letting beads escape into plumbing. Check faucet aerators for small amber beads. This requires professional service — the tank must be opened, old resin removed, screen replaced, and new resin loaded. Don’t run water through the unit until repaired.
7. Salt tank float valve stuck
Brine tank overflows or never fills. Constant regen cycles or no regen at all. The float controls water level — stuck open means overflow, stuck closed means no refill. Lift the float up and down; if it’s gritty or doesn’t spring back, it’s seized. Clean with warm water to dissolve crust. If mechanically seized, replace the float assembly (under $20). For persistent overflow, see water softener brine tank.
Common Fixes
Step-by-step repair procedures for the 7 failure modes above. Each fix lists tools, time, cost, and the most common mistakes. Use these after the diagnostic flowchart points to a specific mode number. Most fixes are 10-15 minutes with no plumbing experience required.
Fix #1 — Bypass valve rebuild (10 minutes, $25)
The bypass valve rebuild kit ($24.99) includes replacement O-rings, spacers, and the lever adapter for the most common softener brands. Tools: adjustable wrench, flathead screwdriver. Procedure: shut off the inlet and outlet valves, relieve pressure by opening a softened tap, unscrew the two bypass nuts, swap the O-rings, reassemble, return the valve to service, test the cold tap. Mistake to avoid: don’t reuse the old O-rings — they crack during removal and won’t reseal. Always order the kit before disassembly so you have replacements on hand.
Fix #2 — Salt bridge removal (3 minutes, $0)
No tools needed beyond a broom handle or any long stick. Procedure: push the broom handle straight down into the salt pile. When you feel a hard layer (typically 4-8 inches below the surface), apply gentle downward pressure until the layer cracks. Don’t hammer — the brine well at the bottom is plastic and will crack under sharp force. Once the bridge breaks, the salt collapses into the water below. Run a manual regen within 24 hours. If the salt has turned to mush (brown sludge at the bottom of the tank), drain the tank, scrub the walls, and refill with fresh pellets. For the bridge-vs-mush distinction, see salt bridge and mushing.
Fix #3 — Resin cleaner treatment (overnight, $17-23)
For resin that softens weakly after regen, treat with cleaner before assuming replacement. Two cleaners serve different water profiles: ResCare RK64N ($22.99) for general mineral buildup; Rust Out ($16.63) for iron-fouled resin (water with reddish staining, metallic taste, or a well water source). Procedure: pour 4 oz into the brine well, let sit overnight without running water through the softener, regenerate manually the next morning, run a cold tap for 5 minutes to flush the cleaner out of the lines. Repeat quarterly if iron content is high. For the full cleaner comparison and dosing schedule, see water softener cleaner.
Fix #4 — Injector cleaning (15 minutes, $0)
The injector is a small nozzle inside the control head that creates suction to pull brine into the resin tank. It clogs with salt residue, iron sediment, and hard water scale. Procedure: shut off the softener, relieve pressure by opening a softened tap, remove the injector cap (small thumb screw on the control head), pull the injector screen and nozzle out, rinse under warm water, soak in resin cleaner for 30 minutes to dissolve mineral buildup, reinstall with the O-ring seated, run a manual regen. Mistake to avoid: the small O-ring under the injector cap is not included in most rebuild kits — pull it out carefully and set it aside before cleaning.
Fix #5 — Hardness re-programming (5 minutes, $0)
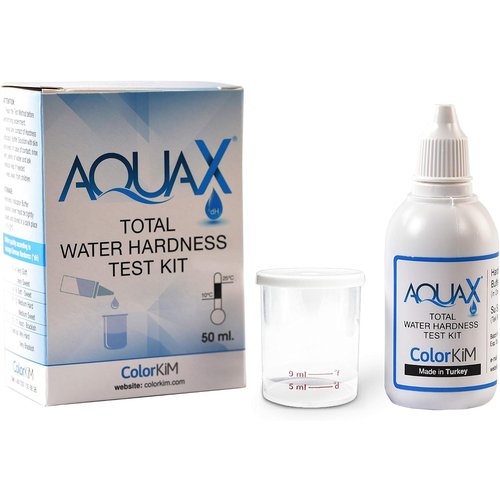
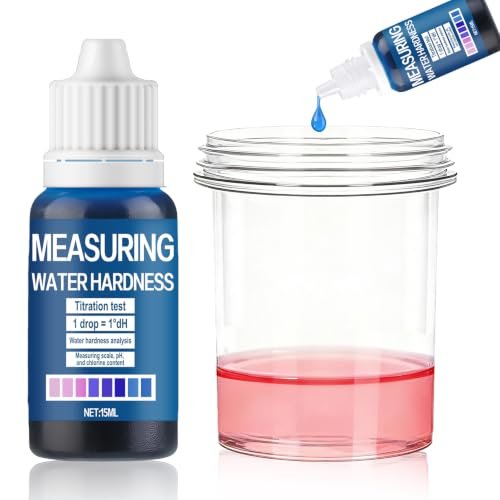
When the programmed gpg is lower than your actual incoming hardness, the unit runs regen but doesn’t fully recharge the resin, so it goes hard again within days. Procedure: drop-test your actual hardness with a titration kit ($34.99). Walk to the control head, enter programming mode (varies by brand — usually holding two buttons), find the hardness setting, increase to your measured number, save, exit. Round up by 1-2 gpg to ensure full recharge between cycles. For setting selection by water profile (city vs well, with-iron vs no-iron), see water softener hardness setting.
Fix #6 — Float valve service (10 minutes, $8)
A brine tank float valve stuck open causes overflow; stuck closed means no refill, which leads to dry salt and bridge formation. Procedure: lift the float and shake it — if it’s gritty or doesn’t spring back, it’s seized with salt crust. Clean with warm water and a small brush to dissolve the crust. If mechanically broken (cracked float arm or split valve seat), replacement float assemblies run $5-15 and clip into the same bracket — no tools needed for most brands. Test by lifting and lowering 5-6 times — the float should move freely without sticking at any point. For overflow-specific diagnosis and brine tank cleanup, see water softener brine tank.
Fix #7 — Distributor screen replacement (call a pro, $200-400)
Resin beads appearing in faucet aerators or shower heads means the distributor screen at the bottom of the resin tank has cracked or shifted. Do not keep using the softener — beads in the plumbing can clog valves and aerators throughout the house. This is a tank-internal repair that requires pulling the resin, replacing the distributor screen, and rebedding the tank. Most homeowners should call a softener tech for this; DIY is possible but the resin must be kept damp during the repair. After repair, run a manual regen and flush all taps for 10 minutes. For the full procedure, see resin replacement.
Symptom, cause, and fix table
Quick reference. Match what you see to the mode number above.
| Symptom | Likely cause | Quick fix | Mode |
|---|---|---|---|
| Hard at every tap, salt never drops | Bypass open or stuck | Close to service; rebuild if seized | 1 |
| Blank display, no regen noise | Power outage or breaker | Reset GFCI, re-set clock, manual regen | 3 |
| Salt full but pile is solid | Salt bridge | Break bridge with broom handle | 2 |
| Soft for a day then hard | Programmed gpg too low | Drop-test gpg, re-program | 3, 4 |
| Regen runs but brine never drops | Clogged injector | Clean injector, flush brine line | 5 |
| Resin beads in faucet aerators | Broken distributor screen | Pro service — stop using unit | 6 |
| Brine tank overflows | Float valve stuck | Clean or replace float assembly | 7 |
| Low pressure at softened taps | Fouled resin bed | Pro backwash or resin replacement | 4, 6 |
How to test if your softener is working
Three methods, quickest to most precise.
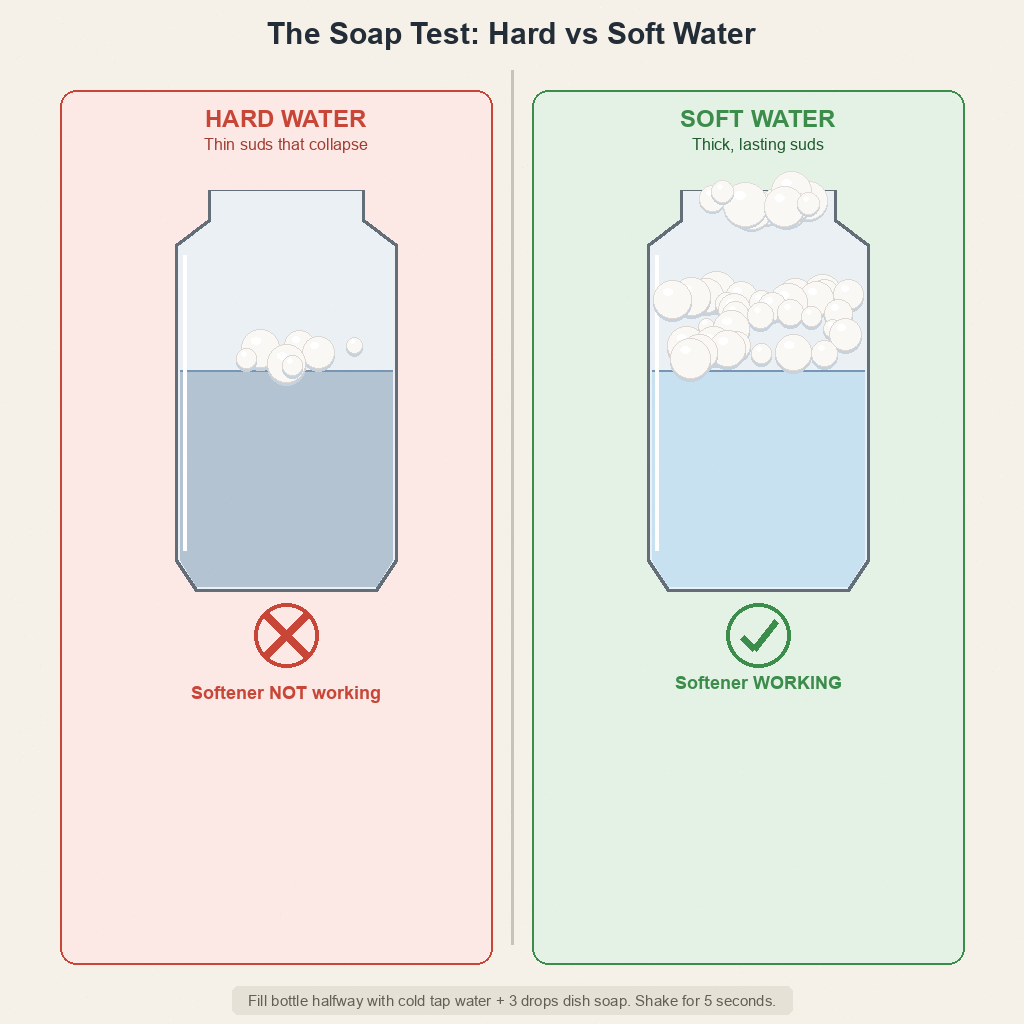
Soap test
Fill a clear bottle halfway with cold tap water. Add three drops of dish soap. Shake. Soft water produces thick, lasting suds. Hard water produces thin suds that collapse and leave a scum ring. Pass/fail check — but it catches a dead unit in 30 seconds.
Hardness test strips
Dip a strip in cold tap water for 2 seconds, wait 15 seconds, compare to the color chart. 0 gpg means soft water is reaching the tap. Three grains or higher means the softener isn’t delivering. Test at an untreated tap at the same time to compare.
Drop titration and TDS
For exact gpg, a drop titration kit gives a precise number — count drops until the color changes. A TDS meter reads total dissolved solids before and after the unit; a significant drop confirms ion exchange. A flat TDS after regen means the resin is fouled or exhausted.
For background on gpg, ppm, and mg/L, see water hardness explained.
Maintenance schedule
Most “not working” calls are preventable with routine checks.
Monthly — Check salt level (keep tank at least one-third full). Look for standing water above the salt grid. Verify the display clock shows correct time.
Quarterly — Break up salt crust before it becomes a full bridge. Inspect the drain line for kinks. Run a hardness strip at a cold tap to confirm soft water.
Annually — Clean the brine tank (empty residual salt, wash, refill). Run a resin cleaner before a scheduled regen. For iron-heavy water, use Rust Out quarterly. Drop-test hardness and compare to the programmed setting.
Every 10-15 years — Resin replacement. If TDS drops are consistently low after regen and cleaner treatment, the bed is exhausted.
Don’t treat a softener as set-and-forget. Salt refills and annual cleaning prevent most failure modes above.
For how the full cycle works, see how water softeners work.
Common mistakes
- Buying a new softener on day one. Empty salt, a bridge, an open bypass, or a wrong gpg setting cause most “dead” units. Walk the diagnostic branches first.
- Skipping the hardness number. A strip tells you hard or soft. A drop test gives exact gpg. Without the measured number, you’re guessing at the setting that controls everything.
- Adding cleaner to a unit that won’t regenerate. Cleaner without a working regen can’t circulate through the resin. Confirm a full manual regen first, then dose.
- Replacing a whole softener when only the bypass failed. A seized handle needs a rebuild kit, not a $1,200 unit.
- Ignoring the post-outage clock reset. A power outage resets the timer to 12:00 AM, delaying the next regen by a week. Reset the clock and run a manual regen.
When to call a professional
Call a plumber or softener tech if you hit any of these:
- Mains water shutoff required to diagnose — that’s pressure-side work.
- Pressurized leak at a fitting or valve you can’t isolate with the bypass.
- Burnt electrical smell from the control head.
- Failed manual regen after basic checks — motor won’t fire or brine won’t draw.
- Valve or motor rebuild needed — internal head parts requiring a service kit.
- Resin in the plumbing — broken distributor screen means the tank needs rebedding.
For cycles that never start, see water softener not regenerating. For salt that never drops, see water softener not using salt. For refill form choice, see salt pellets vs crystals.
Key takeaways
- Test before diagnosing — strips first, drop titration for exact gpg, TDS meter for resin health.
- Branch by signal: no soft water (bypass/power/timer), intermittent hard (salt/bridge/settings), low pressure (resin/distributor), mechanical (float/injector/seals).
- Don’t replace the unit on day one — most “dead” softeners have a fixable failure mode.
- Settings matter — drop-test actual gpg and program the measured number.
- Maintenance prevents recurrence — monthly salt checks, quarterly bridge checks, annual resin treatment.
- Resin lasts 10-15 years — if TDS stays flat after regen and cleaner, it’s time for a rebed.