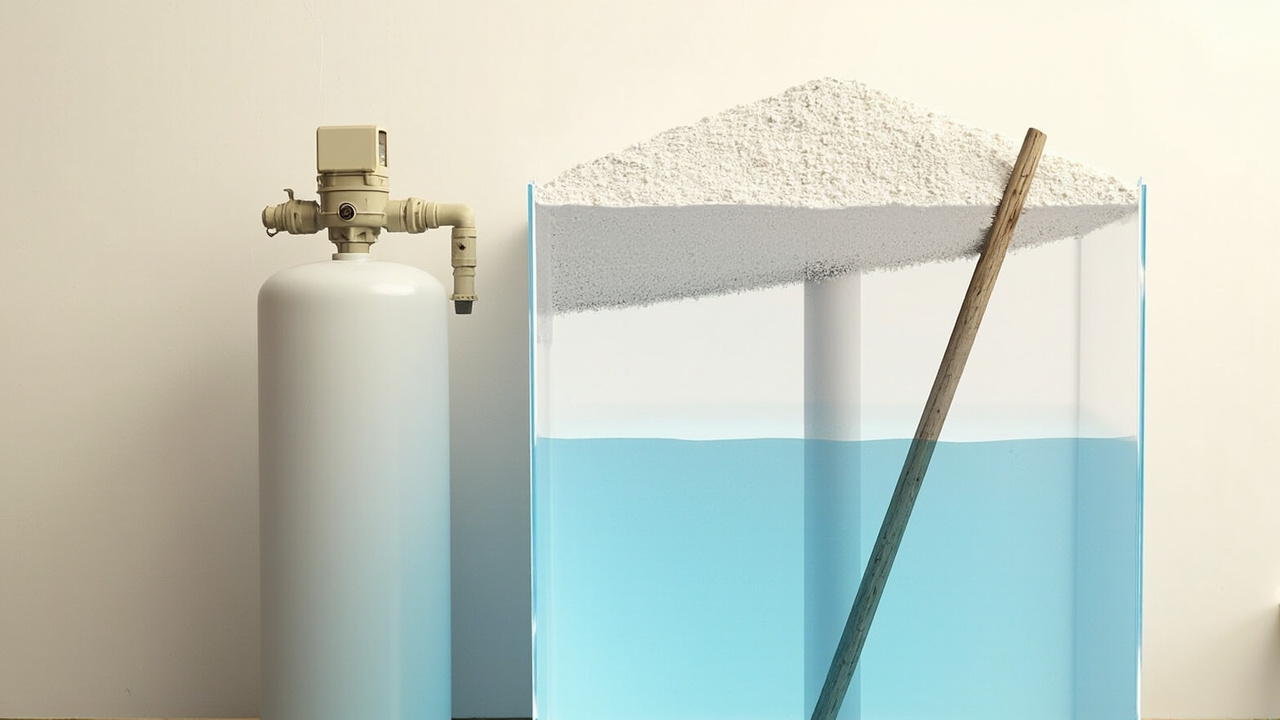
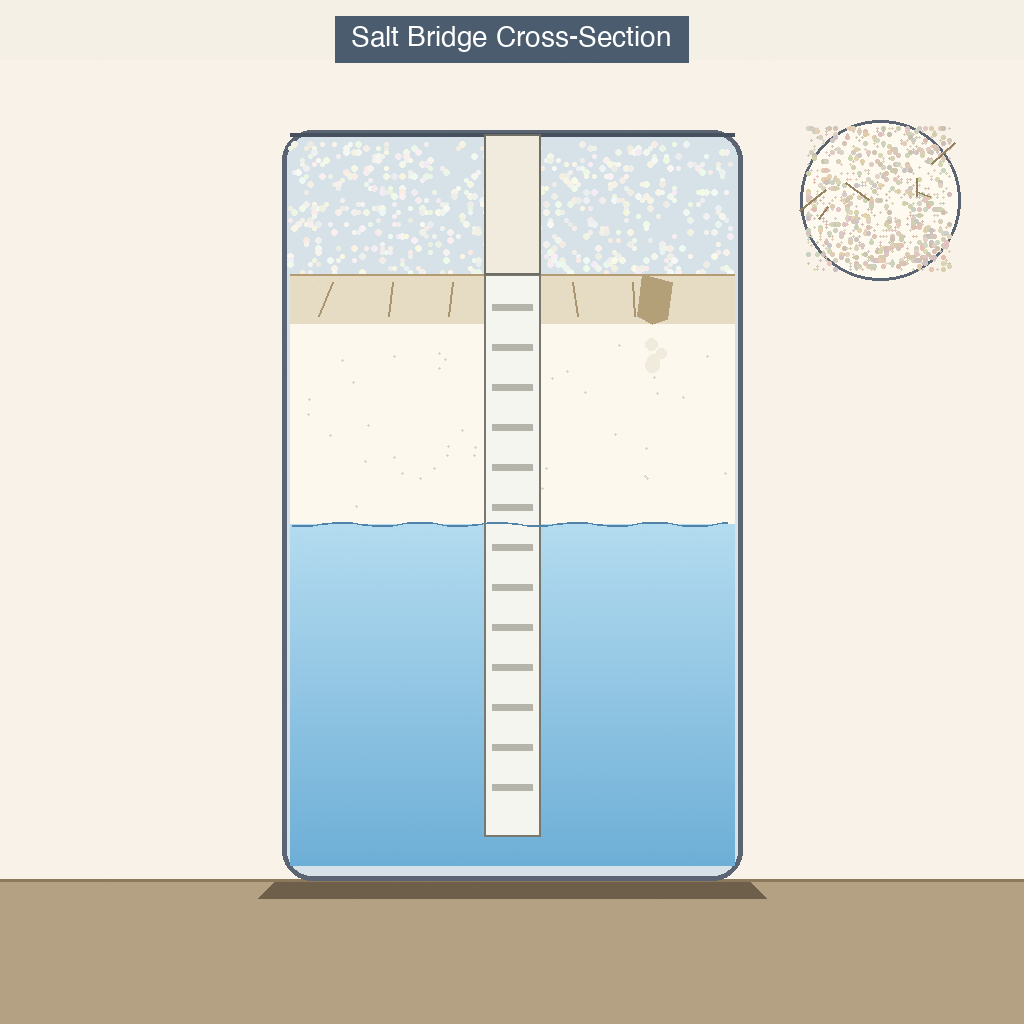
If the salt level in your brine tank hasn’t dropped in over a month even though the softener keeps regenerating, you probably have a salt bridge. A bridge is a hard crust that forms 2-6 inches below the salt surface, with an empty void beneath it. The softener draws up “brine” that turns out to be plain water, so the resin never recharges, and you get hard water throughout the house without obvious cause. The fix is mechanical and takes about 15 minutes. The prevention is salt-type choice and fill-level discipline.
This guide covers salt-based ion-exchange softeners (Fleck, Culligan, Whirlpool, GE, Kinetico, Rheem, North Star). Salt-free conditioners and RO systems don’t use salt. Salt-free “softeners” are usually conditioners: they change how scale sticks, but they typically do not bring hardness grains to zero on a test strip — match the claim to your goal before you buy. If you’re unsure which system you have, the softener vs filter vs RO page sorts it out.
Quick answer
Push a broom handle into the salt. If it stops 2-6 inches below the surface with a hard “thunk,” you have a salt bridge. Apply gentle downward pressure in 4-5 spots around the inside edge. The crust cracks in sections and falls into the void. Never use sharp metal. Then run a manual regen cycle and test the tap water with a hardness test kit to confirm the softener is back to soft water.
Do this first
Confirm the symptom
Before opening the tank, confirm the softener is actually failing. Run the cold tap for two minutes, fill a glass, add a few drops of dish soap, and swirl. If it barely lathers and leaves a cloudy film, the water is hard and the softener isn’t doing its job. If it lathers fine, the problem is elsewhere (low salt, wrong settings, bypass left open).
Bypass the softener
Close the inlet and outlet valves (or turn the bypass lever if your model has one) before you start probing. Some softeners run regen cycles on a timer. A regen cycle mid-probe means water flowing where your hands are. Bypass mode stops that.
What a salt bridge looks like
Visual identification
A bridge sits 2-6 inches below the top of the brine tank. The salt surface looks normal — same color, same texture. Press down with a broom handle and you’ll hit a hard crust with empty space below it. Three visual cues give it away even before you probe:
- The salt level hasn’t dropped in 4-6 weeks despite daily softener use.
- The water level in the brine tank sits higher than expected — often an inch or two above the salt surface instead of below it.
- You can hear the softener running regen cycles (motor, water flow) but the house water still tests hard.
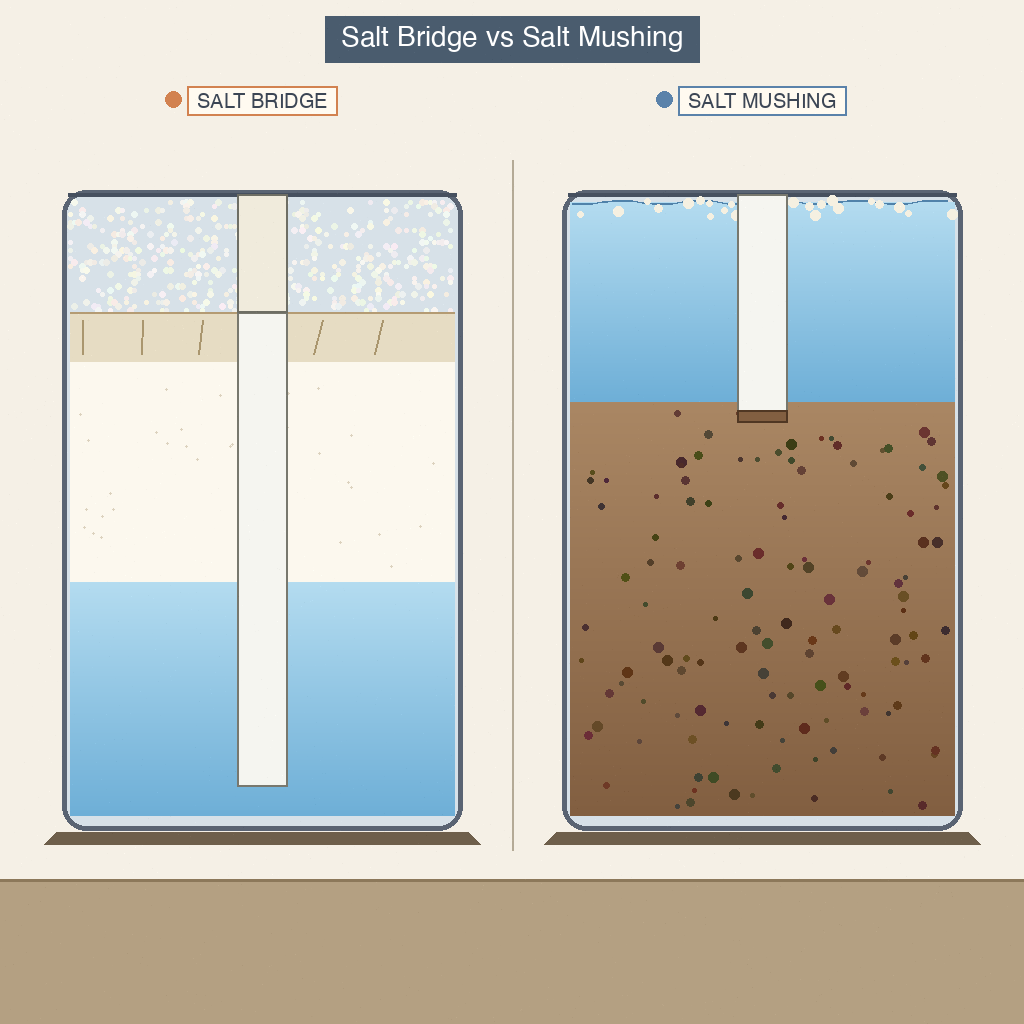
If you see all three, a bridge is the most likely cause. If the salt level has dropped normally but regen still fails, the issue is more likely mushing, not bridging — a sludge buildup at the bottom of the tank that needs different treatment.
What causes a salt bridge
Three primary triggers
Bridges form when salt crystals fuse into a solid layer instead of dissolving freely. The most common triggers:
- High humidity + fine-grain salt. Solar crystals and rock salt have smaller, irregular pieces that pack tighter than pellets. In humid basements or garages, moisture seeps into the top layer and re-crystallizes the salt into a crust.
- Temperature swings. Unheated utility rooms go from cool nights to warm days. Salt expands and contracts slightly with temperature, and over weeks the top layer compacts into a shell.
- Overfilling above the brine well. When salt is heaped higher than the manufacturer’s fill line, the weight of the upper layers presses the lower layers into a hardened mass.
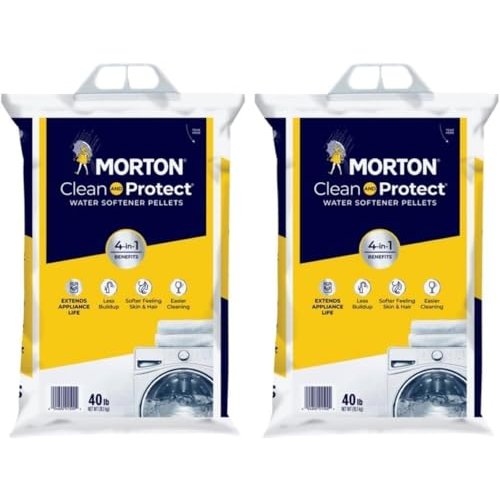
Pellets form bridges less often because their uniform shape and density don’t pack as tightly. If you’ve had two bridges in the same tank in a year, switching from crystals or rock salt to pellets like Morton Clean and Protect is the most effective prevention step.
How to break a salt bridge
Step-by-step procedure
A bridge takes 10-15 minutes to break and doesn’t require special tools. The method:
- Bypass the softener. Close the inlet and outlet valves (or turn the bypass lever) so regen water doesn’t cycle during the procedure.
- Probe gently. Push a broom handle, wooden dowel, or plastic mallet handle into the salt at the center of the tank. If it stops 2-6 inches down with a hard “thunk,” you have a bridge. If it sinks to the bottom easily, you don’t — the problem is something else.
- Crack the bridge in 4-5 spots. Move the dowel toward the inside edge of the tank and press down firmly but gently at 4-5 evenly spaced points around the perimeter. The crust should crack in sections and fall into the void below. You’ll feel it give way.
- Never use sharp metal tools. Screwdrivers, crowbars, and ice picks can puncture the tank wall or the brine well. A tank replacement runs $200-400 plus labor, so the risk isn’t worth the speed.
- Restore flow and trigger a manual regen. Open the bypass valves and run a manual regeneration cycle (most softeners have a “regen now” button or hold a button for 3-5 seconds). The dissolved bridge and the loose salt should recharge the resin normally.
After regen completes, test the house water with a hardness test kit to confirm the softener is back to producing soft water.
Salt bridge vs salt mushing
Disambiguation table
Bridges and mushing look different but get confused because both leave you with hard water. Here’s how to tell them apart:
| Symptom | Salt bridge | Salt mushing |
|---|---|---|
| Salt level | Stays the same for weeks | Drops normally |
| Brine tank water level | Sits higher than expected | Normal or low |
| Salt texture at probe | Hard crust 2-6 inches down | Loose on top, sludge below |
| Regeneration noise | Runs but produces hard water | Runs but produces hard water |
| Cause | Humidity + fine-grain salt compacting | Low-quality salt with impurities absorbing water |
Mushing needs the tank drained and refilled with fresh pellets. Bridges only need the crust cracked. If your salt level has dropped but regen still fails, jump to the salt mushing guide for the sludge-specific fix.
Prevention: how to keep bridges from coming back
Five prevention moves
Once the bridge is cleared, lock in these habits so the next one doesn’t form:
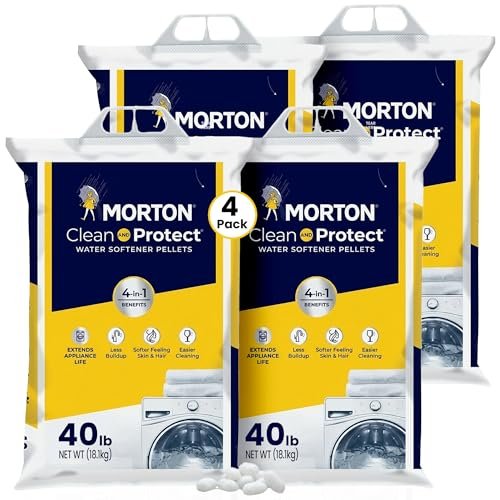
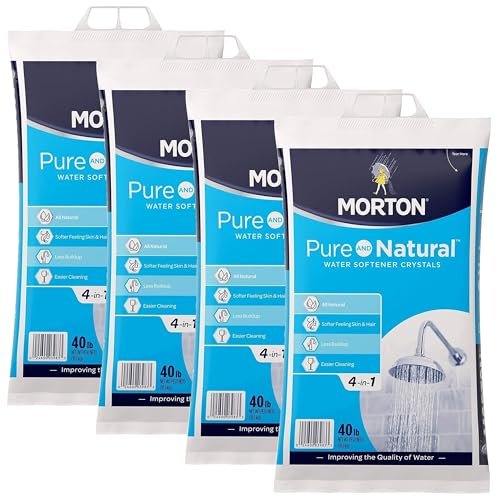
- Switch to pellets. Pellets (round, uniform) resist caking better than crystals or rock salt. Morton Clean and Protect pellets and All Natural Solar Salt both work, but pellets are the safer pick if you’ve had multiple bridges. For a 6-month supply, the Morton 40 lb 4-pack is the bulk value option. If you prefer solar crystals over pellets, Morton Pure and Natural Solar Crystals is the cleaner crystal option (lower impurity than rock salt).
- Fill to the manufacturer’s line, not above it. Most brine tanks have a marked fill level on the inside wall. Heaping salt higher compresses the lower layers and creates the conditions for bridging.
- Keep humidity down. If the softener sits in a damp basement, run a small dehumidifier nearby or improve ventilation. Salt absorbs moisture from the air, and that moisture is what fuses crystals into a crust.
- Break up clumps at refill. When adding new salt, pour it loosely and use the bag or your hand to break up any clumps before they settle. Don’t pack it down. See how to add salt to a water softener for the full procedure.
- Check the tank every 2-3 months. Push the broom handle down once a quarter — five seconds of probing catches a forming bridge before it fully sets. In humid climates, probe monthly. The full salt type comparison explains why pellets resist bridges better than crystals or rock salt.
Salt type comparison
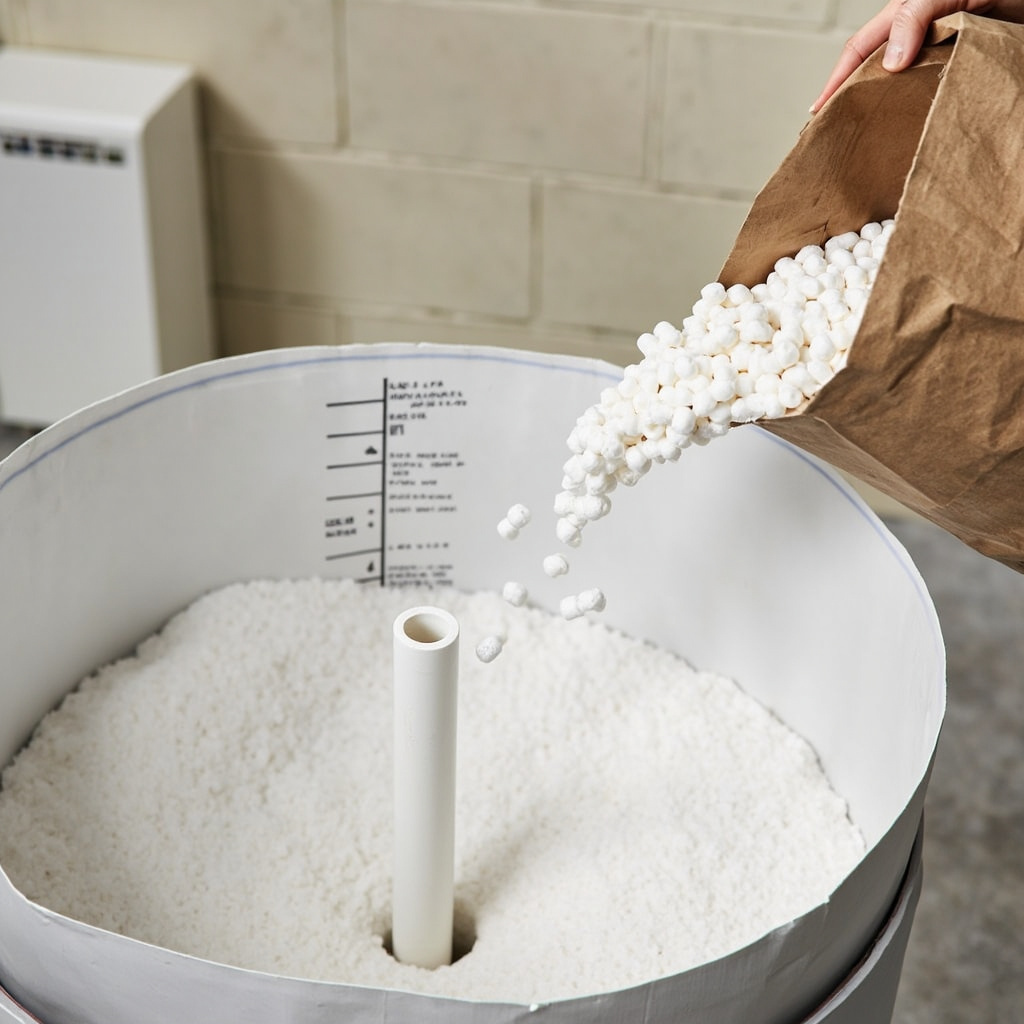
The three salt forms — pellets, crystals, and rock salt — behave differently inside a brine tank. Choosing the right form prevents most recurring bridges before they form.
Pellets (best for bridge prevention)
Compressed salt pellets are the form least likely to bridge. The manufacturing process binds the salt into uniform 1/4-inch cylinders with low dust content. Less dust means less fine-grain salt at the surface where humidity turns it into a hard crust. Most households with chronic bridge problems switch from crystals to pellets and see bridges drop to zero.
Pellets also dissolve predictably at the bottom of the tank, leaving less undissolved residue. The trade-off is cost: pellets run $5-10 more per 40 lb bag than crystals, and the Morton Clean and Protect pellets add roughly 30% over plain pellets for the iron-cleaning additive.
Crystals (acceptable but higher bridge risk)
Solar salt crystals are the middle option. They dissolve cleanly and cost less than pellets, but the smaller grain size packs more tightly at the surface than pellets do. Crystals work fine in low-humidity basements where the tank stays dry between regens. In humid climates — most US Gulf Coast, Southeast, and Midwest basements in summer — crystals bridge more often than pellets. The salt pellets vs crystals guide covers the full decision framework if you are switching forms.
Rock salt (highest bridge and mushing risk)
Rock salt is the cheapest form per pound but the worst for bridge prevention. The chunks are irregular in size and generate the most fine-grain dust when they break down in the tank. That fine-grain salt packs at the surface and sets into a hard crust in 4-6 weeks under humid conditions. Rock salt also mushing-prone because the irregular chunks accumulate sludge at the bottom faster than pellets do. Reserve rock salt for outdoor brine tanks in dry climates or for households that monitor and probe monthly.
Salt type and water hardness interaction
If your feed-water hardness is above 15 gpg, the softener regenerates more often, which means the salt sits in the tank longer between refills. Longer residence time means more humidity exposure per pellet, which means higher bridge risk even with pellets. In high-hardness households, the prevention system includes both pellets AND a dehumidifier or moisture-absorbing product in the brine tank area. If your feed water also carries iron above 0.3 ppm, the iron in water accelerates salt caking — combine pellets with an iron pre-filter or quarterly resin cleaner treatment to keep the brine tank chemistry stable.
Purity grade and bridge risk
Higher-purity grades (99.5% NaCl or above) bridge less than lower grades because impurities like calcium sulfate are hygroscopic — they absorb humidity and accelerate crust formation. Most name-brand pellets from Morton, Cargill, and Diamond Crystal meet the 99.5% threshold. Off-brand pellets sold at big-box discount stores sometimes drop below 99% and bridge faster. If your tank forms bridges within 6 weeks of refill on a name brand, switching to a different brand within the same form rarely helps — switching to pellets from crystals almost always does.
Common mistakes
Five pitfalls to avoid
- Using a screwdriver or ice pick to break the bridge. Sharp metal punctures the tank wall or brine well. Tank replacement is $200-400; a broom handle costs $8. Skip metal entirely.
- Assuming “the salt level looks fine” means no bridge. A bridge is invisible from above. The salt surface looks normal. Only probing reveals it.
- Confusing bridge with mushing. They produce the same symptom (hard water) but require different fixes. Drain-and-refill won’t help a bridge and broom-handle probing won’t fix mushing.
- Refilling salt on top of a broken bridge before regen. Run a manual regen first, confirm soft water at the tap, then add new salt. Adding salt before regen means you’re measuring nothing.
- Skipping the probe test because the regen is “running normally.” A softener running a regen cycle doesn’t mean it regenerated successfully. If house water still tests hard, the cycle ran on empty brine.
Salt bridge prevention
The prevention system that keeps bridges from coming back after you break the current one. None of these steps are heavy or expensive; the system works because each step removes a different cause.
Step 1: Fix the humidity
Bridges form when humid basement air enters the tank and condenses on the salt surface. Three humidity tactics:
- Keep the brine tank lid sealed. A loose lid or cracked gasket lets humid air in constantly. Most tanks ship with foam gaskets under the lid — replace if compressed or missing.
- Run a dehumidifier in the utility room. If your basement runs above 60% relative humidity in summer, a small dehumidifier sized for 1,000-1,500 sq ft costs $150-200 and drops tank humidity enough to stop bridge formation. For high-humidity regions (Gulf Coast, Southeast basement installations), this is the single biggest prevention lever.
- Vent the tank outside if installed in a bathroom or kitchen. Some installations put the brine tank in living space where cooking or shower steam accelerates crust formation. A 2-inch overflow vent line routed outside drops tank humidity dramatically.
Step 2: Right-size the salt type
The salt type comparison section above covers the form decision. For prevention specifically:
- Chronic bridge problems (recurring within 4-6 weeks): switch to pellets.
- Iron in feed water above 0.3 ppm: switch to cleaner-augmented pellets.
- High-humidity basement + budget constraints: pellets beat crystals on every cost-per-prevention metric.
Step 3: Fill level discipline
Overfilling the tank above the manufacturer fill line is the most common avoidable cause. Salt piled above the line creates more surface area exposed to humid air, accelerating crust formation. Pour salt loosely to the manufacturer fill line and stop. If the tank runs empty between refills more often than every 8 weeks, the softener is undersized for your household or the feed-water hardness is higher than the original sizing assumed.
Step 4: Quarterly resin cleaning
After 2-3 bridge episodes in a year, the resin bed has accumulated fines and iron fouling that did not get flushed during incomplete regenerations. A resin cleaner treatment every 6-12 months restores capacity and prevents the next bridge from forming on top of an already-stressed tank. If iron in feed water is above 1.0 ppm, treat quarterly; below 0.3 ppm, treat annually or skip entirely.
Step 5: Probe on a fixed schedule
The 30-second probe test catches a forming bridge before it fully sets. Set a phone reminder every 3 months for low-humidity installs, every 6 weeks for humid basements. The probe itself is just pushing a broom handle down through the salt — if it stops at 2-6 inches, you have a forming bridge. Push through 4-5 spots around the perimeter to crack it before regen runs fail.
When to call a pro
Pro vs DIY boundary
Call a water treatment technician if:
- The bridge keeps reforming within 2-3 weeks of breaking it.
- You see salt residue or wet salt around the base of the softener (possible valve or brine line leak).
- The brine tank itself is cracked, bulging, or rusted through.
- Your house water tests hard even after a confirmed regen cycle with new salt and no bridge.
A service call runs $80-150 in most regions. Tank replacement runs $200-400. Most recurring bridges point to a humidity or salt-type issue you can fix yourself. Persistent problems after the salt switch and humidity fix point to a valve or control board issue a pro should diagnose. See water softener not regenerating for the broader triage page that walks through the top five regen-failure causes.
Safety notes
Four rules for safe probing
- Shut off power or set to bypass before probing. Some softeners run regen automatically on a timer. A regen cycle during probing means water flowing where your hands are. Bypass mode stops this.
- Wear gloves. Salt is mildly irritating to cracked skin, and any sharp edge inside the tank can cut bare hands.
- Don’t stand on the tank or lid. Brine tank lids crack under point loads; a foot through the lid means an emergency replacement.
- Keep kids and pets clear. The salt level looks like a snack to a dog. Salt in quantity is toxic to dogs.
What you’ll need
Two tools handle 95% of bridge jobs
- A broom handle or wooden dowel. 36-48 inches long. Wood is gentler on tank walls than metal. Most homes already have a broom.
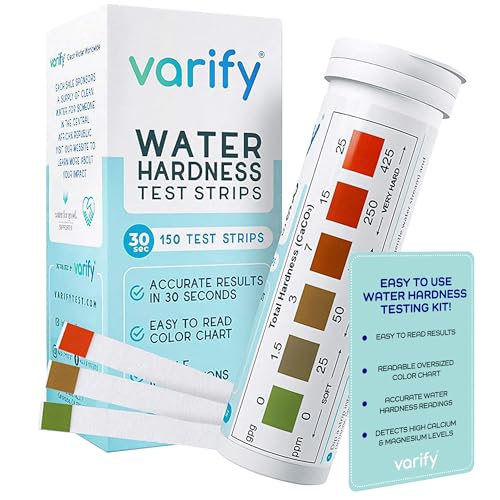
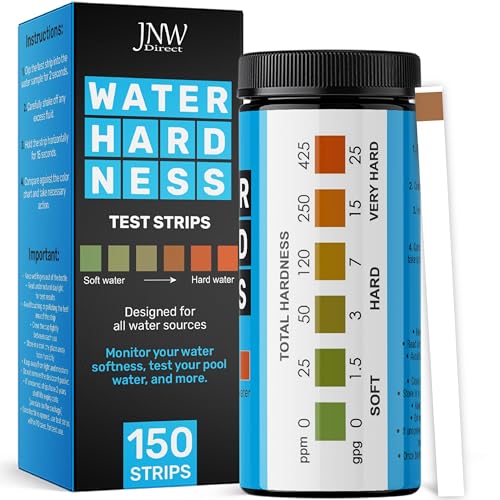
- A hardness test kit. Test strips or drops to confirm soft water at the tap after regen. The Varify 150-strip kit or JNW 150-strip kit both catch a missed bridge before you notice it at the shower.
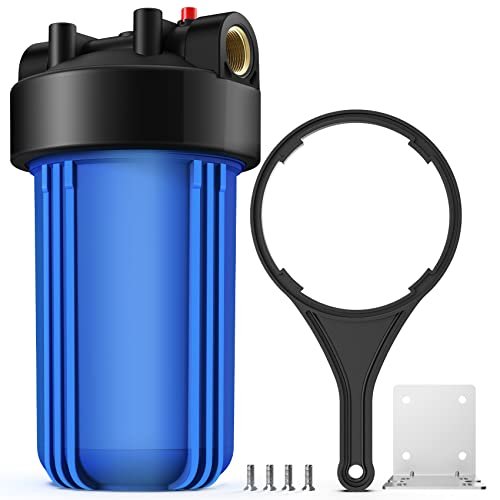
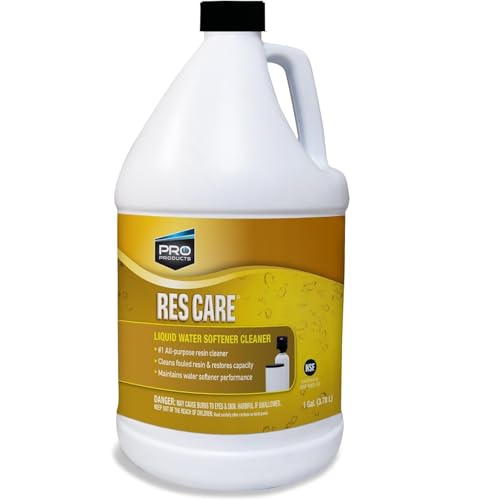
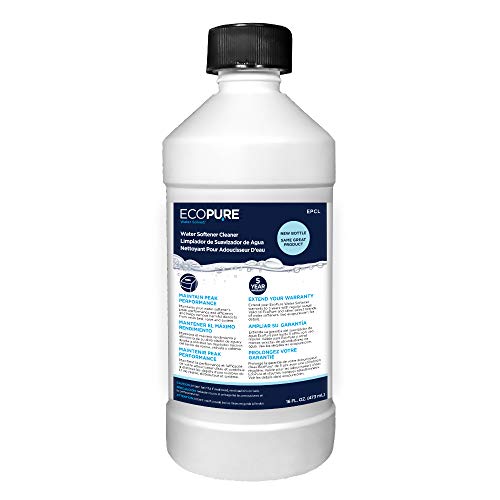
Skip: vacuum extractors, commercial “salt dissolvers,” and tank additives. They don’t break a bridge faster than a broom handle, and additives leave residue in the resin tank. If you’re also dealing with rusty supply lines, a sediment pre-filter upstream of the softener helps prevent iron carry-over that worsens bridging. After a long bridge episode, Res Care cleaner or EcoPure universal cleaner restores resin capacity that months of low-quality regen left behind.
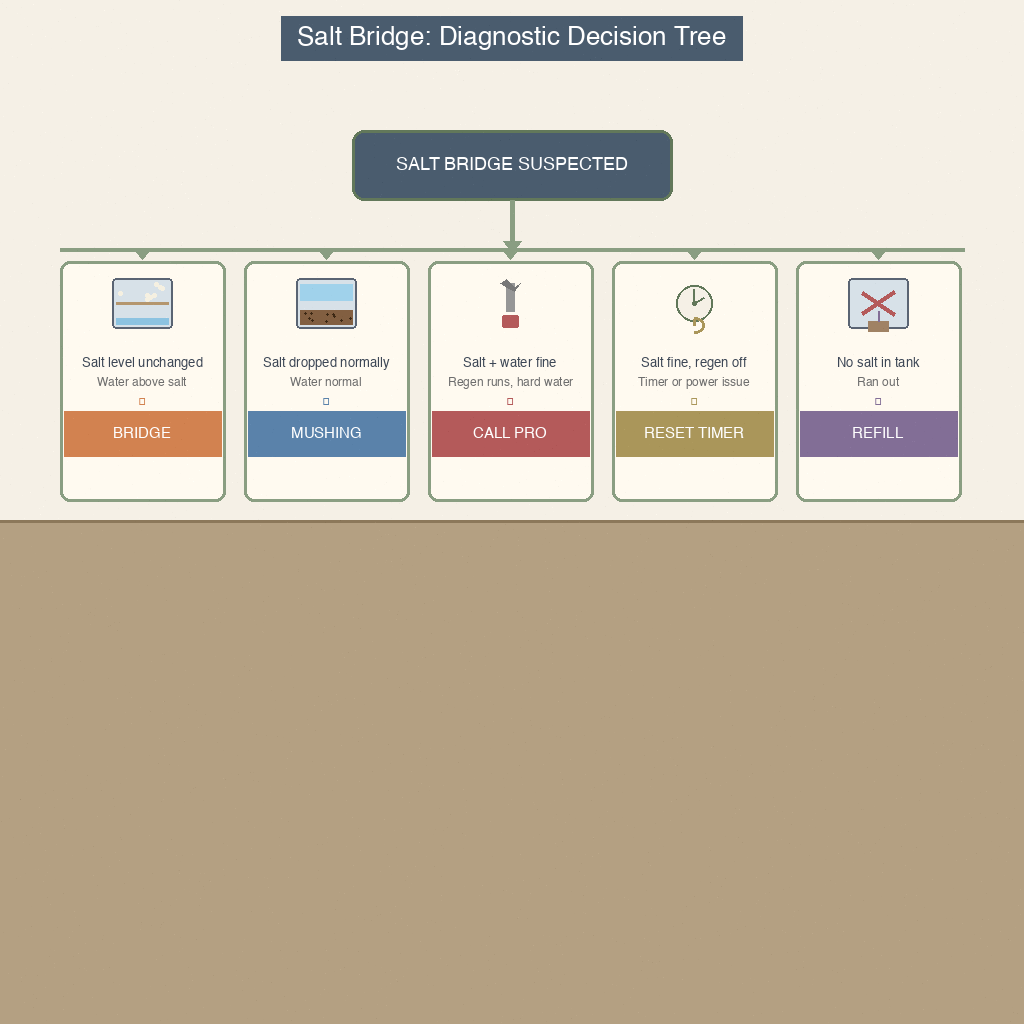
Decision tree: bridge or something else?
Five numbered branches
- Salt level hasn’t dropped in 4+ weeks AND water level sits above the salt surface → bridge. Use broom handle method above.
- Salt level has dropped normally AND water level is low or normal → mushing, not bridging. Jump to the mushing guide for the sludge-specific fix.
- Salt level is fine AND water level is fine AND regen runs but house water is hard → resin, valve, or injector issue. Call a pro.
- Salt level is fine AND regen isn’t running at all → timer, control board, or power issue. Reset the timer; if it still doesn’t run, call a pro.
- No salt in the tank at all → you ran out. Add 2-3 bags of pellets and trigger a manual regen. Not a bridge.
Key takeaways
Seven points to remember
- A salt bridge is a hard crust 2-6 inches below the salt surface, with empty void below it.
- Bridges form from fine-grain salt + humidity + overfilling. Pellets resist caking better than crystals or rock salt.
- Probe the tank every 2-3 months — five seconds catches a forming bridge.
- Break a bridge with a broom handle or wooden dowel. Never use sharp metal.
- Press in 4-5 spots around the perimeter. The crust cracks in sections.
- After clearing, run a manual regen and test tap water with a hardness kit.
- Recurring bridges within 2-3 weeks usually mean humidity or salt type, not a tank defect.
Related guides
Eight cross-links for further reading
- Salt Bridge and Mushing — sister article covering the sludge side of salt-tank failures
- Salt Pellets vs Crystals — full salt-type comparison with bridge-risk scores
- How to Add Salt to Water Softener — refill procedure that prevents bridges
- Water Softener Salt — types, purity grades, and which to avoid
- Water Softener Not Regenerating — umbrella regen-failure triage
- Water Softener Not Working — broader hard-water-still-present troubleshooting
- Water Softener Brine Tank — anatomy matters for knowing where the bridge forms
- Hardness Test Kits — test strips and drop kits for verifying the fix worked
Research summary
Editorial standards and sources
This article follows these standards:
- Editorial review: Reviewed by Hardwater101 editorial team for technical accuracy on 2026-08-10.
- Tone: Direct, second-person voice. No first-person testing claims (we don’t install or service softeners).
- YMYL framing: Salt bridges do not affect drinking water safety. This article covers mechanical maintenance only.
- Sister pattern: Positioned as the prevention/clearing companion to the salt-bridge-and-mushing sister article (chemistry focus).
Sources and verification
- Hard water baseline: USGS hardness map — regional hardness averages and gpg classification
- Salt form/function: Water Quality Association glossary — salt-bridge and brine-tank definitions
- Softener manufacturer guidance: Fleck 5600SXT programming manual — regeneration cycle mechanics and bypass operation
- Pricing tier: Pellets $40-65 per 40 lb bag, crystals $35-49 per 40-50 lb bag, hardness test kits $9-32 per kit (verified on Amazon 2026-08-10).
Pricing tiers and budget options
For most households, salt is the only purchase needed:
- Entry tier ($9-15): Hardness test strips — verify regen worked after bridge break
- Mid tier ($30-45): Single 40-50 lb bag of pellets — switch from crystals/rock to pellets
- Bulk tier ($60-70): Morton 4-pack pellets — half-year supply for chronic-bridge households
- Cleanup tier ($25-30): Resin cleaner — restore resin capacity after long bridge episodes