If your softener is leaving spots on glassware, the soap isn’t lathering like it used to, or hardness is creeping back into the soft tap, the natural assumption is that the resin has gone bad. That assumption is often wrong. Most “resin failure” calls turn out to be salt bridges, valve issues, or brine-tank problems — the resin itself is still functional. Test post-regen hardness before opening the tank; the post-regen reading tells you whether the resin is the culprit or whether you’re about to spend $100 on parts to fix something that wasn’t broken.
Quick answer
The single most informative signal is post-regen hardness, not the calendar. Force a manual regen, then test the soft tap within 30 minutes. If 0-1 gpg, the resin is fine — your problem is salt, valve, or brine. If 3+ gpg, the resin is exhausted or fouled, and replacement is on the table. Standard 8% crosslinked resin typically lasts 10-20 years under 5-15 gpg hardness without iron; high hardness or any detectable iron shortens that to 5-10 years.
Do this first
Before pulling the mineral tank or ordering resin, run three quick checks. They take about 30 minutes total and tell you whether you’re actually dealing with a resin problem or one of the common misdiagnoses.
- Force a manual regeneration — most control valves have a “regen now” or “manual regen” button. Initiate one and let it complete (typically 90-120 minutes).
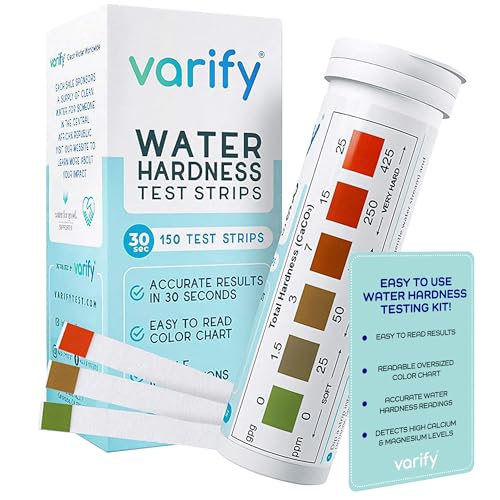
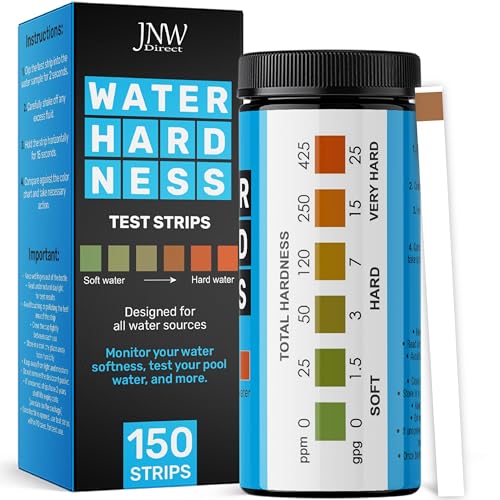
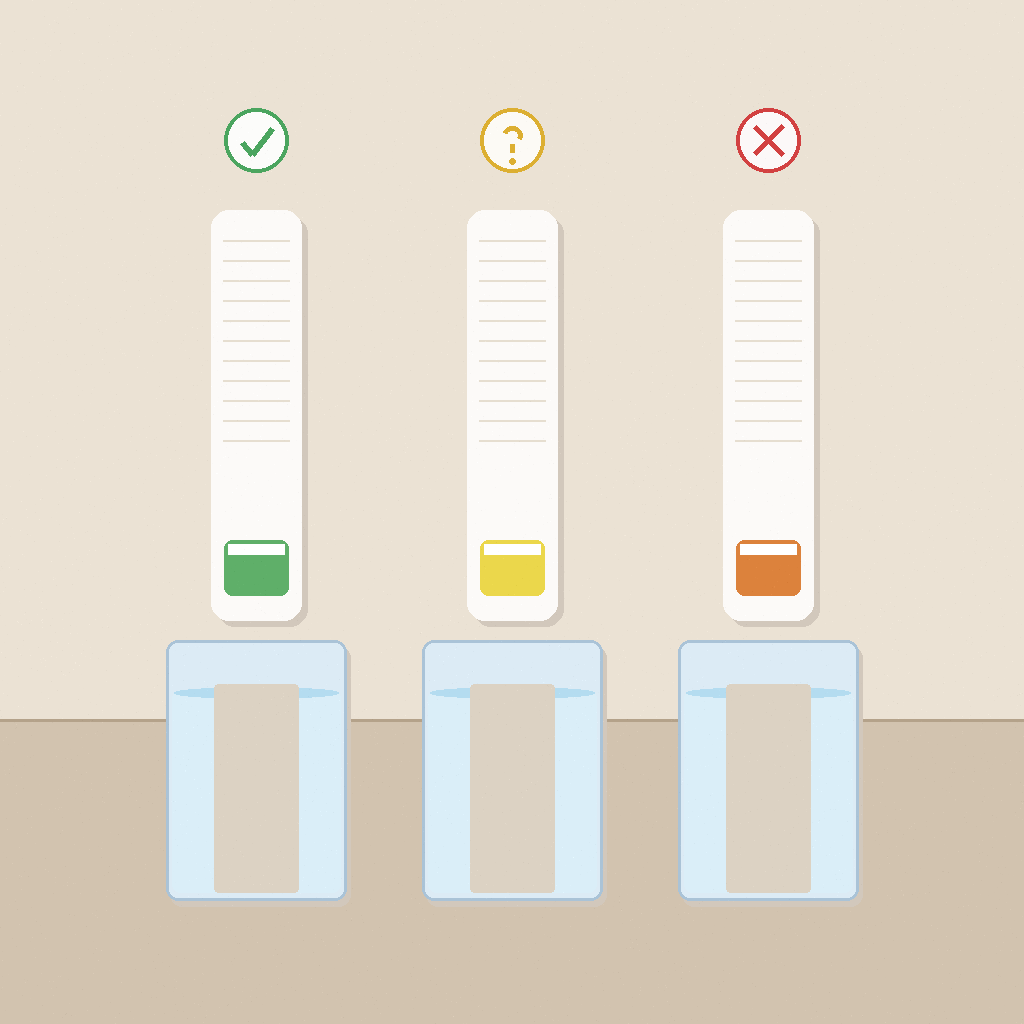
- Test the soft tap 30 minutes after regen completes — use a Varify Water Hardness Test Kit or JNW Direct 150-Strip Kit. Read the gpg from the color match.
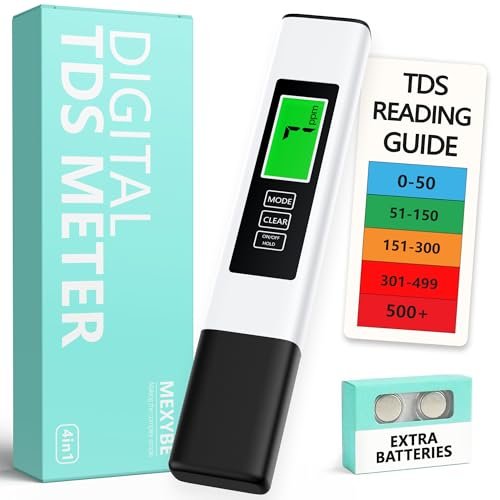
- Cross-check with a TDS meter if the strip is ambiguous — 4-in-1 TDS/EC/pH/Temp Meter gives a numeric TDS reading. Compare to your raw-water TDS — soft tap should be 5-15% of raw if the softener is working.
If post-regen gpg is 0-1, the resin is fine and your real problem is one of the sibling issues below. If it’s 3-7, you’re seeing the start of resin aging. If it’s 7+, the bed is exhausted or fouled.
Softener vs filter vs RO (one screen)
Three systems often get confused in stores. They fix different problems.
- Softener (salt): swaps hardness minerals for sodium — fixes scale, spotting, and soap scum on glass, fixtures, and appliances.
- Whole-house carbon/sediment: improves taste, chlorine, and visible dirt — does not soften.
- RO (under sink): polishes drinking and cooking water — does not soften every shower.
Side-by-side at a glance
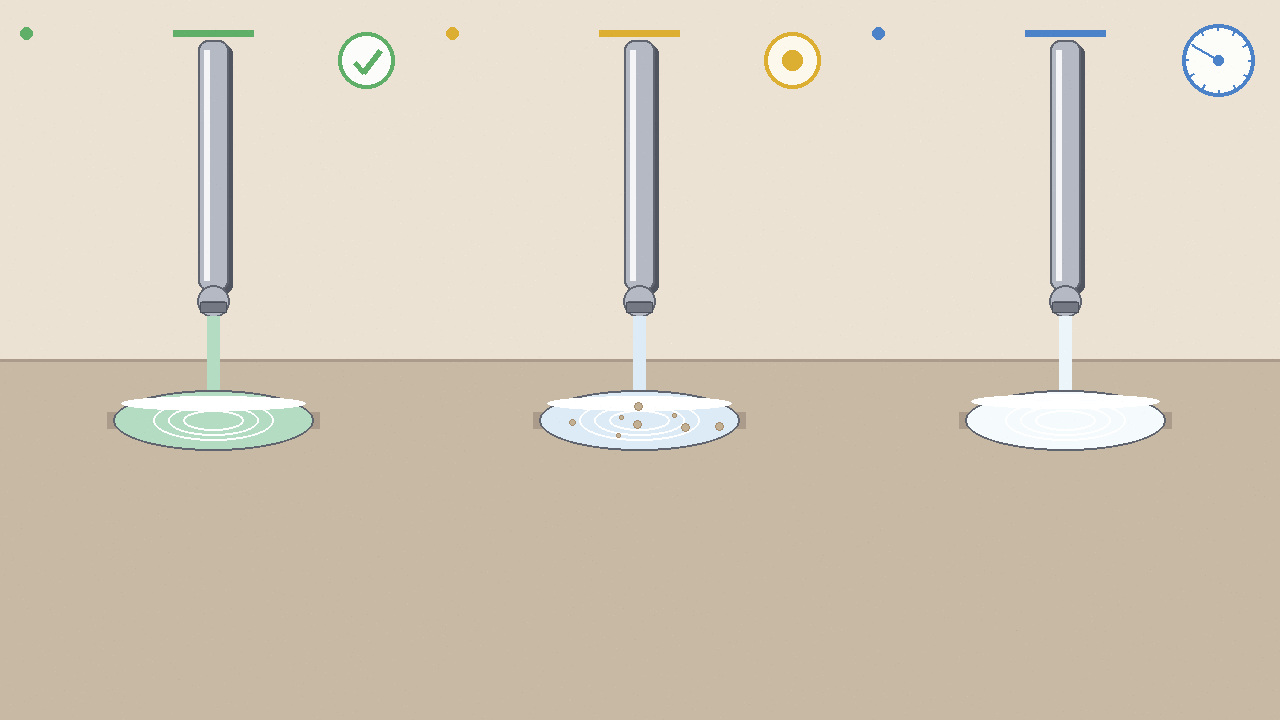
This article covers the softener tank only. If your main symptom is chlorine taste or odor, see carbon filtration. If your main symptom is drinking-water contaminants, see RO. A resin swap changes neither taste nor drinking chemistry.
Salt-free “softeners”
Many salt-free units are conditioners, not softeners. They may change how scale clings to a surface; they usually do not bring hardness grains to zero on a strip. If your goal is 0 gpg on a hardness test, salt-based ion exchange is the reliable path. Conditioners are a tool for reducing scale adhesion, not for hitting 0 gpg.
Skip salt-free if your hardness reads >5 gpg and you want truly soft water — they will not get there.
Signs the resin is failing (not the softener)
Resin failure has a specific signature. It’s not “the water feels harder” — it’s “the water tests harder even after a full regeneration, with salt used and the brine tank empty afterward.” Before you commit to a resin swap, rule out the three most common false alarms:
- Salt bridge — a hard crust forms in the salt tank above the water. The salt level looks normal from above, but salt isn’t reaching the water. The classic broom-handle test confirms this in 30 seconds — push a broom handle down into the salt and see if it hits a hard crust before reaching water. See Salt Bridge and Mush for the full diagnostic.
- Softener not regenerating — if the unit hasn’t regenerated recently, hardness creeps back regardless of how good the resin is. Check the timer or meter-based regen schedule. See Water Softener Not Regenerating.
- Brine line clogged or brine tank flooded — a clogged brine line prevents the salt-water (brine) from reaching the resin during regen. Symptom: salt level isn’t dropping. See Water Softener Not Using Salt.
If any of these is the actual cause, replacing the resin is wasted money. Diagnose first, then act.
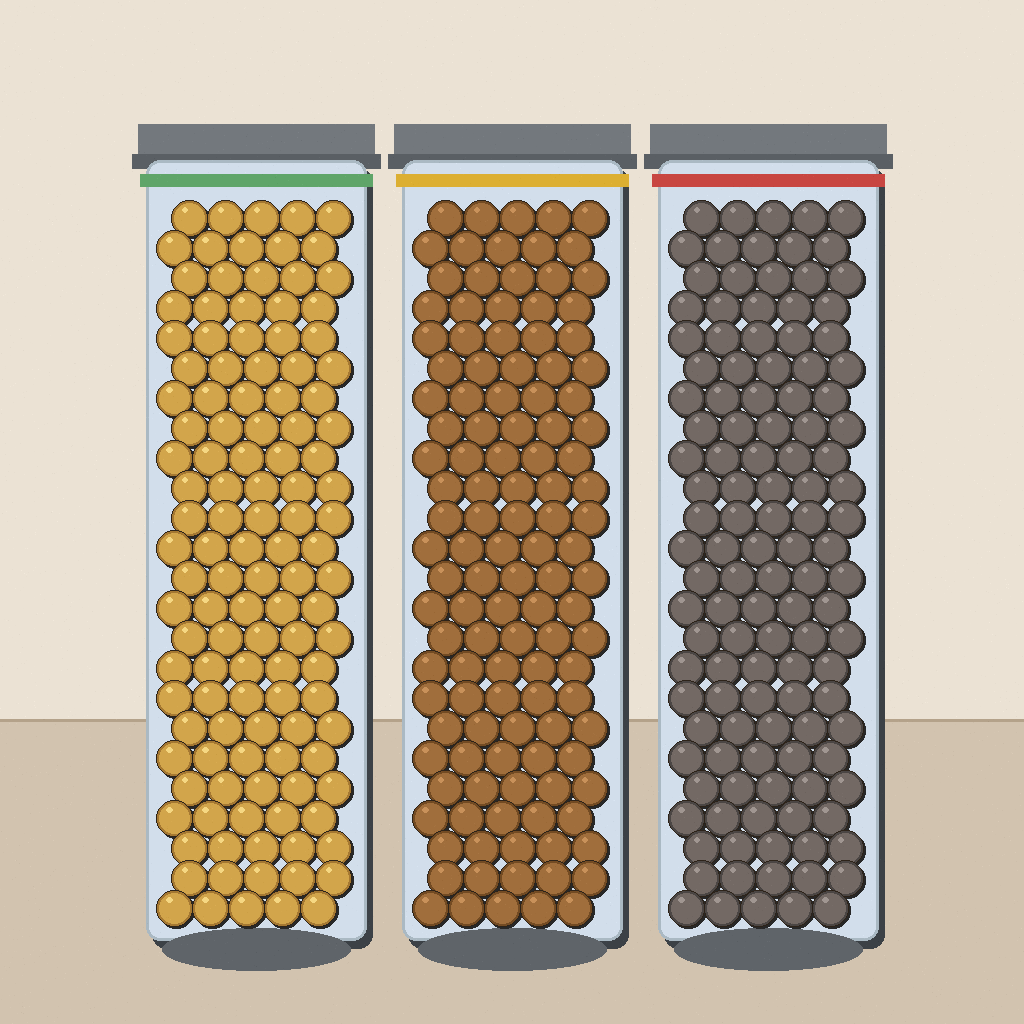
How long water softener resin actually lasts
Resin life is a function of water chemistry, not a calendar. The same resin in two homes will last different lengths of time.
| Water profile | 8% crosslinked resin | 10% crosslinked resin | Fine-mesh resin |
|---|---|---|---|
| 5-15 gpg hardness, iron <0.3 ppm | 10-20 years | 12-22 years | 5-12 years |
| 15-25 gpg hardness, iron <0.3 ppm | 8-15 years | 10-18 years | 4-10 years |
| >25 gpg hardness, iron >0.3 ppm | 5-10 years | 7-12 years | 3-7 years |
| Any hardness with iron >1 ppm | 3-7 years | 5-10 years | 2-5 years |
Three things shorten resin life materially:
- Iron in the water — even 0.3 ppm iron coats the resin beads and reduces capacity over time. The most aggressive killer of cation resin.
- Chlorine in the water — municipal water with chlorine shortens resin life by ~10-30% per year. A carbon pre-filter mitigates this.
- High hardness — >25 gpg hardness puts more Ca/Mg through the resin each regen cycle, accelerating bead wear.
For the ion-exchange chemistry behind this, see How Water Softeners Work.
Should you replace the resin or buy a new softener?
A full softener replacement costs $400-1500 installed. A resin-only swap costs $100-200 in parts plus 3-5 hours of labor. The crossover point is simple:
- Resin-only swap makes sense when the control valve, brine tank, and mineral tank are all in good shape and the softener is under 15 years old.
- Full replacement makes sense when the tank is cracked, the valve is failing, the softener is over 15 years old, or the regen cycle is on a fixed timer (older mechanical valves are less efficient than modern metered ones).
If you’re unsure, test post-regen hardness first. If the resin is genuinely bad and the rest of the softener is functional, a resin swap is the right call. If you’re seeing other symptoms alongside the resin issue, see Water Softener Not Working for the broader triage before committing to either path.
DIY vs hire a pro — the decision tree
Whether you do this yourself depends on three factors.
Factor 1 — Tank size
A standard 1 cubic foot residential tank holds two 50-lb bags of resin. Lifting each bag and pouring through a wide-mouth funnel is one hour of physical work. Anything above 2 cubic feet (commercial or high-capacity residential) is pro territory — the bag weight alone becomes unwieldy.
Factor 2 — Existing valve configuration
Clack and Fleck control valves require partial disassembly and re-plumbing. Older non-standard valves (Autotrol 460, custom) may need adapter fittings. If the bypass valve is missing or stuck, plan on hiring a plumber for that step alone — bypassing the softener during the work is non-negotiable.
Factor 3 — Your water chemistry profile
If your water has iron (>0.5 ppm), tannin, or very high hardness (>25 gpg), upgrading from 8% crosslinked to 10% or higher crosslinked resin is a meaningful durability upgrade. Specialty resin costs more but lasts 2-3 times longer under harsh water.
For a broader triage checklist before committing to replacement, see Water Softener Not Working.
What you’ll need for a DIY replacement
After diagnosis confirms the resin is genuinely at end-of-life, plan to budget $100-200 for the resin and 3-5 hours of work. Don’t skip these tools:
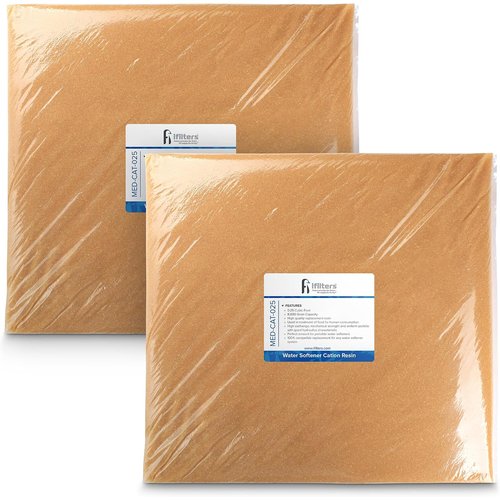
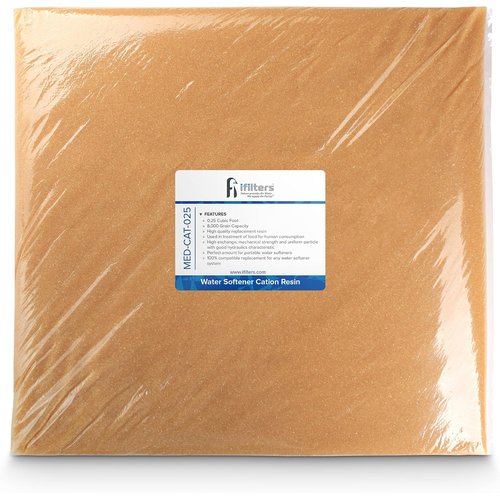
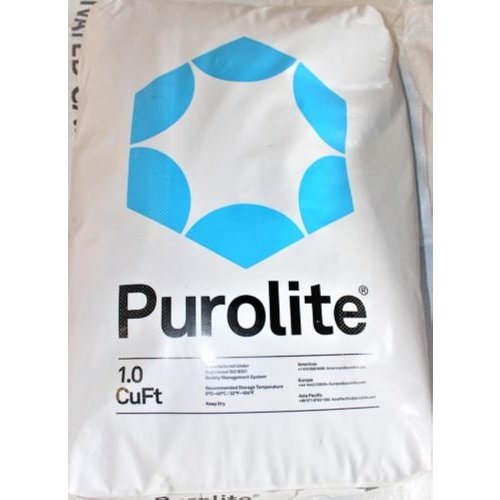
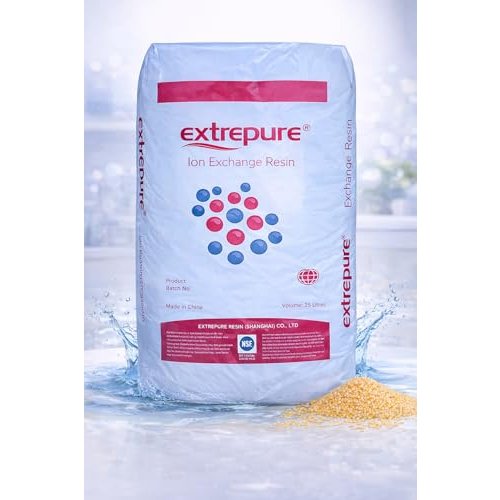
- Resin — 0.5-1.5 cuft depending on tank. The iFilters 1/2 CuFt NSF-certified resin at $74.99 is the most common DIY pick; the Purolite C-100E 1 CuFt at $125 is the pro-grade choice for heavier-duty installs. The 1/4 CuFt option at $37.99 covers partial top-ups.
- Bucket and clean towels — resin spills are sticky and tracked through the house easily. Lay towels before opening the tank.
- Garden hose — for backwashing the new resin bed to settle beads and remove fines.
- Shop-vac or wet/dry vacuum — to extract old resin from the tank before refill.
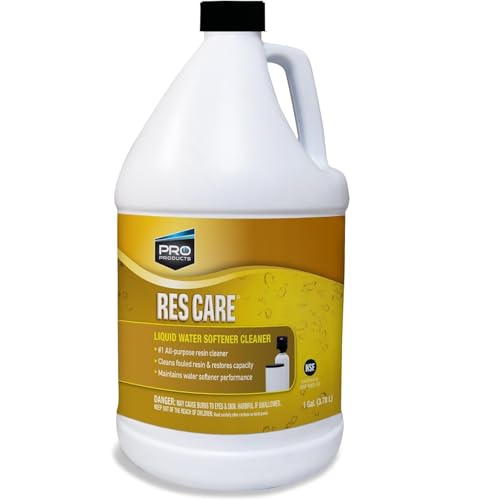
- Resin cleaner (optional) — if iron or organic fouling is suspected, clean the new bed once after the first regen. Res Care Liquid Cleaner at $28.75 is the most widely available option.
Resin tank pre-check also matters. Inspect the tank before pouring new resin — see Water Softener Brine Tank Problems for the cross-check sequence. A cracked mineral tank or worn riser tube can turn a $150 resin swap into a $400 tank-replacement job if missed.
Step-by-step resin replacement (1 cuft tank)
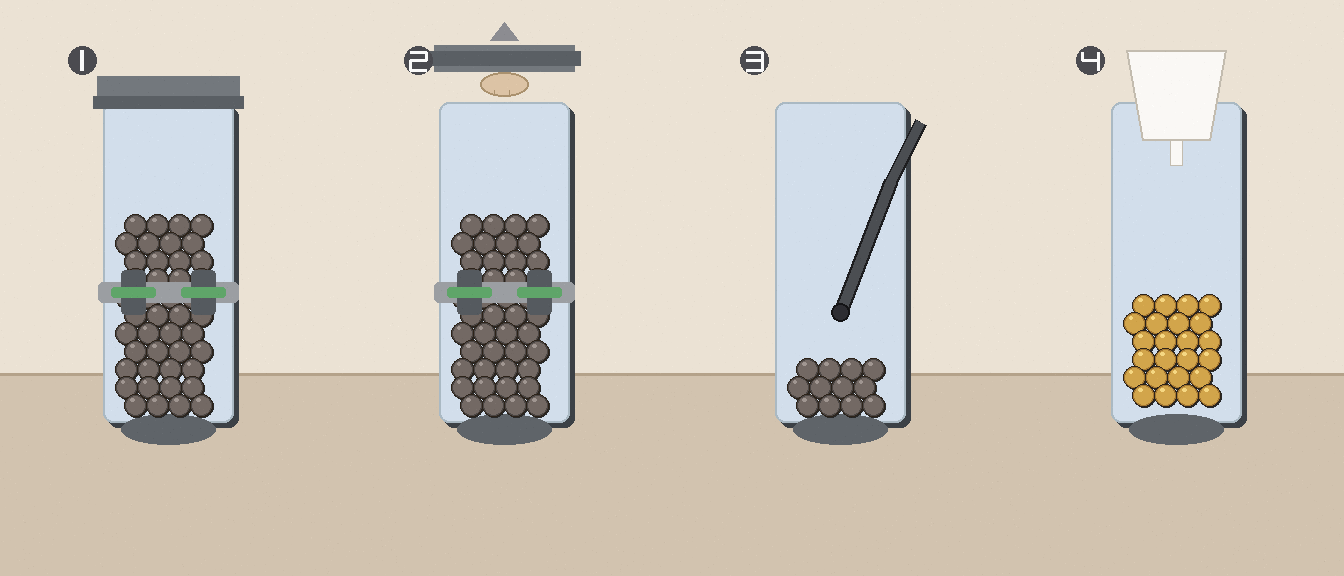
- Bypass the softener at the bypass valve. Confirm cold unsoftened water at the kitchen tap before proceeding.
- Relieve pressure by running a soft-water tap until flow stops.
- Disconnect the control valve from the mineral tank — typically a single large clamp or threaded coupling. Have rags under the joint; residual water will spill.
- Vacuum out the old resin with a wet/dry vac. Old resin looks tan, brown, or grayish rather than the golden amber of fresh beads. Discard it in trash bags; don’t pour it down a drain.
- Inspect the riser tube and distributor at the bottom of the tank. Cracked riser tubes are common; a $15 part prevents a $400 tank replacement.
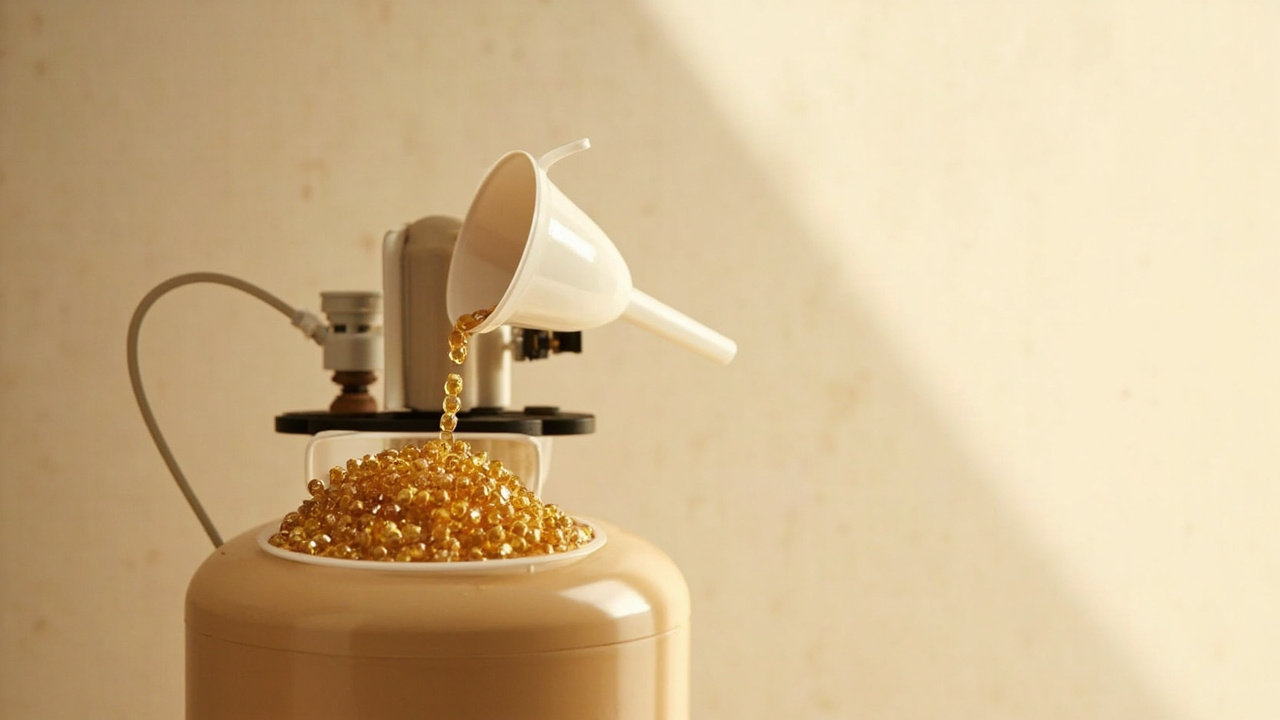
- Pour new resin slowly through a wide-mouth funnel. Two 50-lb bags for 1 cuft tank. Do not use a screw-in riser or sharp tool to break clumps — the new beads break. Pour from the bag lip and let gravity settle them.
- Reattach the valve, run a manual regeneration cycle to backwash new resin and settle the bed. Allow 30 minutes for the bed to fully settle before the first regen on schedule.
- Test the soft water after the first regen with a JNW hardness strip. Hardness reading should drop to 0-1 gpg. If not, the new resin is bad or the valve isn’t drawing brine.
Resin type comparison
8% crosslinked standard (default in most softeners)
- Best for: municipal water, hardness 5-15 gpg, iron <0.3 ppm
- Lifespan: 10-20 years
- Cost: $75-115 per cuft
- Examples: iFilters 1/2 cuft NSF, Purolite C-100E
10% crosslinked (high-hardness upgrade)
- Best for: hardness 15-25 gpg, light iron
- Lifespan: 12-20 years
- Cost: $100-150 per cuft
- Trade-off: marginal cost premium for meaningfully longer life
Fine-mesh resin
- Best for: high-efficiency softeners, lower salt use
- Lifespan: 5-12 years
- Cost: $90-140 per cuft
- Trade-off: faster surface fouling from iron/sediment — pair with a sediment pre-filter
For the role of pre-filters in protecting resin from sediment fouling, see the next section.
Should you add a sediment pre-filter?
A whole-house sediment pre-filter before the softener removes sand, rust, and silt that would otherwise accumulate on the resin bed and shorten its life. If you have a private well, older galvanized plumbing, or periodic “brown water” events after main work, the pre-filter pays for itself within one resin-replacement cycle.
When the pre-filter is required
- Private well, especially in sandy or iron-rich regions
- Municipal water with main-flush events — running brown water through a softener fouls resin within months
- Older home with galvanized or partial-galvanized plumbing — internal pipe corrosion sheds sediment
- Construction nearby — main work frequently disturbs sediment in service lines
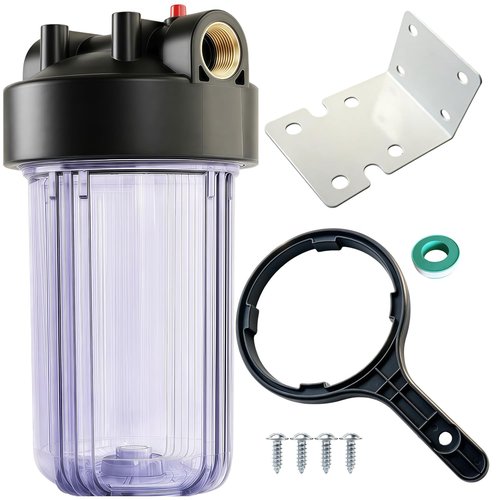
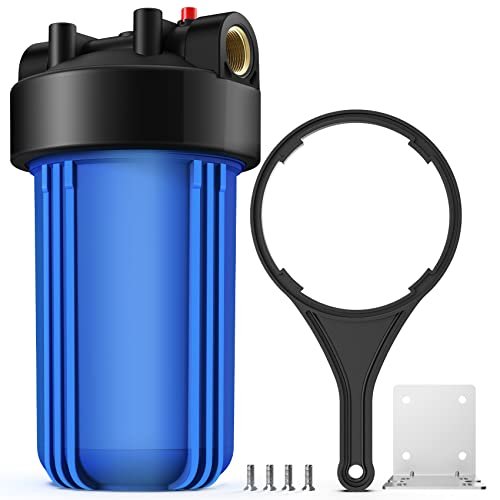
The AquaWeaver WH-C10HD 10”x4.5” Clear Housing at $47.79 makes cartridge inspection easy without opening the softener. The SimPure DB10P at $47.49 is the pressure-rated alternative if your line runs above 80 psi.
When the pre-filter is optional
- New construction with all-copper or PEX plumbing and no well — sediment is rarely present in measurable amounts
- City water in a stable, modern distribution system
- The softener is already <3 years old and shows no signs of fouling
Adding a pre-filter does add a small pressure drop and requires periodic cartridge changes. The trade-off is almost always worth it for any well-fed home.
What to buy only if needed
If your water has iron
A resin cleaner used quarterly can extend resin life by 2-3 years. Res Care Liquid is the most widely available option and works on lightly fouled resin without removing the softener from service. Pour the cleaner into the brine well during a manual regeneration cycle. If the cleaner doesn’t restore capacity after two consecutive treatments, the resin is genuinely exhausted and replacement is due.
If you have high hardness (>20 gpg)
Upgrade from 8% to 10% crosslinked resin. The cost premium is roughly 20% but the lifespan improvement is substantial under harsh water. The 7% crosslinked 32K-grain option at $100 is similarly durable under high-hardness municipal supplies. For 32K-grain equivalent capacity in a pro-grade spec, the Purolite C-100E 1 cuft also handles high-hardness water with longer service intervals.
If you want longer service intervals between regens
Resin capacity ratings matter more than resin type. A 32K-grain resin handles a 4-person household on 25 gpg water through a 6-day regen cycle. Smaller tanks or standard 16K-grain resin will regen more often — using more salt and water per year even if the resin itself lasts the same total time.
Common mistakes
- Replacing resin before testing — most “resin failures” turn out to be salt bridges, valve issues, or brine-tank problems. Test post-regen water first.
- Pouring resin through the riser tube accidentally — the central riser tube must remain vertical and unobstructed. If resin enters the tube, the softener will not backwash properly. Re-extract and re-pour if this happens.
- Skipping the backwash after refill — fines from new resin must be flushed to drain, or they migrate to the valve and cause recurring service errors.
- Mixing resin types — don’t mix 8% and 10% crosslinked, or standard and fine-mesh, in the same tank. The different bead sizes and densities stratify and reduce overall capacity.
- Using a screw-in tool to break clumps in new resin — fresh beads break under point pressure. Pour slowly from the bag and let gravity settle them. If clumping still happens, Res Care Liquid during the next regen releases fines without breaking beads mechanically.
When to call a pro
- Tank replacement is needed (cracked mineral tank, worn riser tube) — budget $400-800 for parts plus labor
- Control valve won’t release from the tank — typically seized from corrosion; forcing it risks cracking the tank
- Bypass valve is missing or stuck closed — plumber needed for that step alone, before any resin work
- Water chemistry is complex (iron >1 ppm, tannin, sulfur) — specialty resin and possibly an iron filter ahead of the softener
- You don’t have a wet/dry vacuum — most DIYers have one, but if not, the resin-extraction step is messy without one
Safety notes
- Always bypass the softener before any tank work. Open a cold tap downstream to confirm unsoftened flow before disconnecting the valve.
- Never pressure-test the system with resin in the tank — resin fines clog valves and the resin itself breaks under pressure spikes.
- Wear gloves and a dust mask when pouring new resin — beads are non-toxic but the dust is unpleasant and beads are extremely slippery when spilled on hard floors.
- Don’t pour old resin down a drain — it’s dense and clogs pipes. Bag it for trash.
Key takeaways
- Resin life is not a fixed number of years — it’s a range driven by water chemistry, iron content, and pre-filter use.
- The single most predictive signal is post-regen hardness, not the calendar. Test before assuming the resin is bad.
- Most “resin failures” turn out to be salt bridges, valve problems, or brine-tank issues — diagnose before replacing.
- 8% crosslinked resin lasts 10-20 years under moderate water; 10% crosslinked is a meaningful upgrade under iron or high hardness.
- Adding a sediment pre-filter protects the resin and typically pays for itself within one resin-replacement cycle.
- A 1 cuft tank takes about 1 hour of physical work; 2 cuft and above is usually pro territory.