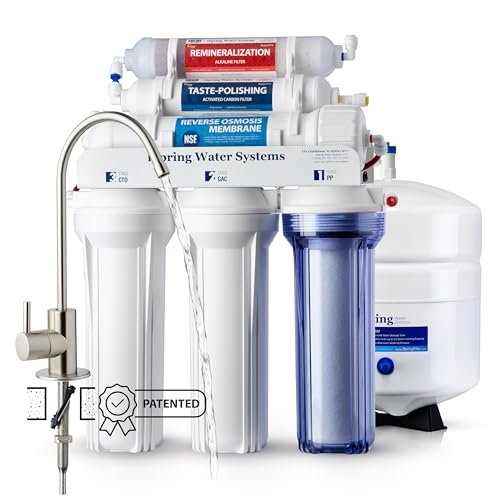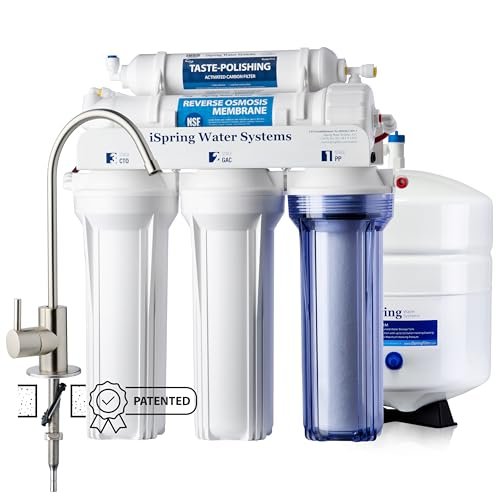
If you’re worried about what’s in your drinking water — lead service lines, nitrates, dissolved solids — an under-sink reverse osmosis system is the most targeted fix. It pushes water through a membrane with 0.0001-micron pores, which blocks most dissolved contaminants down to the size of water molecules. RO is the right tool for drinking water purity; a softener handles hardness scale. If you have both concerns, a softener upstream plus RO under the sink is the standard pairing. A common starter is the iSpring RCC7AK alkaline RO if you want a six-stage unit with a remineralization stage for taste.
Quick answer
A reverse osmosis (RO) system pushes water through a semi-permeable membrane that blocks dissolved solids, lead, and most contaminants down to 0.0001 microns. Under-sink units typically produce 50–75 GPD through a small pressurized tank. RO is the right tool for drinking water purity, not for softening — use a softener for hardness scale. If you have both concerns (hardness + drinking water purity), a softener upstream plus RO under the sink is the standard pairing.
What RO is and isn’t
RO is point-of-use filtration that targets dissolved substances. NSF/ANSI 58 certified systems are validated to reduce TDS (total dissolved solids), lead, arsenic, chromium-6, nitrates, copper, and many other contaminants. The classic iSpring RCC7AK alkaline RO and the longer-running iSpring RCC7 75 GPD are both NSF/ANSI 58 certified; check the listing before you buy because certification isn’t universal across the category.
What RO is not:
- Not a softener. RO removes hardness minerals, but it doesn’t exchange ions like a softener. If your only concern is scale on fixtures, a softener is a better tool.
- Not a whole-house filter. RO is sized for drinking water at one tap, typically 8–12 gallons per day. Running it to every fixture is impractical and the membrane can’t keep up.
- Not a bacteria killer. RO removes most bacteria mechanically but doesn’t sterilize water. For private wells with bacterial concerns, pair RO with UV.
The cleaner way to think about RO: it’s a polishing step for the kitchen cold tap, installed in addition to whatever you do for the rest of the house. For the side-by-side breakdown by job (scale, chlorine taste, drinking, iron), the softener vs RO vs whole-house filter page lays it out.
If you’re running RO without a softener on hard municipal water, plan for the membrane to foul faster than spec. The standard iSpring RCC7 75 GPD is built for hard water in the 10–25 gpg range and absorbs the extra mineral load better than entry-level 50 GPD systems.
How the system works
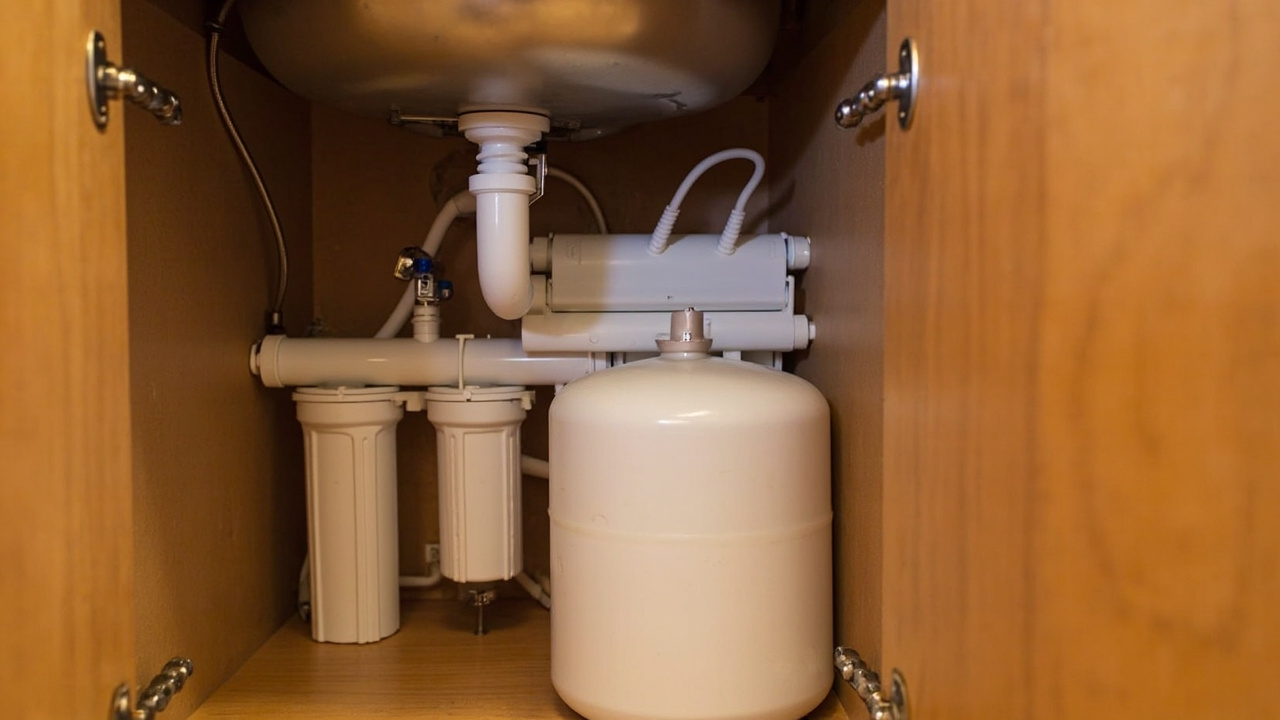
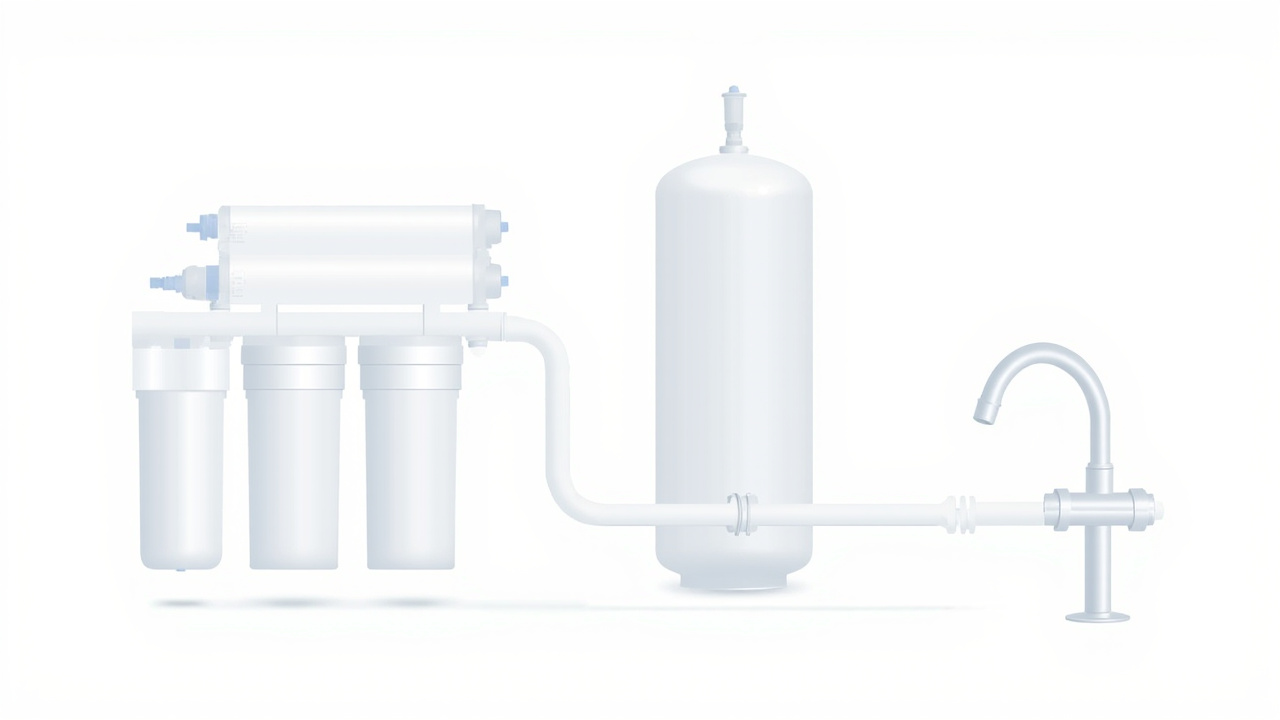
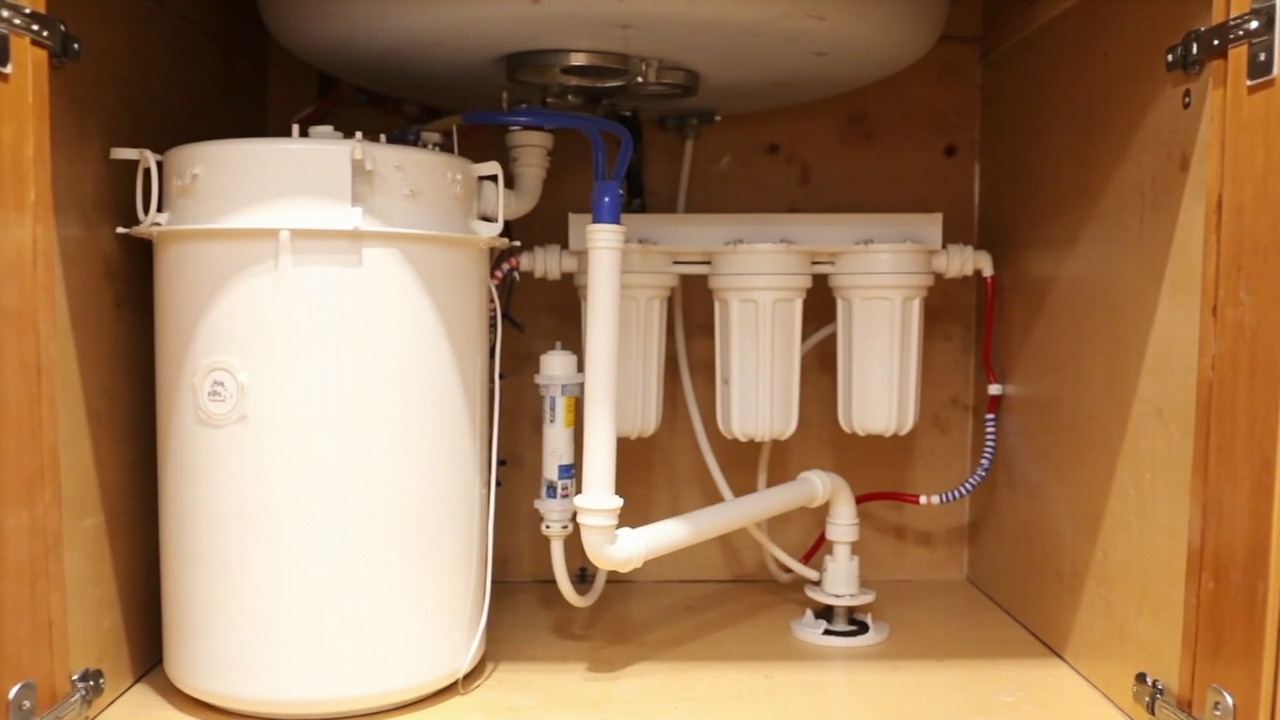
A typical under-sink RO has 3–6 stages. Water from the cold supply enters the first stage, passes through each filter in order, and ends in a pressurized storage tank with a dedicated faucet on the counter.
- Sediment pre-filter (stage 1) — catches sand, rust, and silt that would clog the membrane. The cheap insurance that extends the membrane’s life from a year to three.
- Carbon pre-filter (stage 2) — removes chlorine, which damages RO membranes permanently. Don’t skip this stage, even on a low-chlorine municipal supply.
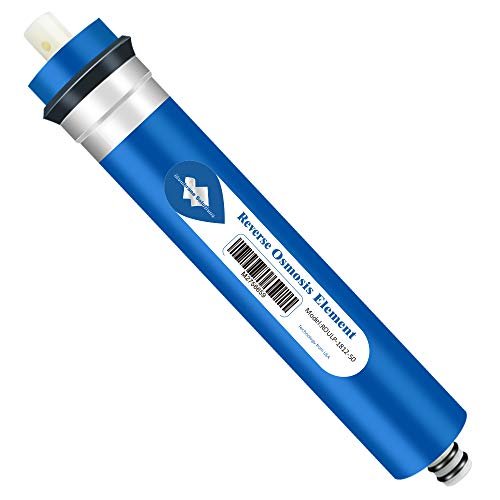
- RO membrane (stage 3) — the actual semi-permeable barrier; rejects 95–99% of dissolved solids. This is the part that does the work; the rest is support equipment.
- Post-carbon filter (stage 4–6, optional) — polishes taste before water reaches the tank. Catches any “flat water” complaints at the faucet.
- Pressurized storage tank — 2–4 gallons, holds filtered water for on-demand delivery. The tank sits on its side under the sink.
- Dedicated faucet — small secondary faucet installed through the sink or countertop. The plumbing main faucet is untouched.
When you open the RO faucet, water flows from the tank. When the tank is empty, the system runs for 2–4 hours to refill it. Most households don’t notice; you just get a small trickle at the dedicated faucet when the tank runs dry mid-day.
When tankless changes the plan
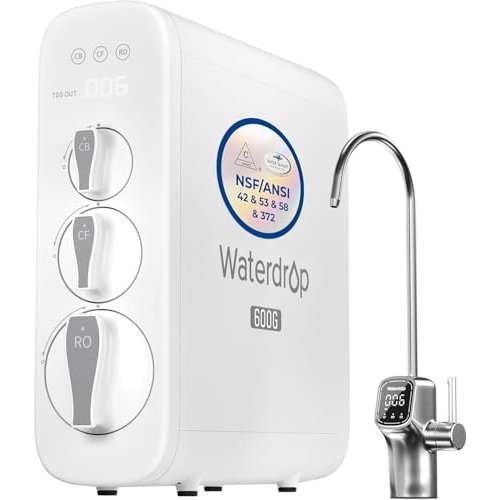
Tankless RO units (the Waterdrop G3P600 is the common residential pick) skip the storage tank. They produce 400–800 GPD on demand, so a glass fills in under 5 seconds. Trade-offs:
- Higher purchase price — $400+ vs $200 for tank units. The tankless models are still dropping in price each year, but the entry point is higher.
- Need 50+ psi feed pressure — most municipal supplies qualify; well owners may need a booster pump to hit that minimum.
- Smaller footprint under the sink — no tank means a cleaner install for tight cabinets.
- Less waste water — 1:1 ratio on the better models, vs the older 4:1 ratio of tank units.
If you rarely use the kitchen tap for drinking and don’t mind waiting a few seconds for the tank to refill, a classic tank unit is the value play. If you fill water bottles, cook with filtered water, or have guests who can’t find the small tank (a common frustration), tankless is worth the premium.
Tank size affects daily output, not filtered quality: a 75 GPD membrane with a 4-gallon tank produces the same purity as a tankless system. The trade is recovery time and footprint.
What RO does NOT remove
RO removes dissolved solids, but a few things still slip through — and a few are by design:
- Hardness minerals pass through mechanically (just removed, not exchanged). Your hot water heater still sees hardness unless you have a softener upstream. Pair RO with a softener for the cleanest result.
- Some volatile organic compounds (VOCs) like chlorine byproducts need an activated-carbon pre-filter to address — most RO units include this as stage 2.
- Bacteria and viruses are largely blocked by the membrane’s tiny pore size, but if your supply has known bacterial issues, add a UV sterilizer after the tank. RO alone isn’t disinfection.
- Dissolved gases like hydrogen sulfide (rotten-egg smell) pass through. A carbon pre-filter helps but won’t eliminate it.
For a frank comparison of what each system does and doesn’t do, the softener vs RO vs whole-house filter page breaks it down by job (scale, chlorine taste, drinking, iron).
Skip/Don’t: Don’t expect RO to “fix” well water with iron problems. Iron clogs the membrane fast — test iron before installing RO on a private well, and put an iron filter upstream if it’s above 1 ppm. See the well water iron filter guide for the standard sequence.
Pre-filter: protect the membrane
The membrane is the expensive part — $80–$150 for a 50–75 GPD replacement. Protect it with proper pre-filtration:
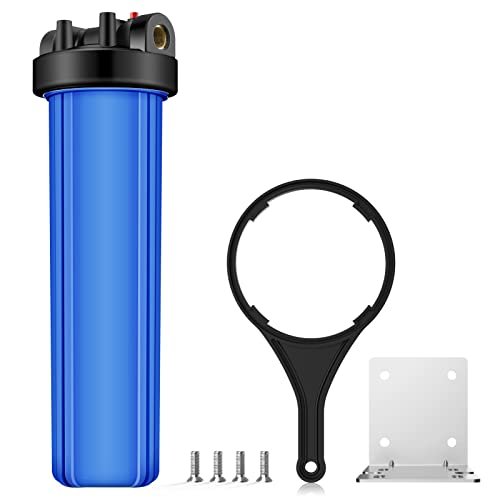
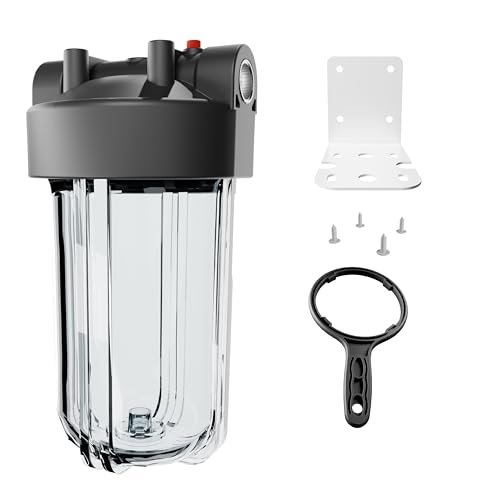
- Sediment pre-filter upstream of the RO catches rust, sand, and silt that would clog the membrane. A whole-house 20” or 10” housing with a 5-micron cartridge — the SimPure DB20P for 20” installs, or the Purcooflow 10-inch clear housing for tight spots — is the standard setup if your water carries visible sediment. If you’re working with limited under-sink space, the 10-inch housing is the more common residential pick.
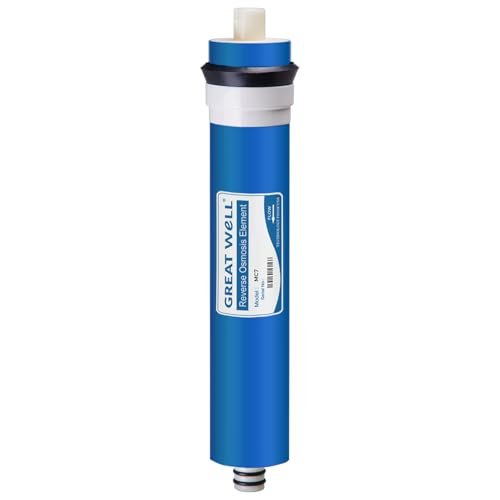
- Carbon pre-filter (stage 2 of most RO units) removes chlorine, which permanently damages RO membranes. Even municipal supplies with low chlorine will shorten membrane life if you skip this stage. Drop-in replacements like the iSpring Greatwell 75 GPD membrane keep the carbon where it should be. The Membrane Solutions 50 GPD membrane is the standard drop-in for 50 GPD systems that need a slower-flow / lower-waste option.
- Pressure matters. RO needs 40–80 psi feed pressure; below 40, production drops dramatically. If your pressure is low, a booster pump solves it. Most municipal supplies are fine out of the box; a quick test with a $10 pressure gauge on an outdoor hose bib tells you your starting point.
For an exact replacement schedule (which filter, how often, TDS-based triggers), see the RO filter replacement schedule sister page.
Sister: well water
If you’re on a private well with iron, run an iron filter upstream of the RO. Iron clogs RO membranes and shortens membrane life dramatically. The standard sequence is:
- Iron filter (or softener with iron rating)
- Whole-house sediment filter
- Under-sink RO
For well-water iron specifics, see well water iron filters.
Sequencing RO with what comes upstream
The way RO fits into a whole-house water plan matters more than which exact model you pick. The standard sequences:
Softener upstream + RO under sink
Most common for municipal water that’s hard: drop hardness to under 1 gpg with a softener, then polish drinking water through RO. The softener extends the RO membrane’s life (no scale buildup on it), and RO handles what the softener doesn’t (TDS, lead, chlorine byproducts at the tap).
Iron filter upstream + softener + RO
For well water with iron above 1 ppm: the iron filter handles iron, the softener handles hardness, and RO polishes the kitchen tap for drinking. Three systems, three jobs. If iron is light (under 1 ppm), a single softener with iron rating can stand in for both iron and hardness.
Carbon + sediment upstream + RO
For municipal water with chlorine and sediment but no hardness: skip the softener, run a whole-house carbon and sediment filter, and let RO handle the drinking side. The SimPure DB20P 20-inch housing paired with a 5-micron sediment cartridge is the standard upstream install for whole-house pre-filtration. Cheaper to install than the softener path, and adequate if gpg stays under 7.
The wrong sequence is “RO first, softener later.” RO can handle iron-laden water only briefly; chlorine-laden water kills the membrane in months. Match the sequence to your actual water test results, not what your neighbor did.
Skip/Don’t: Don’t add UV upstream of the RO. UV sterilizes by passing water past a UV lamp; it works on already-filtered water and adds nothing if the source is municipal. It does add cost and a maintenance item (lamp replacement).
Common mistakes
- Skipping the carbon pre-filter — chlorine destroys RO membranes. Most RO units include the carbon stage for a reason. If you build a custom system, don’t skip it.
- Replacing filters only on the calendar — TDS in the output water tells you when the membrane is actually tired. See the replacement schedule sister page for the TDS-trigger method, and pick up an iSpring Greatwell 75 GPD membrane ahead of time.
- Routing RO waste to a drain that backs up — the RO brine line needs an air-gap connection to a drain. If you tie it into a slow sink drain, you’ll get odors and overflow.
- Buying tankless without checking feed pressure and pre-filter size in one step — under 50 psi and a 600 GPD unit produces half its rated flow, and undersized pre-filter housings (10” on a 1” feed line) compound the pressure drop. Test your pressure with a $10 gauge on an outdoor hose bib first, then match the pre-filter housing to your pipe size.
- Trying to run RO to multiple taps — the membrane can’t keep up with whole-house demand. RO is point-of-use by design; size it for the kitchen tap only.
When to call a pro
Keep DIY if: installing a standard 50–75 GPD under-sink unit, swapping pre-filters and membranes, drilling the dedicated faucet hole (with the right diamond bit), connecting the drain saddle.
Call a licensed plumber if: drilling through a stone or quartz countertop (easy to crack), running a new electrical outlet for a booster pump, adding a UV sterilizer downstream, or any install where the cold-water supply requires soldering.
We do not rank installer companies.
Related
- Softener vs RO vs whole-house filter — pick the right system for the job
- How water softeners work — if hardness is also a concern
- Whole-house water filters — pre-RO sediment protection
- Water hardness explained — test before you install
- RO filter replacement schedule — sister maintenance page
- Well water iron filters — sister well-water page
Key takeaways
- RO removes dissolved solids; softeners remove hardness scale. Different jobs.
- Standard 50–75 GPD under-sink units work for most households; tankless is faster but pricier
- NSF/ANSI 58 certified systems are validated for the reduction claims on the spec sheet
- Pre-filtration matters: sediment + carbon protect the membrane
- Pair RO with a softener if you also have scale; pair with iron filter if you’re on a well
- Tankless is worth the premium if you use the kitchen tap a lot; tank units are the value pick