If you’ve had an under-sink RO for a year or two and you’re wondering whether the filters are actually due, you’re not alone — most owners replace based on the calendar or only when something goes wrong. The honest answer is that pre-filters follow the calendar and the membrane follows the data: a TDS meter tells you when the membrane is exhausted, far better than a guess.
Quick answer
RO pre-filters (sediment + carbon) typically need replacement every 6–12 months. The RO membrane itself lasts 2–3 years in most cases, longer with good pre-filtration. A TDS meter in the output water is the best indicator for membrane replacement — when TDS climbs above 100 ppm and stays there, the membrane is due. Pre-filters follow the calendar; membranes follow the data.
Why the schedule isn’t one-size-fits-all
Manufacturer recommendations assume average feed water (200–300 ppm TDS, light chlorine, minimal sediment). If your source water is harder or carries more sediment, pre-filters clog faster. If your feed pressure is low, the membrane works harder and may age sooner. The right replacement cadence comes from measuring, not guessing.
The way to think about it: each filter has a specific failure mode, and the schedule should match the failure mode.
- Sediment pre-filter: visible when flow drops at the dedicated faucet.
- Carbon pre-filter: invisible until the membrane starts dying.
- Membrane: invisible until TDS creeps up or output slows.
A $10 meter catches the membrane failure weeks before taste changes. The carbon pre-filter doesn’t have a tell — replace on the calendar.
For source water basics (TDS, hardness, chlorine) and how they interact with RO performance, the water hardness guide covers what your test strips tell you.
Annual: pre-filter set
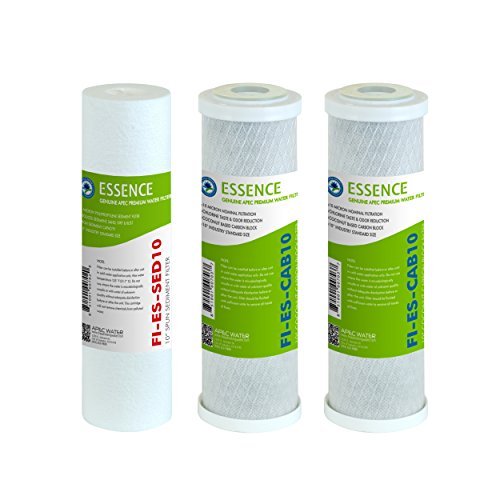
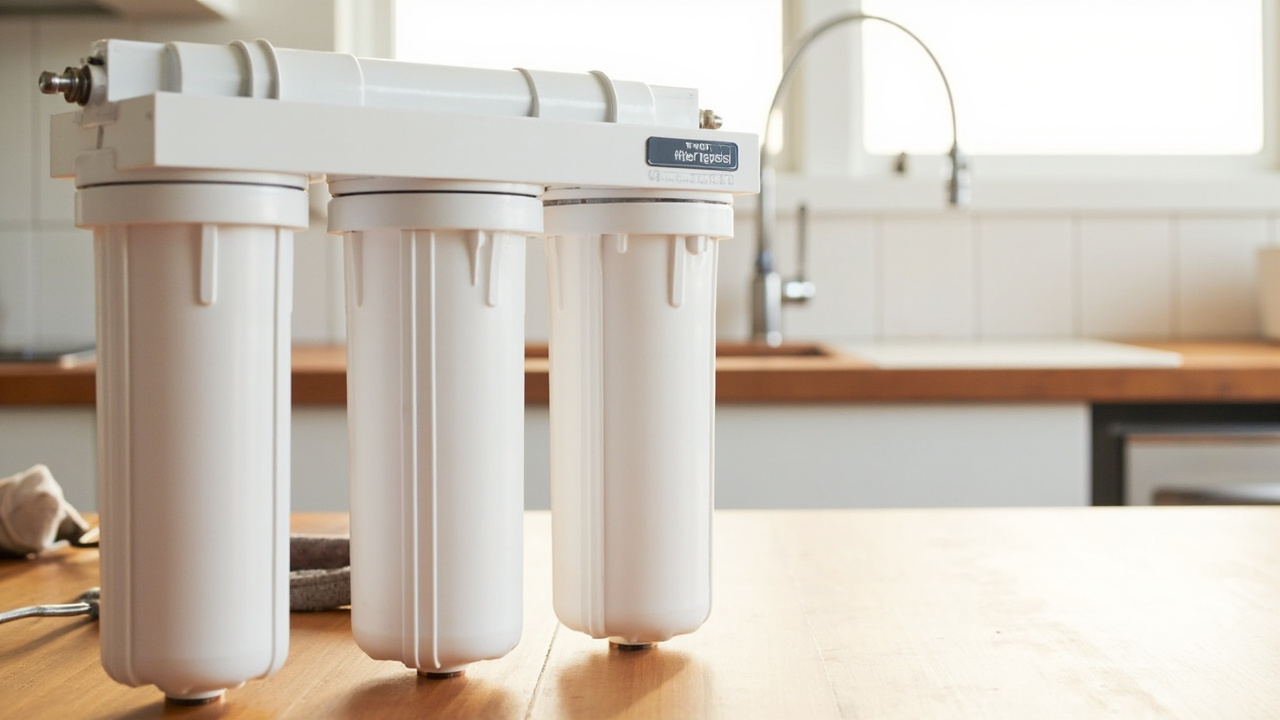
Stages 1, 2, and 3 (sediment + carbon pre-filter) protect the membrane. They take the abuse so the membrane doesn’t have to. The standard replacement set for most APEC systems is the APEC FILTER-SET-ES pre-filter set — three cartridges covering the sediment and carbon stages in one purchase.
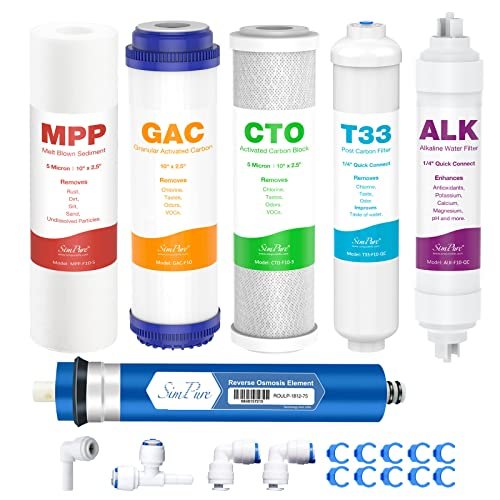
For SimPure and other 6-stage tankless units, the SimPure SP5-RO75 6-stage replacement set covers all the pre-filters in one kit instead of ordering them individually.
What each stage does and when to swap:
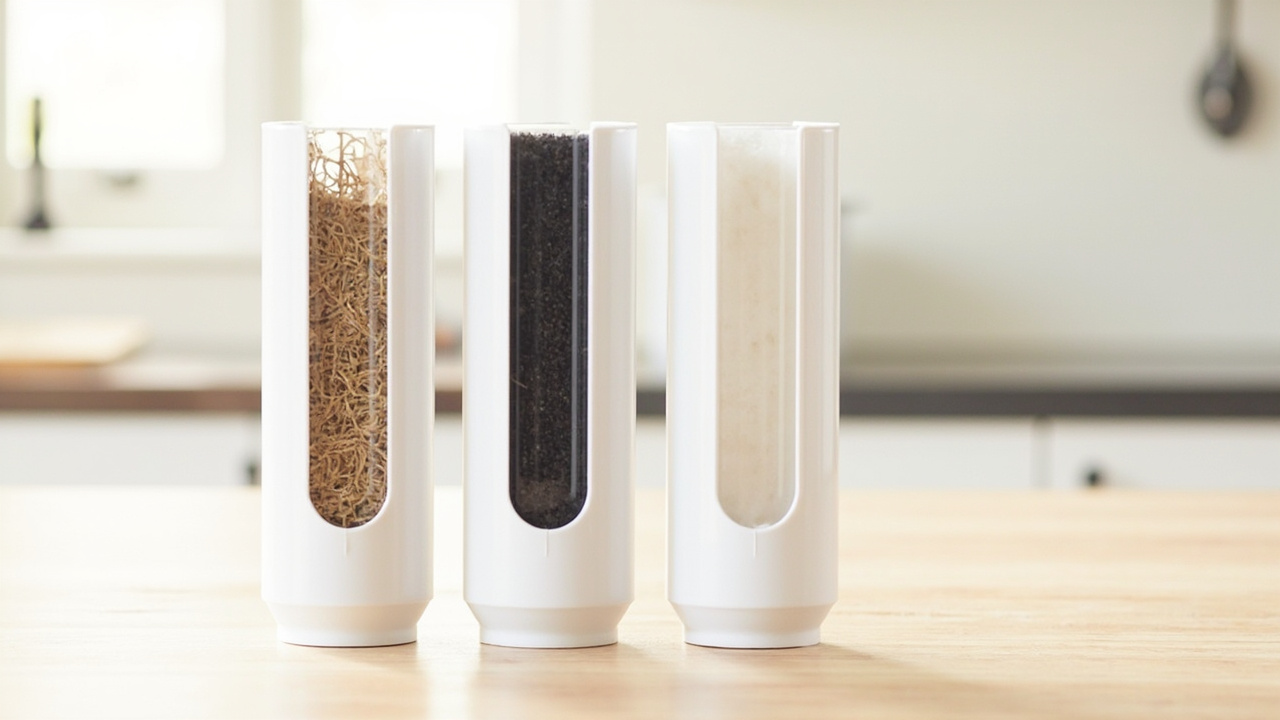
- Sediment pre-filter (stage 1) — catches rust, sand, silt. Visible as a brown discoloration on the white filter media. Replace when flow rate drops noticeably at the dedicated faucet. The APEC FILTER-SET-ES pre-filter set covers stages 1–3 on most APEC systems in one purchase.
- Carbon pre-filter (stage 2) — removes chlorine. Chlorine damages RO membranes permanently. Even trace chlorine levels matter. Replace based on calendar (12 months) or sooner if your feed water is high in chlorine.
- Optional stage 3 (second carbon or specialty filter) — depends on your unit; iSpring RCC7 has 6 stages; APEC RO-90 has 5. Replace per the manual.
A typical pre-filter replacement set costs $25–$50 for a basic 3-stage system.
Skip/Don’t: Don’t try to clean and reuse pre-filters. Carbon and sediment cartridges are designed for single use; washing them destroys the media and lets contaminants back into the system.
When you should swap the pre-filter set early
Most households stick to the 12-month calendar. But some water situations will chew through a carbon pre-filter faster:
High-chlorine municipal water
Some utilities run 1.5–2 ppm chlorine at the plant in summer to control biofilm. If you smell chlorine strongly at the kitchen tap even after the carbon stage is in service, your pre-filter is loaded. Standard swap every 9 months instead of 12.
Sediment events (well water or hydrant flushing)
If your feed water visibly clouds after a heavy rain or after municipal hydrant flushing, the sediment pre-filter takes the hit. Open it up and look at the brown discoloration on the white media. If it’s noticeably darker than when you installed it, don’t wait for the calendar — swap it. If you can see it through a clear housing like the SimPure 6-stage kit, the visual check is built in.
Remodel or plumbing work
If your home had any plumbing work in the past 30 days (water heater swap, fixture replacement, main-line work), the system has been hitting a higher sediment load than usual. The pre-filter set catches the extra junk that has come loose in the pipes.
Visible flow drop at the dedicated faucet
The clearest signal: water at the dedicated RO faucet takes noticeably longer to fill a glass. That’s the sediment pre-filter telling you it’s done. Don’t wait another 6 months — swap the whole set.
Every 2 years: RO membrane
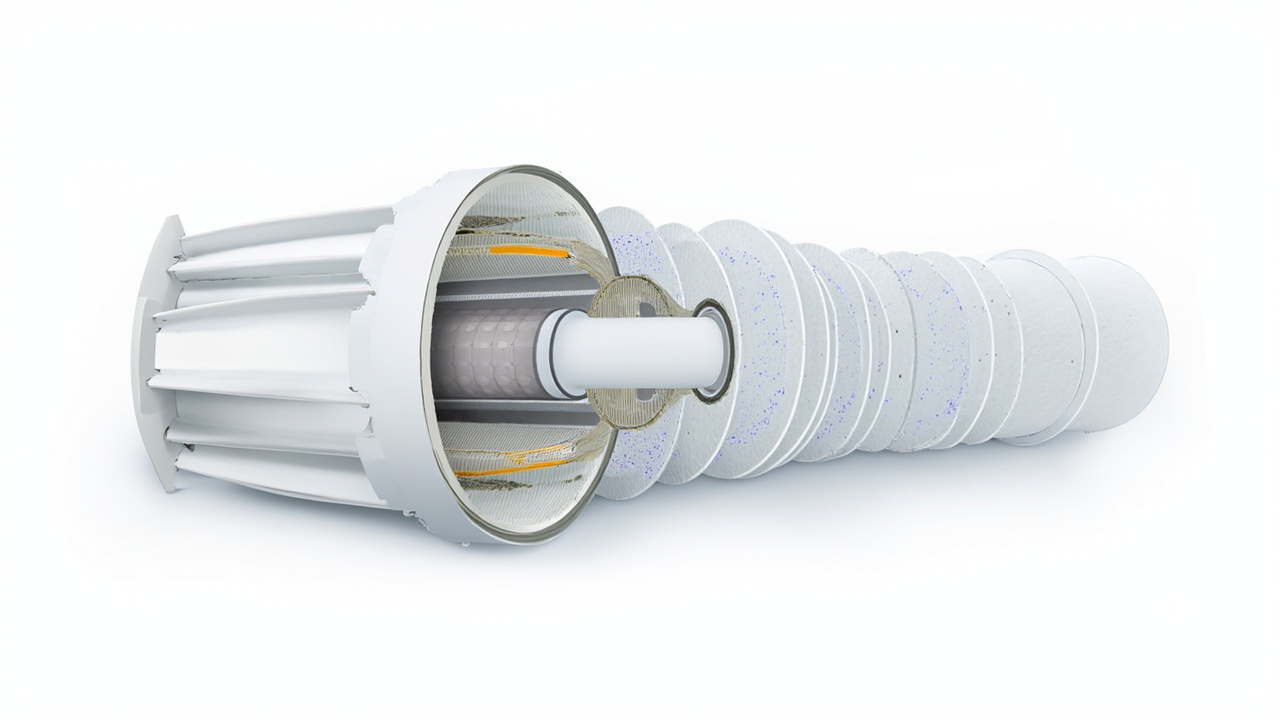
The membrane is the expensive part and the one that determines actual water quality. Standard replacement is every 2 years for 50–75 GPD units in typical municipal feed water. Heavy-feed or well-water systems may need annual membrane replacement.
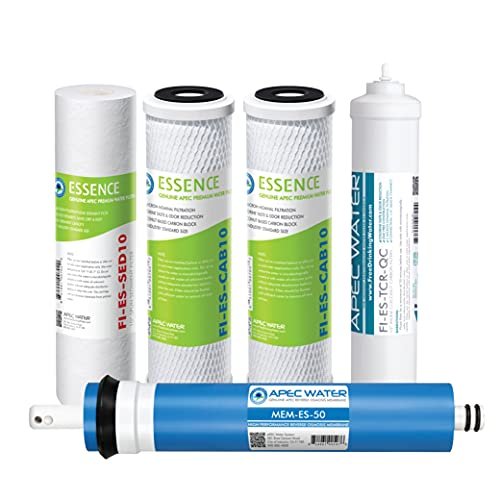
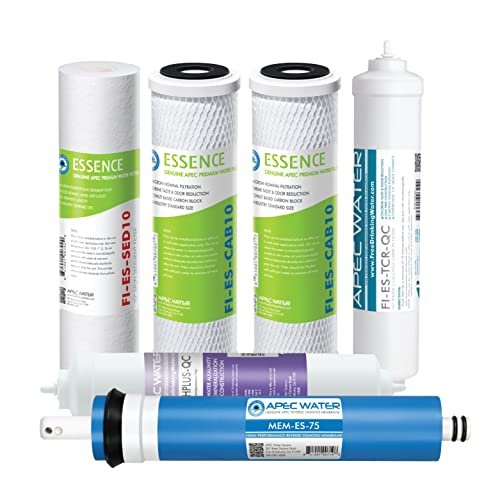
For APEC systems, the APEC FILTER-MAX-ES50 50 GPD membrane is the standard replacement. For systems that benefit from a polishing post-filter on the swap, the APEC FILTER-MAX-ESPH membrane + post-filter set covers both in one purchase.
Skip/Don’t: Don’t replace the membrane more often than the data shows you need. A working membrane at 18 months is fine; replacing it at 12 months wastes money and generates waste. A working membrane reads under 100 ppm on a TDS meter; trust that over the calendar.
TDS-trigger (the smarter schedule)
A TDS meter is the only objective tool that tells you when the membrane is actually exhausted. Here’s the protocol:
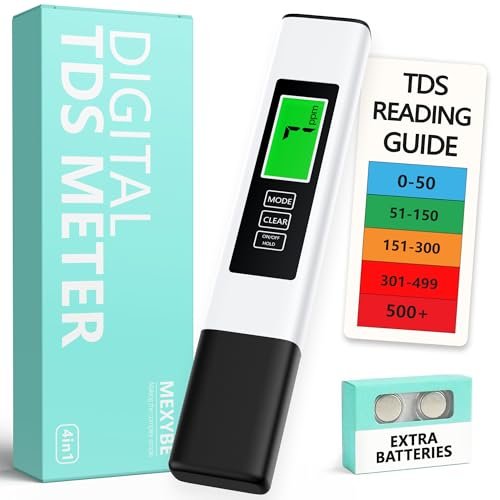
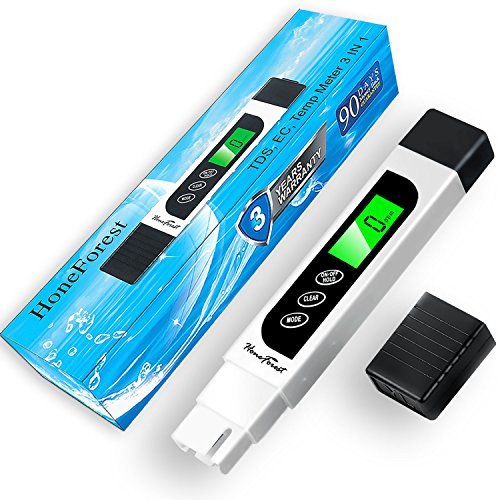
- Install a TDS meter. The MEXYBE 4-in-1 TDS meter is the budget pick and reads accurately enough for routine use. If you want tighter reads on a multi-stage RO, the HoneForest TDS meter runs a few dollars more.
- Measure baseline when the membrane is new. Note the reading (typically 10–50 ppm for a new 50–75 GPD membrane on 200–300 ppm feed water).
- Re-measure monthly. When the reading climbs above ~100 ppm and stays there across two readings a week apart, the membrane is due.
The TDS approach saves money (you don’t replace early) and catches premature failures (you don’t wait past the point of no return). For pre-filters, follow the calendar — they don’t show TDS creep until they’ve already damaged the membrane.
If you’re investing in a meter, also consider the stripped down VARIFY hardness test kit — knowing your source water hardness helps explain why some membranes age faster.
For the broader setup decision (RO alone vs RO + softener), see how to choose a water softener — the answer changes if your hardness is over 7 gpg, since you’ll wear through the membrane faster without a softener upstream.
Reading the TDS meter correctly
Hold the meter under running RO water for 10–15 seconds, until the reading stabilizes. Note the temperature (most meters auto-compensate, but warm-water readings can look higher than they are). If the reading is climbing month-over-month — even if it’s still under 100 ppm — that’s the signal to watch, not the absolute number. Two readings a week apart crossing the 100 ppm threshold is your cue to swap the membrane.
If the meter reads 200+ ppm on RO water that’s been working fine, the membrane isn’t tired — there’s a leak past an O-ring or seal. Re-seat the membrane housing and re-test before ordering a replacement.
Service vs DIY
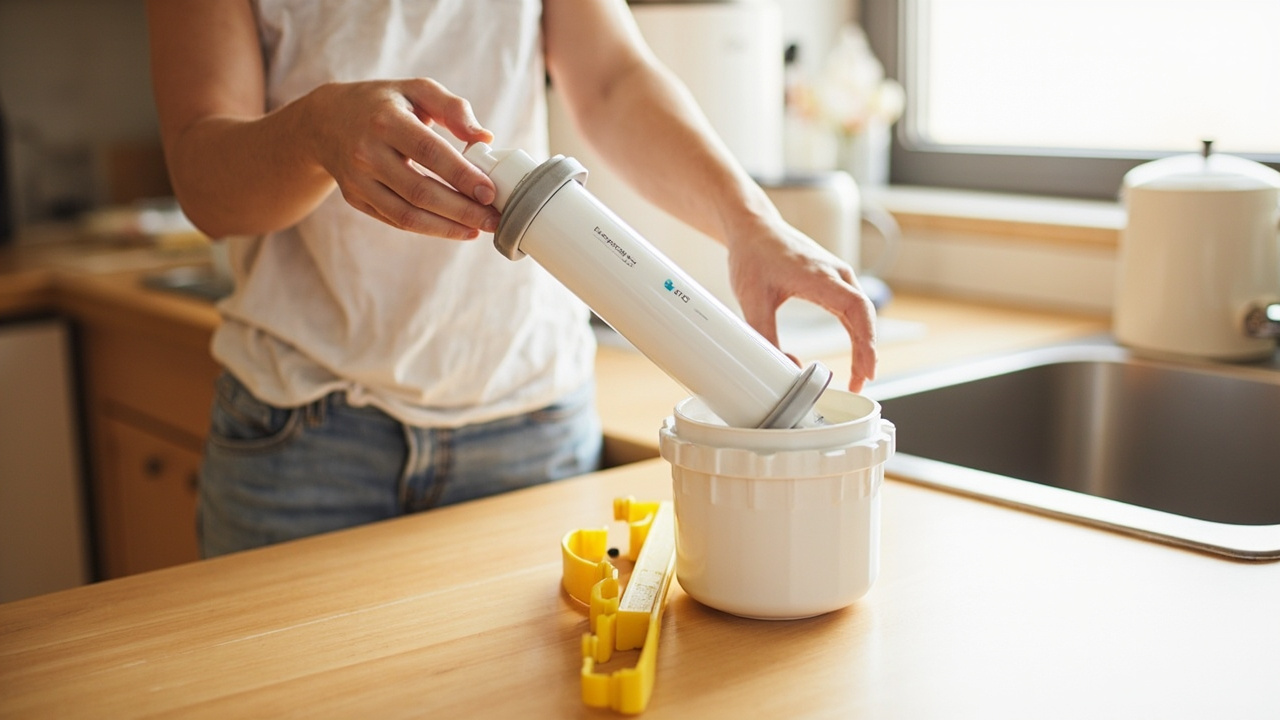
Most RO filter swaps are DIY-friendly. The cartridges twist out of their housings with a filter wrench (usually included with the unit). The membrane unscrews from its housing cap. Plan 10–20 minutes per filter for the actual swap, plus 2–3 hours for the tank to refill and flush before you use the water.
A clean swap routine
- Shut off feed water at the saddle valve or supply line. Open the dedicated faucet to release pressure.
- Twist out each filter housing with the filter wrench. Keep the housing upright so the O-ring doesn’t bind.
- Drop in the new cartridge with fresh O-rings (apply a thin coat of food-grade silicone grease to the new O-ring if the manual allows).
- Hand-tighten each housing — a quarter-turn past snug is enough; over-torquing cracks plastic.
- Re-seat the membrane in its housing cap — push straight down until it sits flat against the housing floor.
- Turn on the feed water slowly, checking each housing for drips. Open the dedicated faucet and let it run 10–15 minutes to flush.
- Drain the storage tank through the dedicated faucet until empty, then let it refill and drain a second time. TDS on the second drain should be back under 50 ppm.
The whole job is 20–30 minutes per filter if you have everything laid out. Most people tackle all three pre-filters in one session and add the membrane swap onto the same visit at the 2-year mark.
When to call a service tech:
- Membrane housing is stuck or corroded and won’t unscrew
- New filters don’t restore flow (could indicate a clogged tank, not a filter issue)
- TDS stays high after a membrane swap (could indicate a leak past the membrane seal)
For system selection, sizing, and how the membrane fits into the larger RO picture, the reverse osmosis under the sink page covers the system-level decision.
What “TDS creep” actually looks like in practice
A new 50–75 GPD membrane on 200–300 ppm tap water typically reads 10–50 ppm at the RO faucet. That number rises gradually as the membrane ages — a slope of 5–10 ppm per month is normal. When the slope starts looking like 15+ ppm per month, something’s up: the carbon pre-filter is loading up and letting chlorine through to attack the membrane, or the membrane itself is fouled with iron or hard-water scale.
The simplest reading rule for most households:
- Under 50 ppm: membrane is healthy, no action needed beyond the calendar.
- 50–100 ppm: membrane is aging; check TDS again in a month. Plan a membrane swap within 6 months.
- 100–200 ppm and stable: membrane is exhausted but still functional. Replace on the next convenient maintenance visit.
- Over 200 ppm: membrane is no longer effective at TDS reduction. Replace now — what you’re getting at the tap is closer to tap water than filtered water.
The exact numbers shift with your feed water. Soft municipal water in the 150 ppm TDS range will run lower at the RO tap; well water at 600 ppm runs higher. The 100 ppm trigger is a starting point — adjust after your first 6 months of measured data.
Brand-specific notes
A few brands dominate residential RO and have specific quirks. The right replacement cartridge depends on your exact model — a filter that’s 0.25” too tall won’t seal and will leak.
- APEC — uses standard 2.5” x 12” cartridges; widely available third-party replacements
- iSpring — RCC7 series has a long-running filter ecosystem; check your exact model number before ordering
- Waterdrop G-series (tankless) — proprietary drop-in filters; not interchangeable with APEC/iSpring
- Express Water — also standard 2.5” x 12”; cheaper than APEC but build quality varies
If you bought a less common brand, check the manual for the exact filter dimensions before ordering replacements. A filter that’s 0.25” too tall won’t seat and will leak past the O-ring.
The standard SimPure SP5-RO75 6-stage replacement set is a good test case for multi-stage tankless units — it covers all the pre-filters at once and includes a polishing post-filter for the spent carbon stage.
Common mistakes
- Replacing only the membrane, not the pre-filters — a new membrane in a system with exhausted pre-filters dies early from chlorine and sediment. Replace all at once.
- Skipping the post-replacement flush — new filters shed loose media and carbon fines. Run 2–3 tank cycles to waste before drinking the water. The first 10–15 minutes of output should be discarded.
- Not measuring TDS at all — calendar replacement is a guess. A $10 MEXYBE TDS meter pays for itself in one saved membrane swap. For tighter readings on multi-stage units, the HoneForest TDS meter is a step up.
- Trying to install a 100 GPD membrane in a 50 GPD system — pressure and flow requirements differ. Match the membrane rating to your system’s specs. The standard APEC 50 GPD is the FILTER-MAX-ES50 replacement, not the 75 or 100 GPD versions.
- Overtightening the membrane housing — plastic housings crack if you torque them past hand-tight-plus-a-quarter-turn. Snug is enough.
When to call a pro
Keep DIY if: swapping pre-filters, replacing the membrane, refilling the storage tank, measuring TDS, running the post-replacement flush.
Call a licensed plumber if: the membrane housing is corroded and won’t unscrew, the tank won’t pressurize after a filter swap, or the system shows visible leaks that don’t stop with a fresh housing O-ring.
Related
- Reverse osmosis under the sink — system selection and how RO fits with other treatments
- Softener vs RO vs whole-house filter — when RO is the right tool and when it isn’t
- Water hardness explained — how source water affects RO performance
- Hardness test kits — strips for testing feed water
- How to add salt to a water softener — if hardness is also a concern
Key takeaways
- Pre-filters: 6–12 months (calendar)
- Membrane: 2–3 years (TDS-based)
- TDS above ~100 ppm and staying there = membrane due
- Replace all pre-filters when you swap the membrane
- Flush 2–3 tanks to waste after any filter swap
- Match replacement filters to your exact unit’s specs