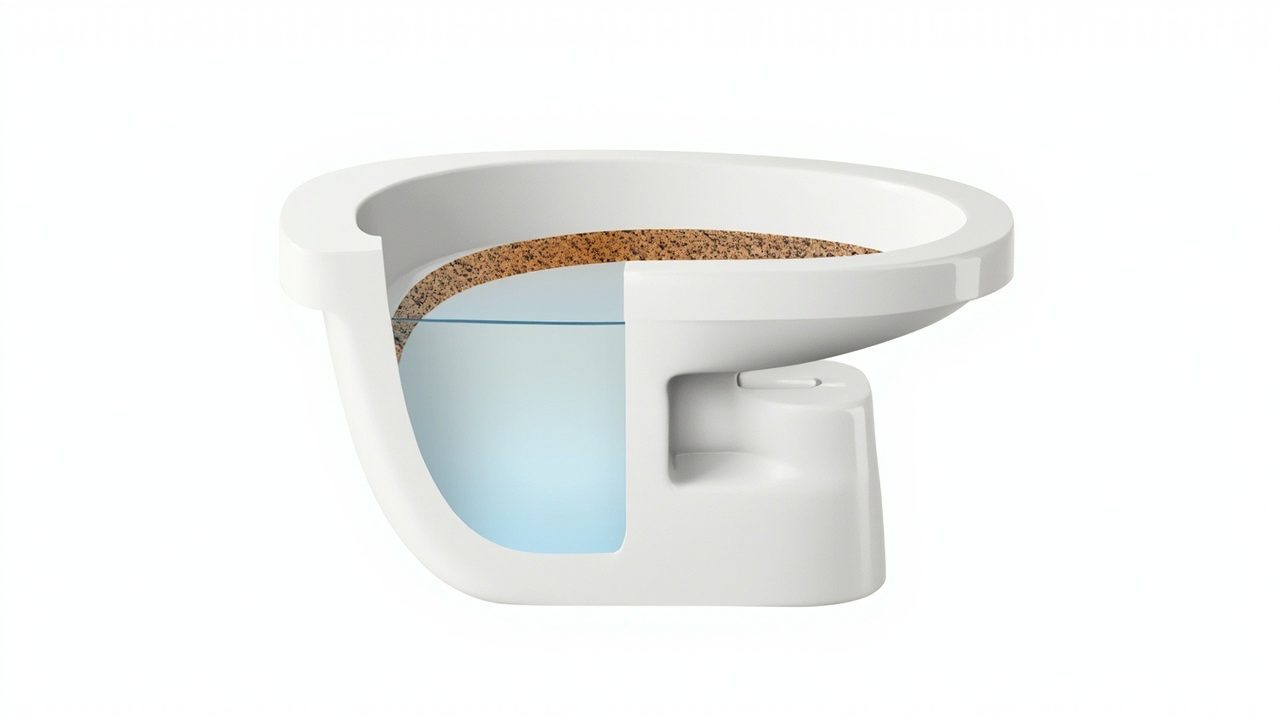
If the toilet bowl grows a brownish-orange ring under the rim within a day of cleaning, you’re not cleaning wrong — the water is doing the staining. Hard water stains in the toilet are calcium and magnesium carbonate left behind as the bowl waterline evaporates between flushes. Wiping harder only delays the next ring; the cause is the water supply. Here’s how to clean what’s there now, what to do so the ring stays away longer, and when to test the water and consider a softener.
Quick answer
A toilet ring is almost always calcium and magnesium carbonate precipitating out of hard water at the bowl waterline. Soaking with an acid-based bowl cleaner dissolves fresh mineral film; a pumice stone knocks off set-in crust that soaking alone won’t touch. The ring always comes back, though, until you either change the cleaning habit or treat the water. Test gpg first, then decide whether a softener is worth it.
What the ring usually is
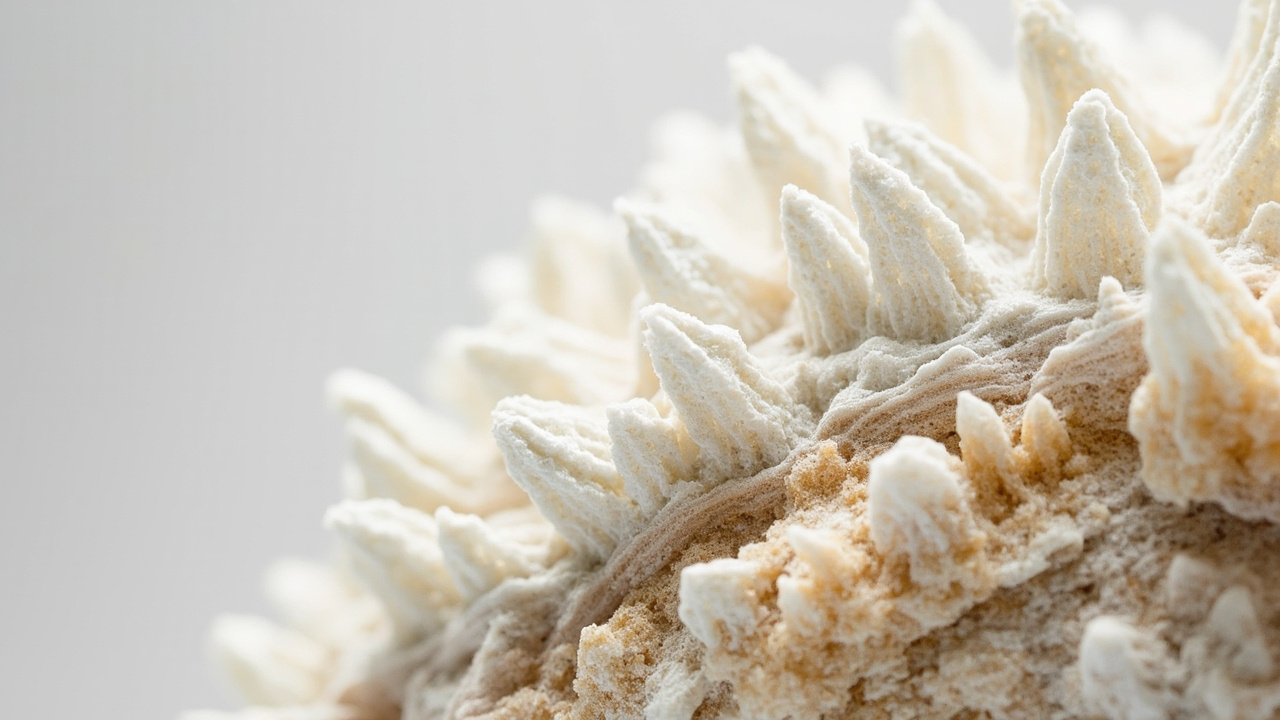
Hard water leaves calcium and magnesium ions behind. When the bowl waterline evaporates between flushes, those ions precipitate as carbonate — the brownish-orange ring under the rim. Iron in the water tints the same ring reddish-brown. Manganese can turn it black. Each color points to a different feed source, which is why two “identical” toilets in the same household can stain differently.
The ring is a chemistry signal, not a cleaning failure. Wiping harder doesn’t fix the cause; it only delays the next ring. The U.S. Geological Survey treats hardness as an aesthetic and operational issue, not a health one — your drinking water is fine; your fixtures are not.
If you’re new to the units used in this article — gpg, ppm, grains — start with the gpg and ppm reference. The numbers below assume you’ve already mapped your hardness.
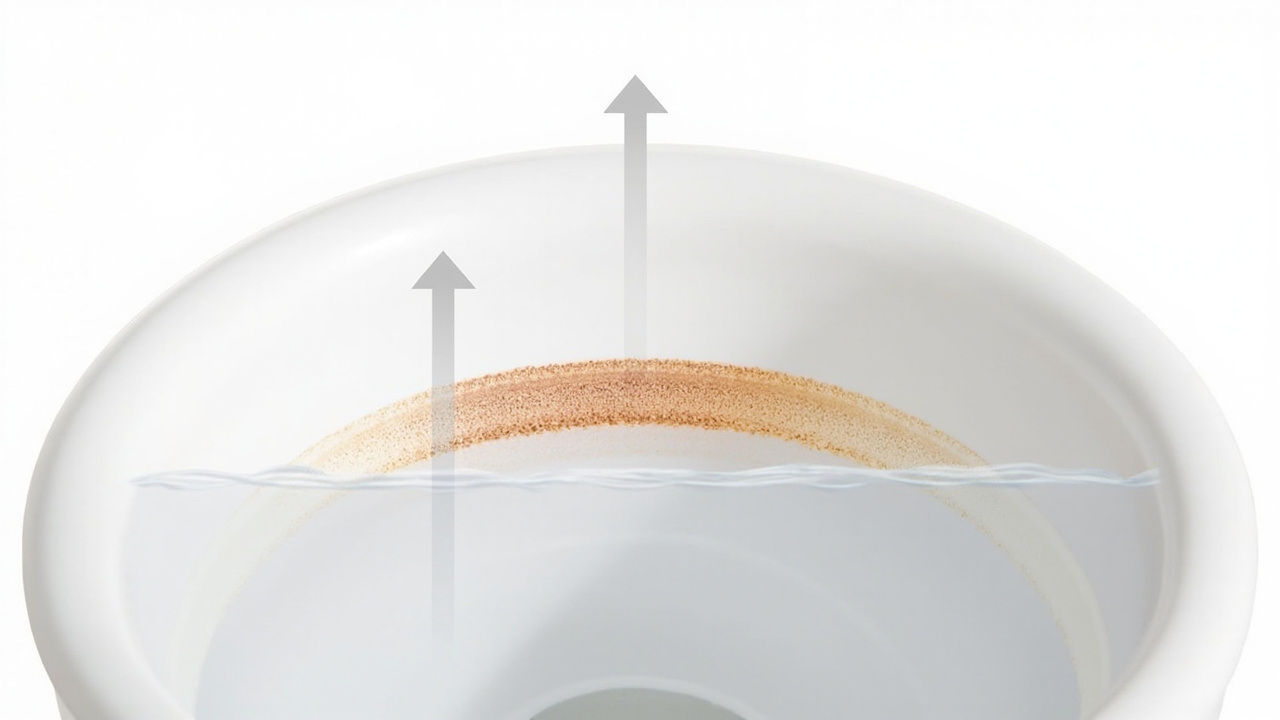
Where the stains form (and why location matters)
The ring forms in different places for different reasons, and the location tells you what kind of cleaning you need:
- Bowl waterline — the most visible ring. Evaporation leaves minerals here first, which is why a scrub that misses the waterline always leaves a stripe.
- Under the rim jet — the supply opening weeps a constant mineral trickle; this is the “shadow” inside the rim that scrubbing alone can’t reach. It’s where the heaviest deposits sit and where an extra-long pumice handle earns its keep.
- Overflow tube — a thin brown line inside the vertical standpipe is normal calcium buildup, not a crack. Wipe it down during deep cleans.
- Tank — if you open the lid, mineral dust on tank walls is the same chemistry. It doesn’t affect flush performance but can clog the flapper seal over years.
Skip if: the ring is only inside the bowl and the tank is clean. You’re dealing with bowl-waterline chemistry only — the four-step routine below handles it. Tank buildup means the whole water column is saturated with minerals, and you’ll want to test your water before deciding whether a softener pays off.
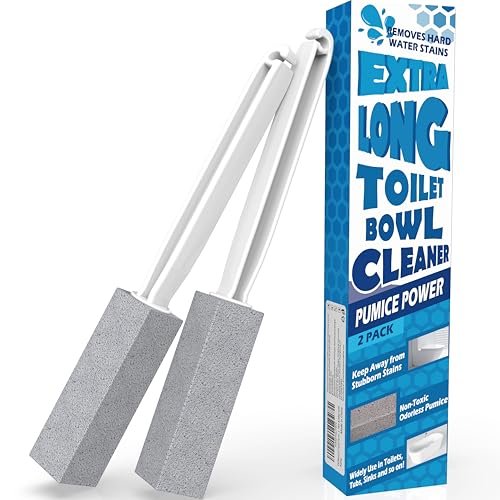
Don’t ignore the rim jet. A regular toilet brush never reaches the underside of the rim jet where the heaviest mineral deposits sit. That is exactly where the FAZMoss 2-Pack Pumice Stone with Extra-Long Handle earns its price — a 13-inch reach that ordinary brushes don’t have.
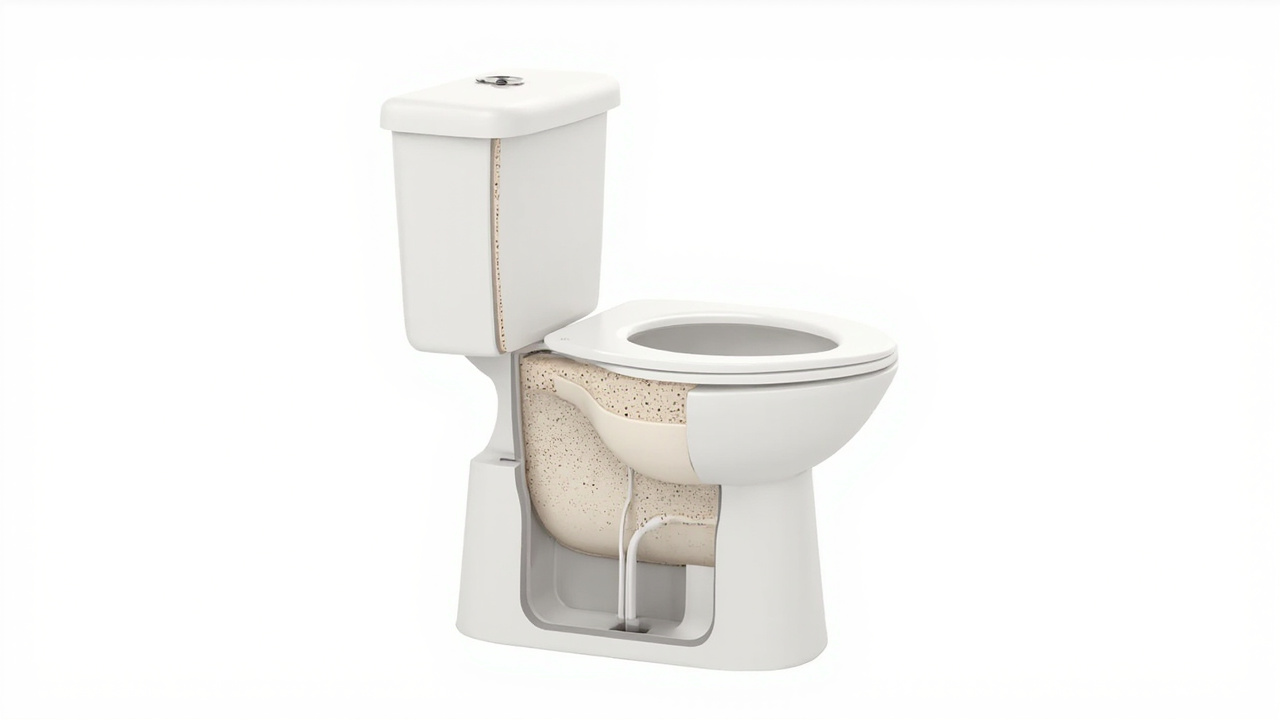
Clean the bowl (short steps)
A four-step routine handles about 90% of toilet rings. None of it requires calling a plumber.
- Lower the water level with a sponge or by holding the flush lever down and letting it refill halfway. Less water in the bowl means the cleaner you apply stays at full strength.
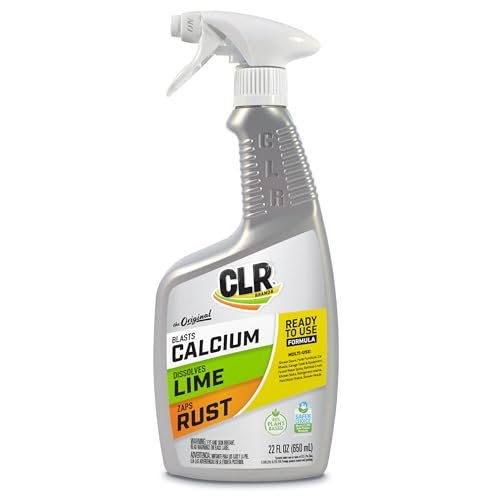
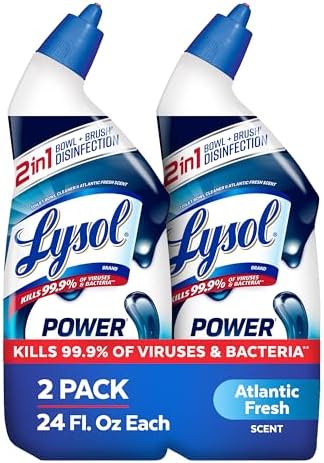
- Apply a bowl descaler to the waterline and under the rim. Wait 5–10 minutes so the cleaner can dissolve the mineral film. Two options that work for this pass:
- CLR Brands Lime & Rust Remover, 22 oz spray — fine-mist spray reaches the rim jet without dilution.
- Lysol Toilet Bowl Cleaner Clinging Gel, Power (24 oz, 2-pack) — clinging gel coats the bowl; bleach-free Power formula for routine weekly use.
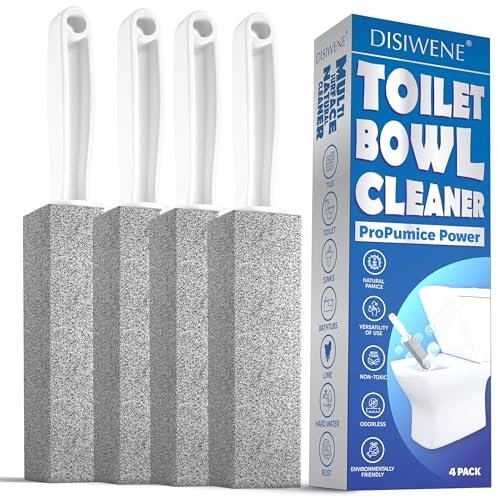
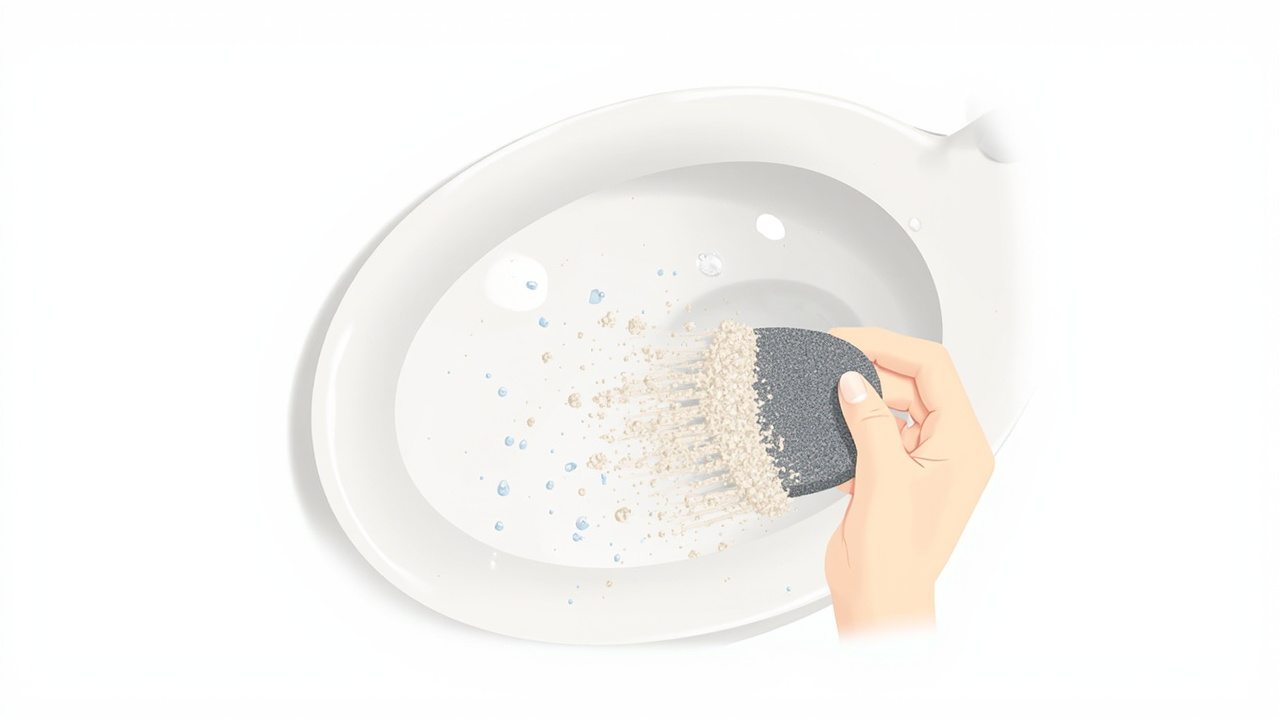
- Scrub with a pumice stone for set-in crust. A pumice is slightly abrasive but softer than porcelain, so it abrades the mineral layer without scratching the bowl. Run it under water first to soften the surface, then work in straight back-and-forth strokes.
- DISIWENE Pumice Cleaning Stone with Handle — the handle keeps knuckles dry and lets you apply steady pressure.
- Flush and rinse the stone. Pumice wears down slowly; one stone handles 6–12 bowl cleanings depending on crust thickness.
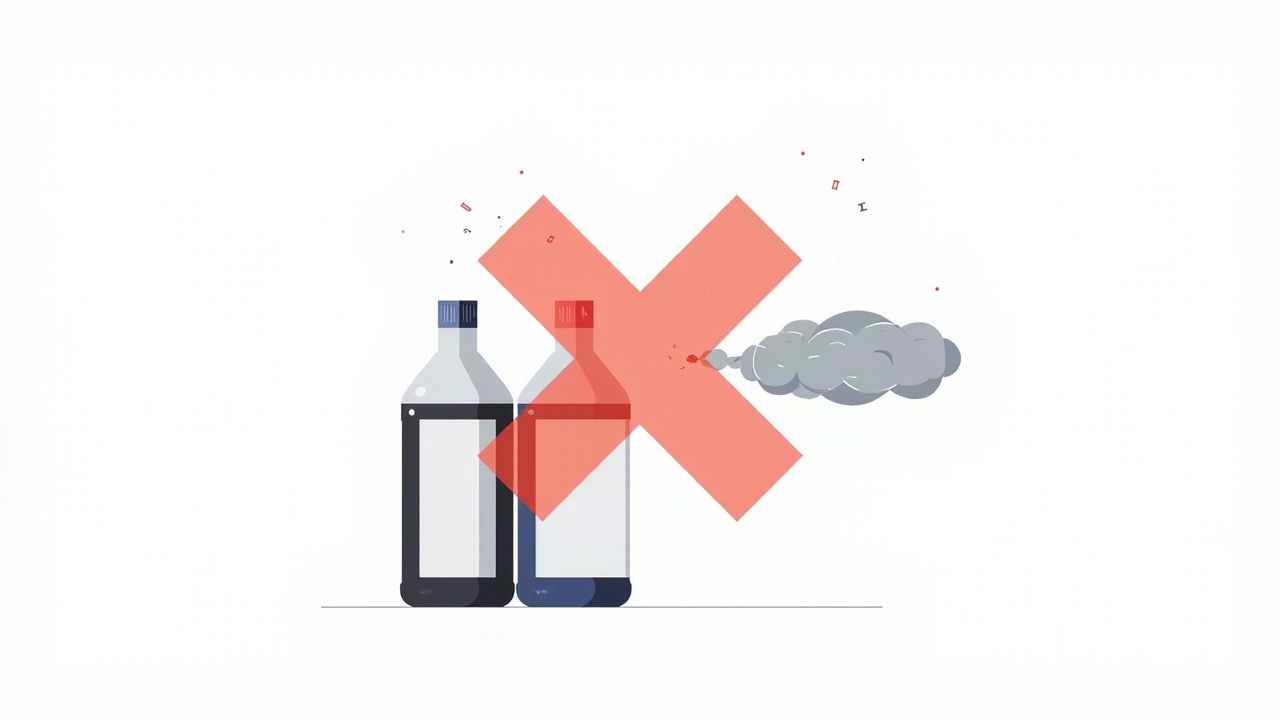
Don’t mix bleach with acid bowl cleaners. Mixing sodium hypochlorite with hydrochloric acid produces chlorine gas; in a small bathroom with poor ventilation, that’s a real respiratory hazard. Use one or the other, never both in the same session. If you’ve just bleached the bowl, rinse thoroughly and wait an hour before applying an acid cleaner.
Root cause: hardness / minerals
Water hardness is measured in grains per gallon (gpg) or parts per million (ppm). The Water Quality Association and USGS classify the bands the same way:
- Soft: under 3.5 gpg (under 60 ppm)
- Moderately hard: 3.5–7 gpg (60–120 ppm)
- Hard: 7.1–10.5 gpg (121–180 ppm)
- Very hard: over 10.5 gpg (over 180 ppm)
The mineral content on its own isn’t harmful to drink in normal ranges — the EPA lists hardness under the Secondary Drinking Water Regulations as an aesthetic consideration, not a health one. What hardness does damage: water heaters, dishwashers, faucets, glass shower doors, and the toilet bowl. So a ring in the toilet is often the visible tip of a larger scale problem elsewhere in the house.
If you haven’t already, read what is hard water — signs, gpg, and what it damages and the side-by-side hard water vs soft water — what actually changes. The rest of this article assumes you know whether your number is in the moderately-hard band or the very-hard band.
Test before you buy a system
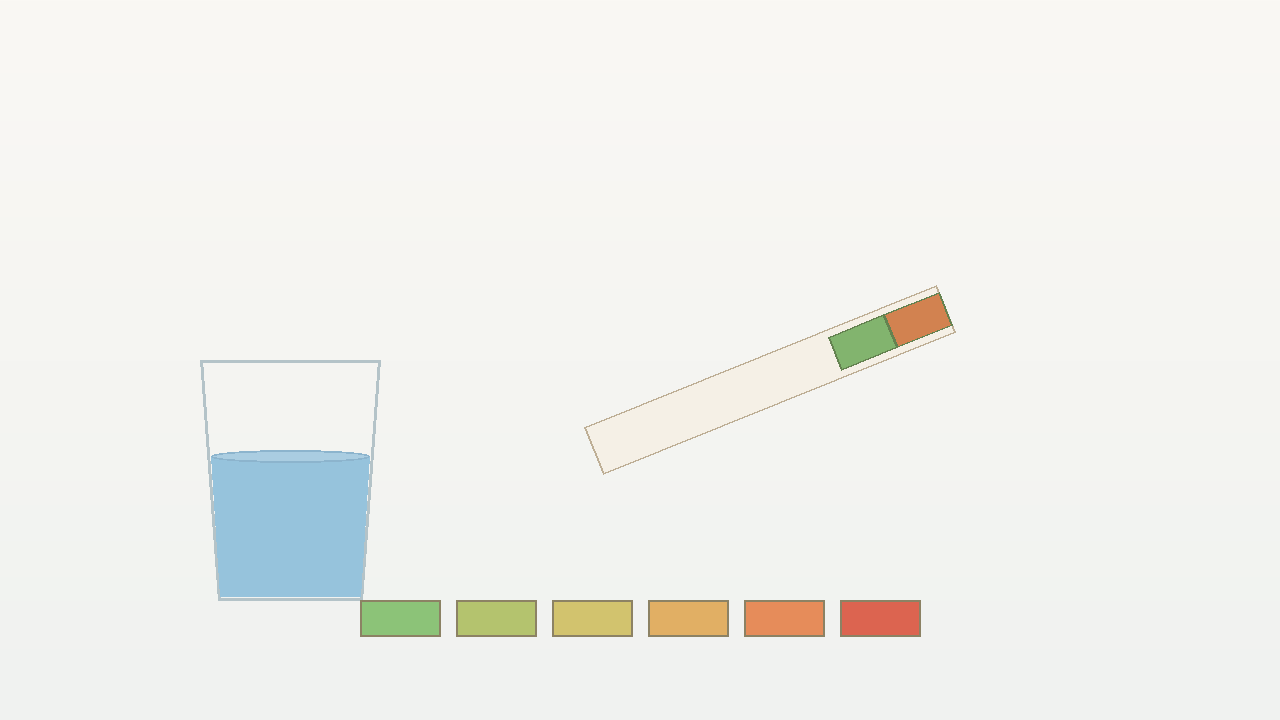
Don’t guess hardness. Test strips cost under $10 and take 15 seconds to read. Without a number, you can’t size a softener or know whether one is worth it.
A good test routine: dip a strip in cold tap water from the kitchen (representative of the whole supply), wait the printed time, compare to the color chart, record the gpg. Repeat quarterly — private wells especially drift seasonally. Two starter kits that both work:
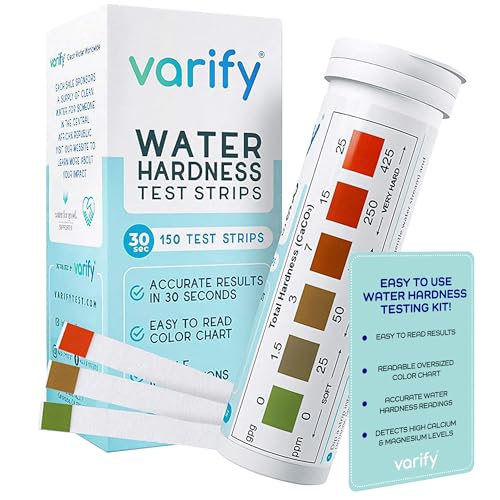
- Varify Water Hardness Test Kit — 100 strips, good all-rounder for general home use.
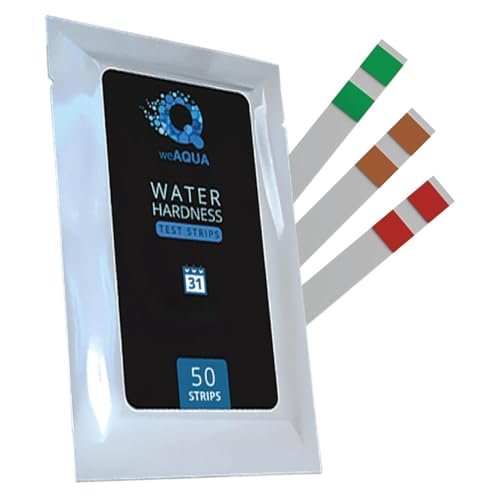
- WeAQUA DoubleCheck 50 Strips — two-pad design that splits low (0–25 gpg) and high (25–250 gpg) ranges, fewer false reads on very hard water.
Don’t buy a softener based on a single test. A single test only tells you hardness at that moment. Run two tests a week apart, then average — private wells can swing 2–3 gpg seasonally and you’d mis-size a unit otherwise. For a deeper look at the test options, see hardness test kits — review and comparison.
Fix path: cleaner vs softener
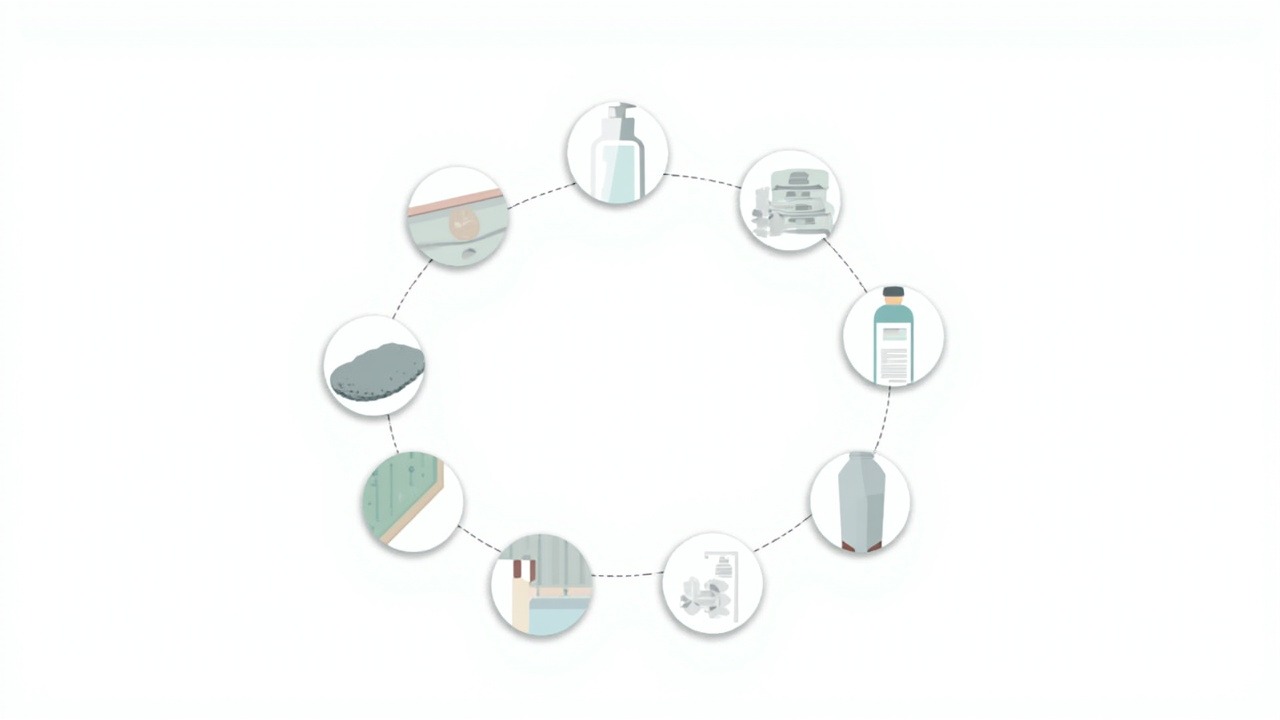
The right answer depends on your gpg and what you actually want the water to do. Three tiers:
If gpg < 7 (slightly to moderately hard)
A weekly scrub with an acid bowl cleaner (see the four-step routine above) plus an in-tank drop-in tablet for the days between scrubs is enough. The ring still appears, but slowly.
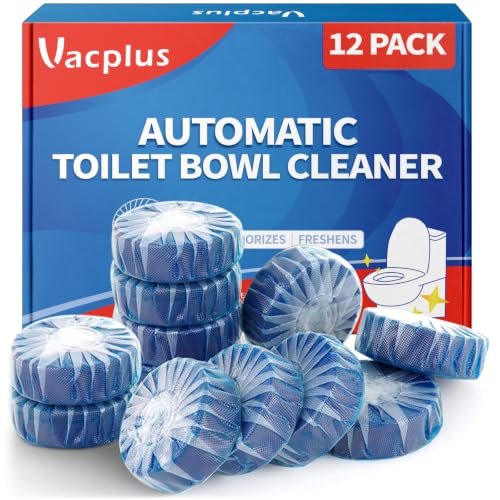
- Vacplus Toilet Bowl Cleaner Tablets, 12-Pack — drop one in the tank, it dissolves slowly and keeps the bowl water cleaner between scrubs.
Don’t expect a softener to pay for itself at this hardness. The cleaner-plus-tablet path runs under $20 a year and handles 90% of the visual ring.
If gpg 7–15 (hard)
The bowl will still stain, but slower. Combine weekly scrub + drop-ins, and accept that the ring will return in 5–7 days rather than 1–2.
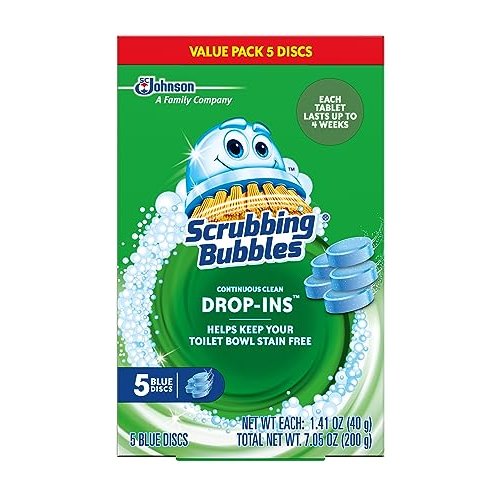
- Scrubbing Bubbles Continuous Clean Drop-Ins — bleach-free option if you have a septic tank or want to avoid chlorine fumes.
A whole-house softener starts to make financial sense here — factor in the lifespan of the water heater, dishwasher, and shower glass, not just the toilet. At this band, you’ll likely see scale on the heating element and glass doors within a year of moving in.
If gpg > 15 (very hard)
Without a softener, you’re looking at multi-day ring formation and heavy crust in the tank. The clean-only path costs more in cleaner + time than a softener would in salt. Have a pro test your water (a free Culligan or local softener dealer test is usually close enough) before signing a contract — they’ll oversell you on capacity if you let them.
For the full purchase-decision path, see how to choose a water softener and how water softeners work before you commit.
Don’t rely on a salt-free “conditioner” as a substitute for a softener. TAC (template-assisted crystallization) media change the form of the scale so it doesn’t stick as tightly, but they don’t actually remove calcium or magnesium. The bowl will still stain, just slower. If your gpg is over 7 and you want the ring gone, ion-exchange softening is the only thing that actually does it.
Common mistakes
- Replacing the toilet to fix the ring. The ring is from the water, not the toilet. A new toilet will stain the same way within weeks. Save the replacement for when the flapper fails.
- Using pumice on a non-porcelain surface. A pumice is safe on vitreous china (toilet bowl). It is not safe on plastic seats, enameled cast iron tubs, or cultured marble — it scratches those.
- Scrubbing the rim jet with a wire brush. The rim jet is a small plastic channel; a wire brush widens the outlet and the toilet will start running. Use a plastic-bristle brush or the pumice stone only — and on the rim jet specifically, reach for the extra-long-handle FAZMoss pumice so you don’t have to lean over the bowl.
- Pouring acid cleaner into the tank. The tank contains a rubber flapper that hydrochloric acid slowly degrades. Cleaner belongs in the bowl, not the tank.
- Bleach-only cleaning and expecting the ring to disappear. Bleach whitens organic film but doesn’t dissolve calcium carbonate. The mineral ring stays until you switch to an acid-based cleaner. Confirm your hardness with a Varify Water Hardness Test Kit so you know which problem you’re actually solving — and if you’re over 7 gpg, even perfect scrubbing won’t keep up long-term.
When to call a pro
- Toilet running continuously — that may be a flapper worn out by mineral buildup, not just a chain adjustment. A plumber replaces it in 10 minutes.
- Visible crack in the tank or bowl — hairline cracks in the tank often start at the overflow tube. Don’t ignore; a tank-flood call is more expensive than a $20 replacement part.
- Recurring clogs in the same toilet — hard-water scale can build up inside the trapway over years. A camera inspection (plumber or drain service) confirms whether the issue is scale or something else.
- Whole-house pressure drop — if every faucet is suddenly weaker, the issue is upstream (PRV, supply line, or softener), not the toilet.
- Septic-tank smell around the toilet — could be a failed wax ring unrelated to water hardness, but a plumber’s smoke test confirms in 5 minutes.
Keep DIY for: testing hardness, the weekly scrub, breaking a salt bridge, swapping a cartridge, and adjusting the float. Call a licensed plumber if you’re cutting into the main, relocating the unit, or chasing an active leak.
Related
- Hard water stains on shower glass — the same mineral chemistry, on a different surface.
- Water hardness explained (gpg, ppm, how to test) — the unit reference and how to test.
- How to choose a water softener — when the cleaner-only path stops being worth it.
- How water softeners work — ion exchange and the brine tank, demystified.
- Hardness test kits — review and comparison — a deeper test-kit evaluation.
- What is hard water — start-guide entry for readers new to the topic.
Key takeaways
- The toilet ring is a chemistry signal — calcium and magnesium carbonate, not dirt.
- Acid-based cleaners plus a pumice handle 90% of set-in rings without calling a plumber.
- Test gpg before you decide to buy a softener — wrong assumption is the most expensive mistake.
- Hardness under 7 gpg: weekly scrub plus an in-tank tablet is enough.
- Hardness 7–15 gpg: scrub plus drop-ins, accept faster buildup, and start pricing a softener.
- Hardness over 15 gpg: a real ion-exchange softener usually pays for itself in 2–4 years.
- Salt-free “conditioners” don’t soften — they reduce scale adhesion. Read the label, not the marketing.